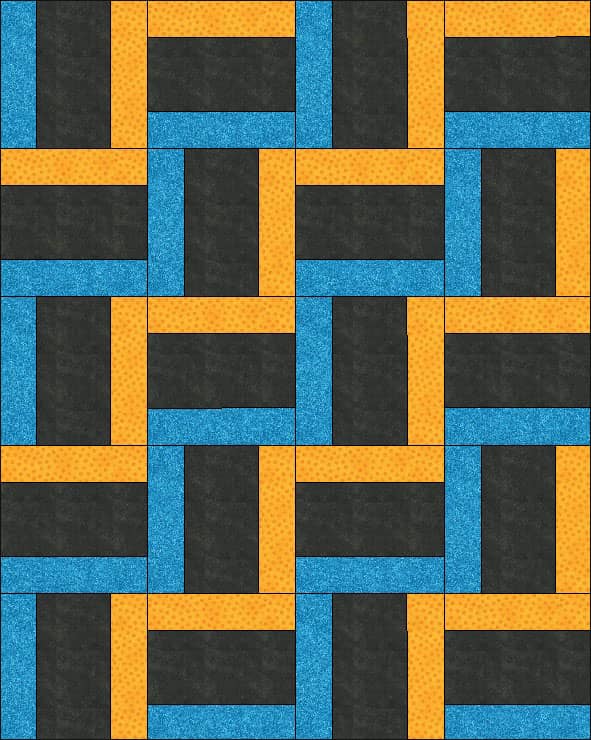
I love how this Rail Fence Quilt variation turned out. I was a bit concerned about the colour choices when we made the first quilt, but I actually liked the finished look. So I have gone with similar colours for this tutorial.
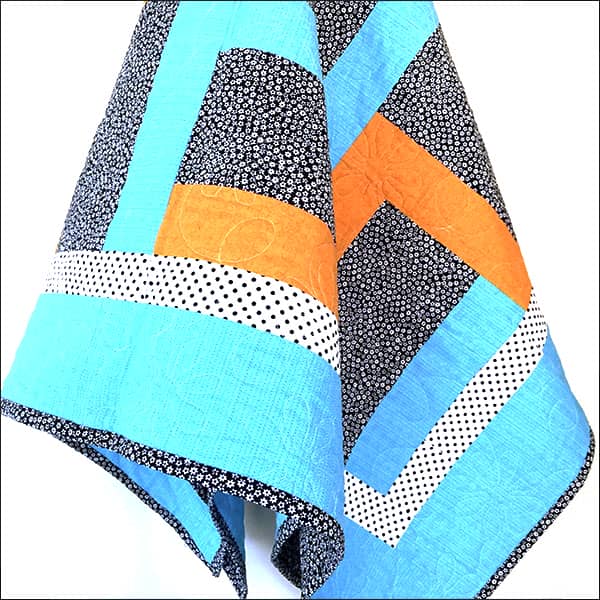
The quilt top measures 47½” x 56½”. However, as we know, once you add your quilting and the binding, the quilt will be slightly smaller.
What You Need
- Colour 1 (orange) – ½ yard
- Colour 2 (blue) – 1¼ yards
- Colour 3: (black spot) – ¾ yard
- Colour 4 (white spot – border) 3/8 yard
- Backing – 3 ¾ Yards. This allows for 4″ overage. You may get away with less fabric if you are doing an open quilt design that doesn’t pull the fabric in too much.
- Batting – a piece measuring 51½” x 60½”
Cutting Instructions
Blocks
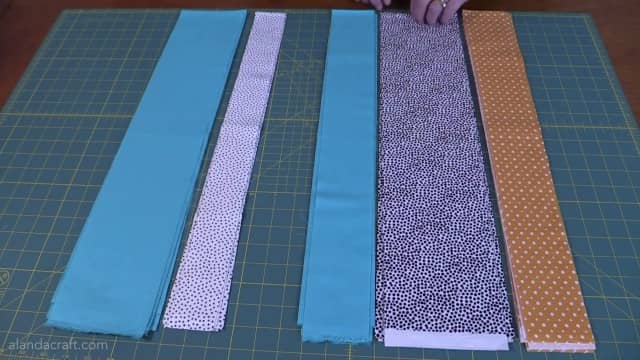
Cut 5 strips of each colour across the width of the fabric (wof).
- Colour 1 – 5 strips measuring 2¾”
- Colour 2 – 5 strips measuring 2¾”
- Colour 3 – 5 strips measuring 5″
Borders
- Border 1 – Cut 5 strips measuring 2″ across the wof
- Border 2 – Cut 5 strips measuring 4½” across the wof.
Watch the video below or scroll down for written instructions
(Can’t see the video? You may have an adblocker installed.)
Construct the Blocks
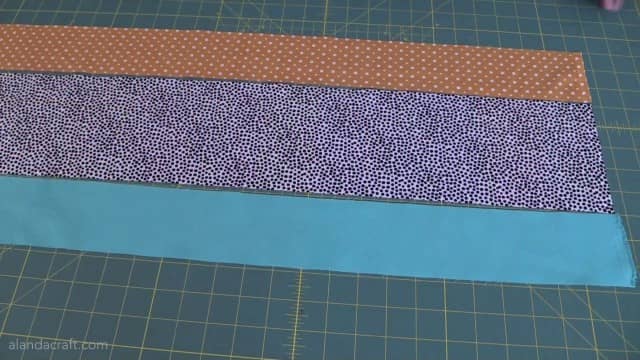
Sew the strips together in sets of 3 colours, using a ¼” seam. (Note: We don’t bother cutting off the selvedges at this point.)
You will end up with 5 strips made up of one strip of each colour.
Your strips should measure 9½” in width when sewn together.
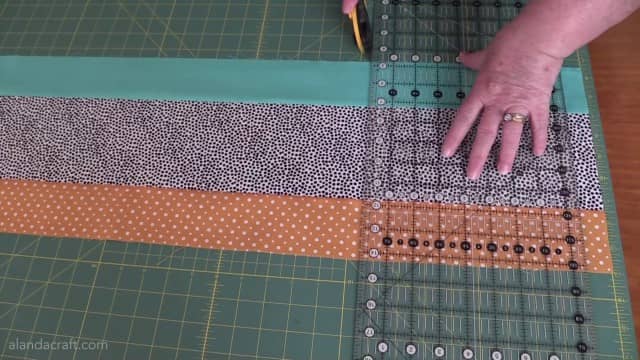
Take one of the strips and trim the selvedge off from one end.
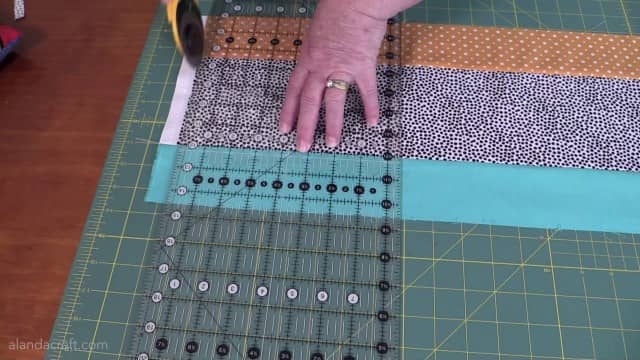
Now cut each of the strips into 9½” blocks. You should get 4 blocks from each strip with a total of 20 blocks.
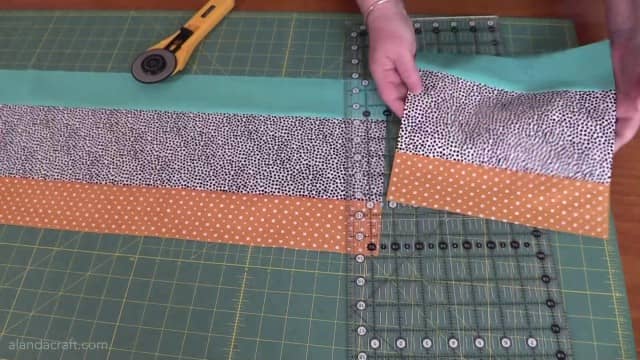
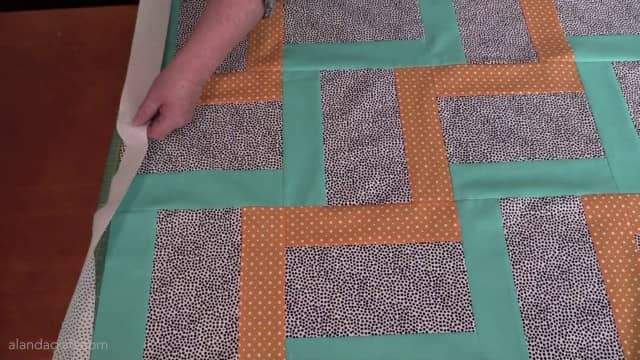
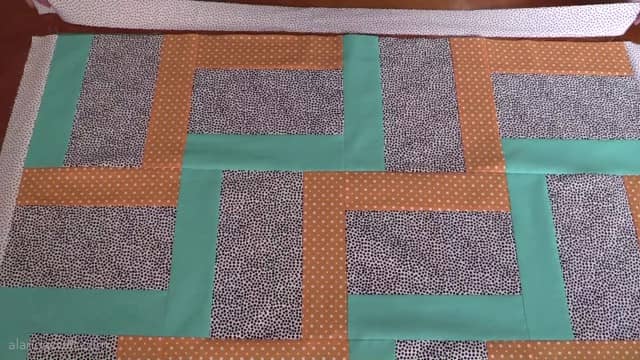
Lay the blocks out as shown.
Sew the blocks together in sets of two. Then sew the sets of two together to complete a row. You should end up with 5 rows of 4 blocks each.
Watch the video above to see how we press the seams to ensure that the rows nest nicely together.
Sewing the rows together.
Lay the first row over the next, right sides together and sew together with a quarter inch seam. Make sure to nest the seams together.
Do the same with the next two rows.
Sew those 4 rows together and add the last row.
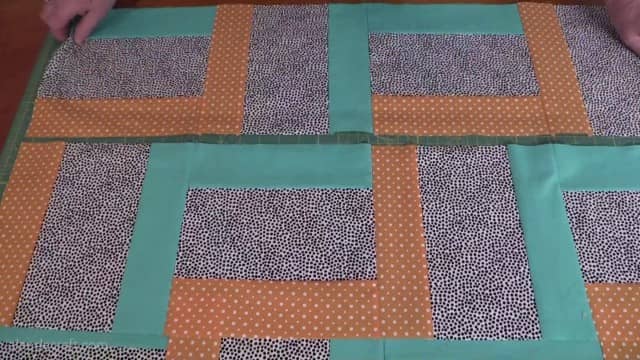
Construct the Borders
You will need to join 2 strips together to make the long edge borders.
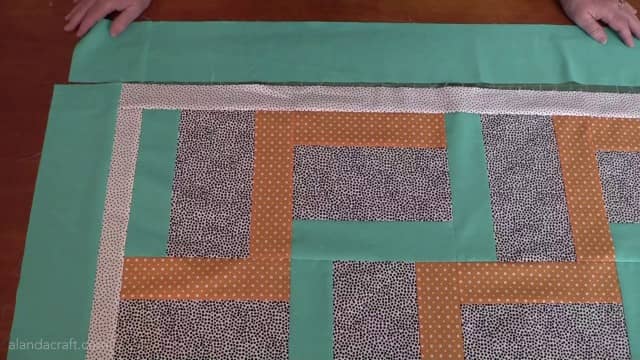
Border 1
- Border 1 long edge – 2 strips measuring 45½” x 2″ (side border)
- Border 1 short edge – 2 strips measuring 39½” x 2″ (top and bottom border)
Sew the two long edges onto the sides of the quilt.
Then sew the top and bottom border onto the quilt.
Border 2
You will need to sew two strips together to make the outside borders.
- Border 1 long edge – 2 strips measuring 48½” x 4½” (side border)
- Border 1 short edge – 2 strips measuring 47½” x 4½” (top and bottom border)
Sew the two long side borders on first.

Then sew the top and bottom borders.
Your quilt top should now be complete.


Barbara Dutcher says
Ah, one of my favorites! And, the first one I learned from you. (Or anyone for that matter)
No matter what colors or patterns a person chooses, you can’t go wrong.
You still have the best tutorials I’ve found, and trust me, I’ve watched a LOT of them.
Most people who do these online lessons assume beginners like I was know more than they do.
I knew nothing. I was too embarrassed to attend a class because I figured everyone knew more than I did.
Now, I don’t care. I just ask the quilt shop ladies and they tell me what I need to know.
Alanda Craft says
That’s so nice to hear Barbara. We like knowing that we are helping others learn how to do this amazing craft.
Georgia Dallas Innerarity says
Amazing tutorial thank .u so much
Jane F. says
Thanks for this, I’ve been looking for a pattern for a Layer Cake I bought. The prints are large scale and will be perfect for the centres. I will cut the side strips 3 inches wide and the blocks should finish up 10 inches square.
Kathlyn M. Balza says
Thank you so much for providing PDF instructions – this makes it so much easier than writing all the directions down. Enjoy your videos and patterns. You are my go to site when I need a quick, easy quilt.
Alanda Craft says
Thank you for your lovely comment Kathlyn. 😊
Sharon Miller says
Thank you for the quilt instructions. I’ve just loved your website for years and I’ve made several of your projects. I have all the needed fabric for this quilt so I’m planning on started it this weekend. Also, thank you for sending the emails with your latest tutorials.
Alanda Craft says
Thank you Sharon. I’m so happy to hear the you find the tutorials and the emails helpful. Have fun making your quilt, the Rail Fence quilt is nice and easy to make, and it looks lovely when it’s done. Maybe you would like to share some photos on the website when you have finished it. We love seeing our readers projects. Here is a link in case you are interested /submit-your-project/
Denise Horne says
Can’t believe its this easy. Thanks.
Alanda Craft says
I’m glad you like it, Denise. I also love how quickly and easily this comes together.
Debbie says
Thank you for the tutorials you provide for these lovely quilt patterns. Your instructions are always so clearly written and so easy to understand that I seldom have to refer to the videos—but they are nice just in case🙂.
Alanda Craft says
Thank you for your lovely comment Debbie 😊.