We recently received a haul from Temu and this time we chose more fabric and a few sewing knick knacks. Rather than do another haul video we have decided to use the items to make tutorials and projects for you.
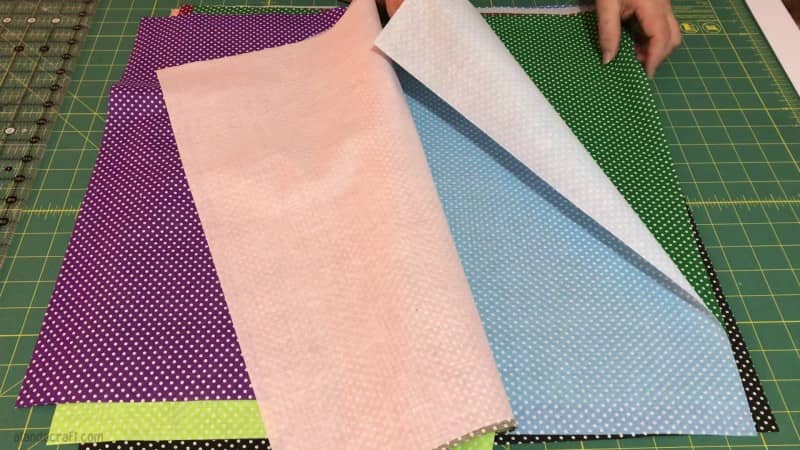
We ordered a particularly nice bundle of fabric to make a quilt, and that will be another project to come, but when we saw this eye catching bundle of polka dot fabric we decided to make this the first quilt.
Watch the video or scroll down for step-by-step instructions
Measurements
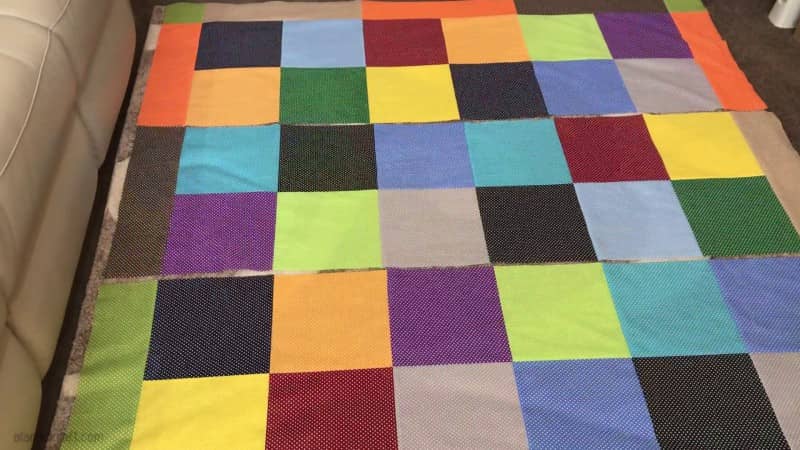
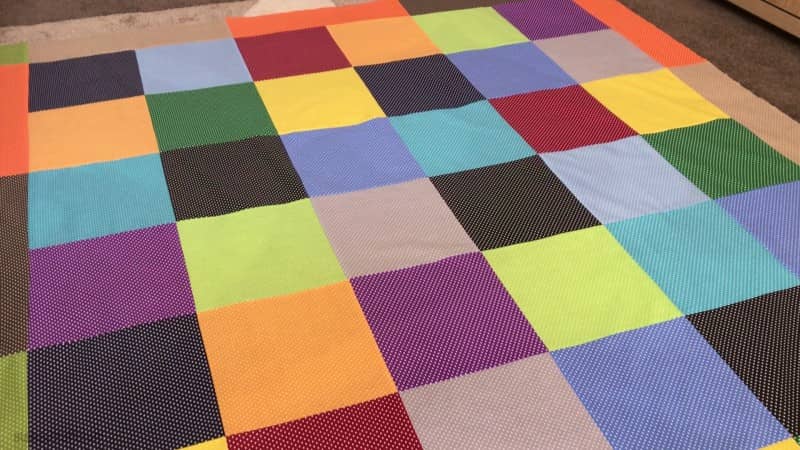
- This quilt top measures 80½” 62½” overall with the border pieces attached.
- The quilt top measures 71½” x 53½” without the border.
If you would like to make a larger quilt you will need to purchase two packs of the squares.
Products Mentioned in this Video
- Temu – 20 piece Pack of Polka Dot Cotton
- Temu – Magnetic Seam Guide Magnet
The squares in the bundle measure 19¾” (50cm x 50cm)
We decided to make a 4 patch patchwork quilt with the squares. They are nice and big so the quilt comes together very quickly. We have done videos on how to make this 4 patch block previously, so we thought it was time to make a quilt using this method, just to show you how simple it is.
Method:
I used 12 squares to make the centre of the quilt, so choose 12 squares.
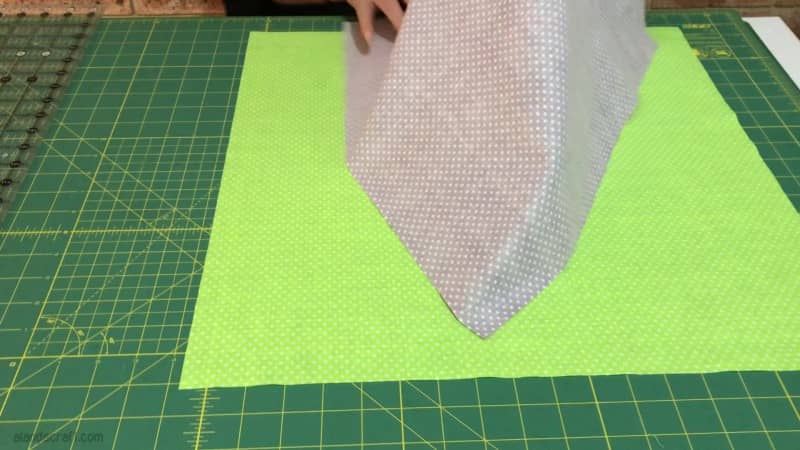
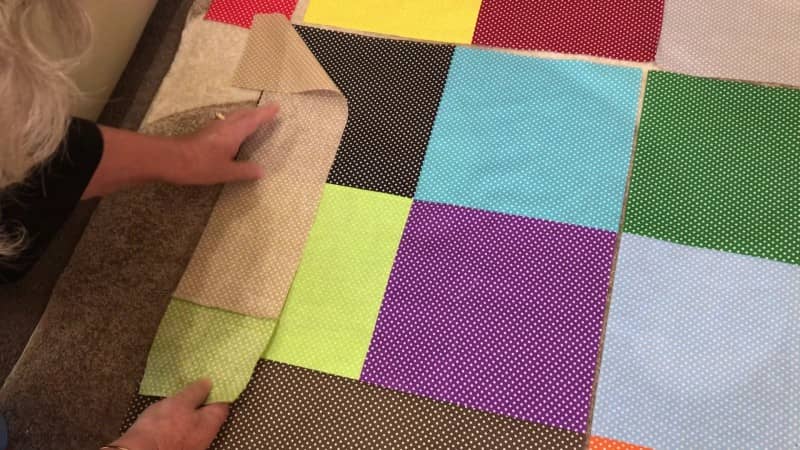
Trim the squares to 19″ x 19″
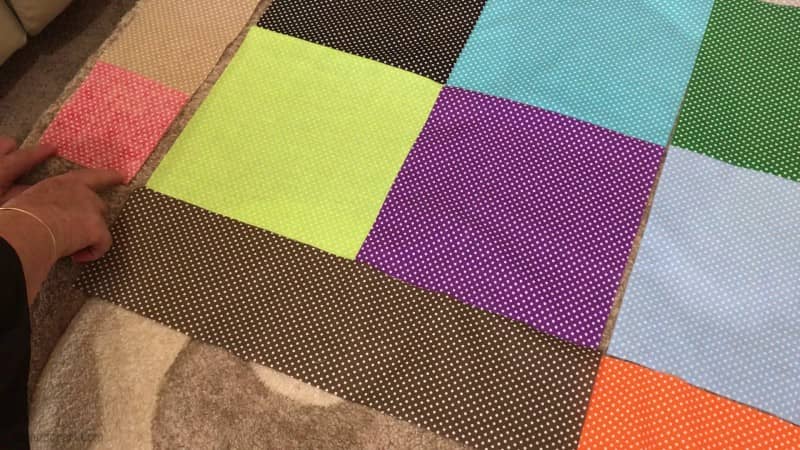
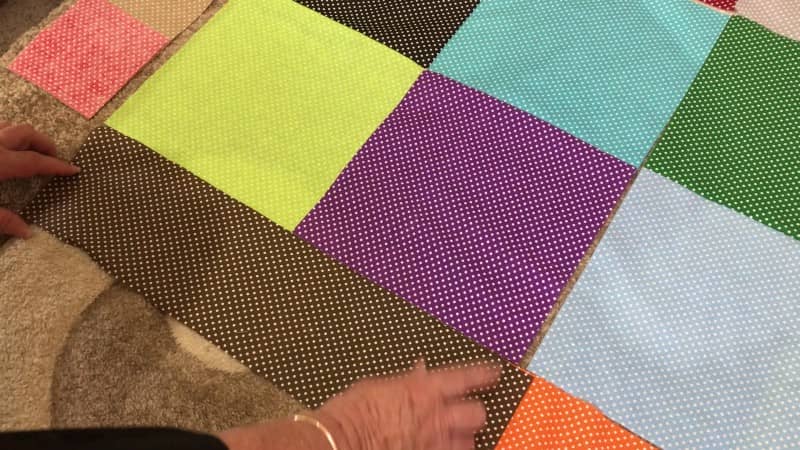
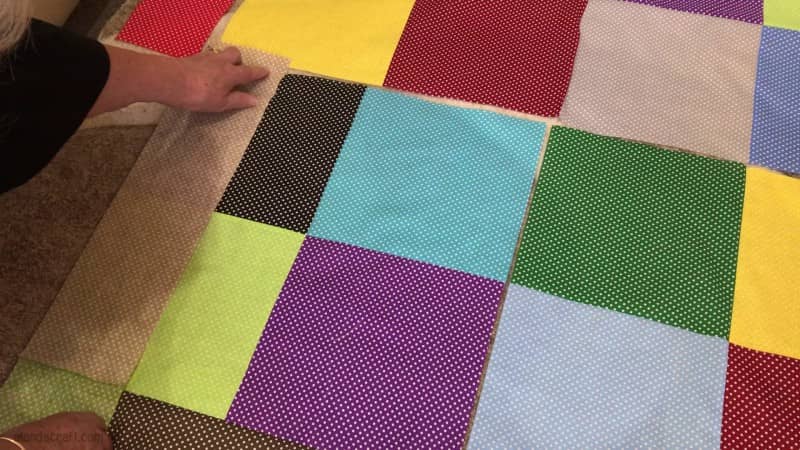
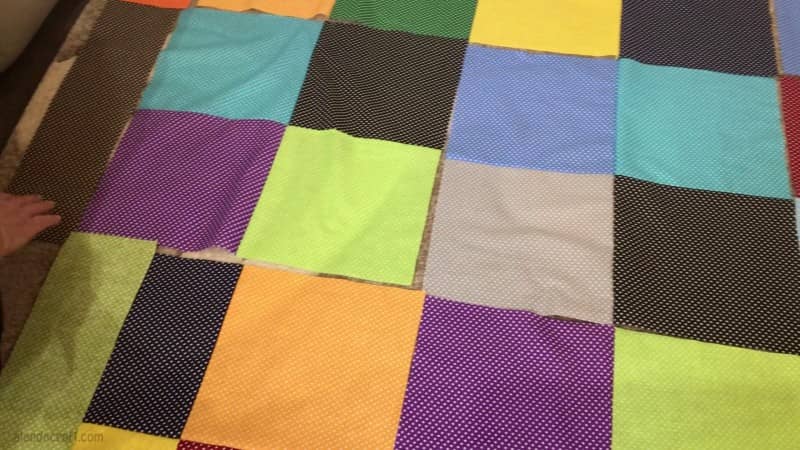
I laid the squares out to get an idea of how I wanted them to look in the final quilt.
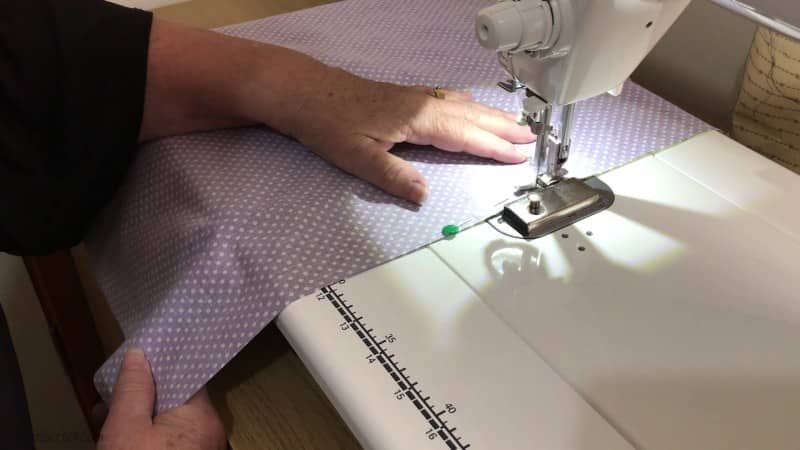
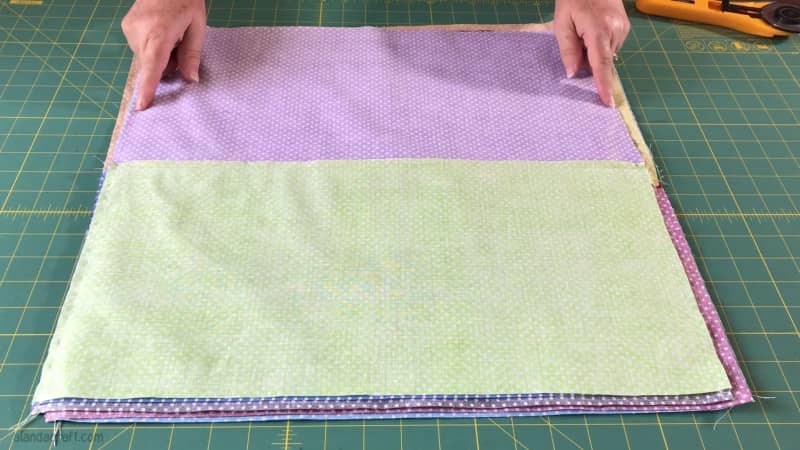
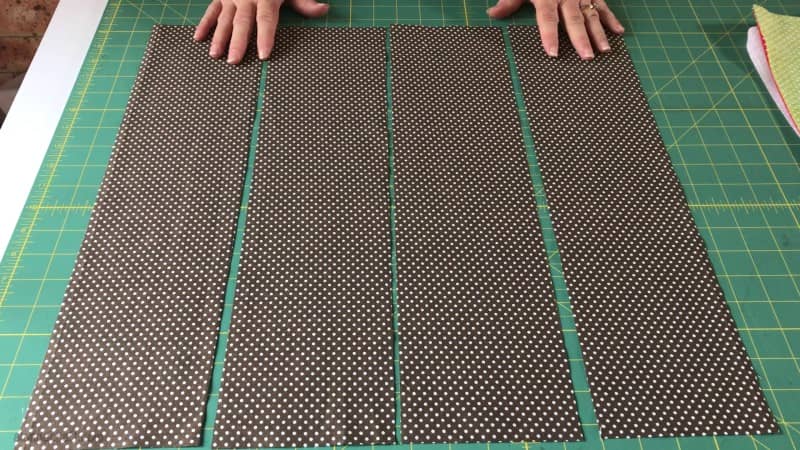
- Take two contrasting squares and lay them one on top of the other with right sides facing.
- Sew down either side with a ¼” seam
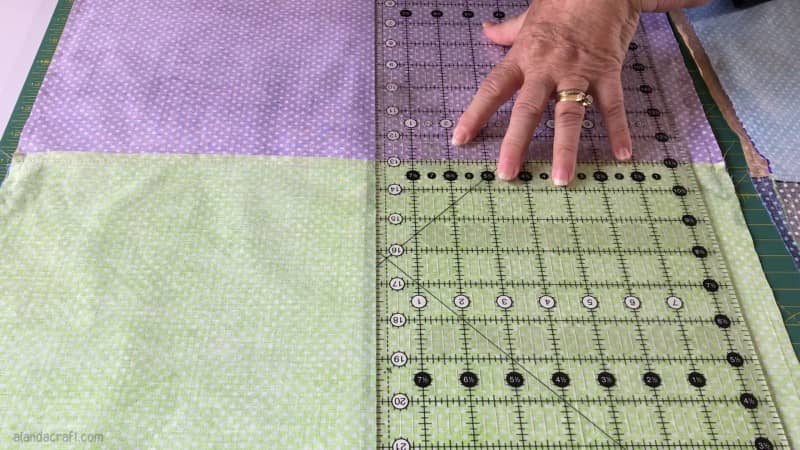
- Line up one edge along the 0 line on the mat and measure across to 9½”.
- This is the centre of the block – Cut
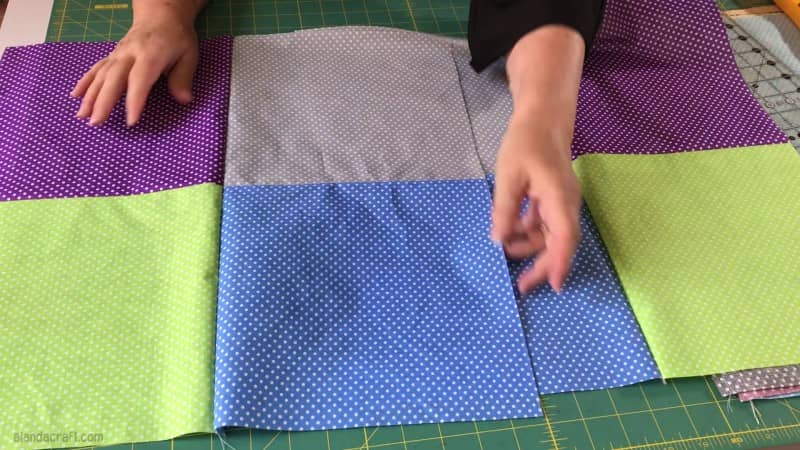
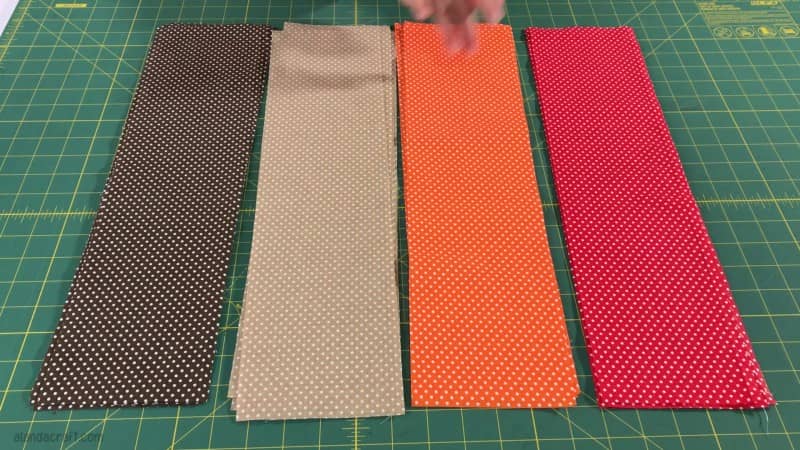
Now you can either take the same two coloured blocks and place them one on top of the other to get the effect shown below.

or you can select random blocks to put together. For our quilt we decided to go with the random look.
Once you have decided on how you want to have your blocks:
- Place one block on top of the other.
- Make sure that the seam you sewed previously runs horizontally before you sew

- Sew down either side with a ¼” seam.
Cut through the centre.
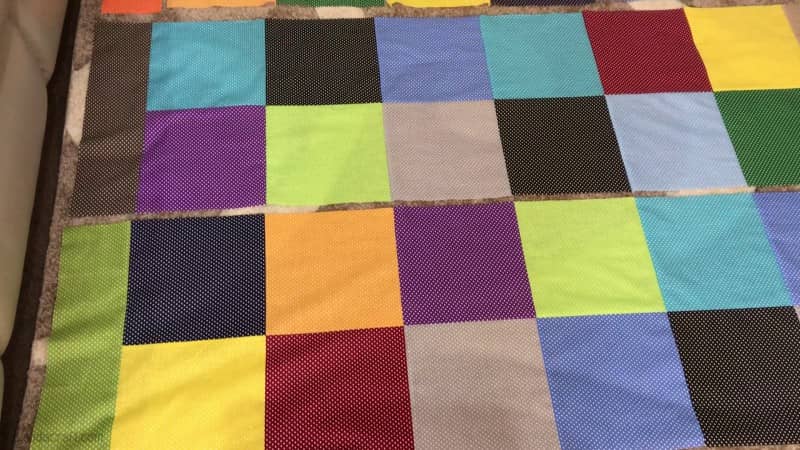
You now have 2 squares that form a 4 patch quilt block.
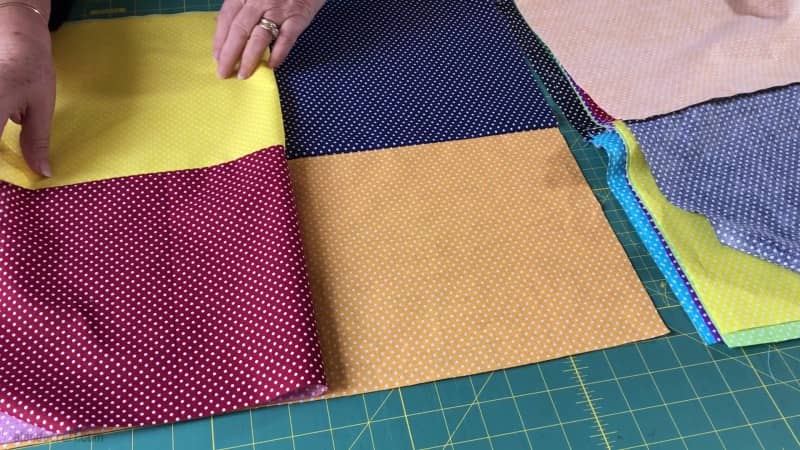
Continue with the other blocks until you have the number of blocks you need for your quilt. I am just using 12 squares of fabric for the centre piece.
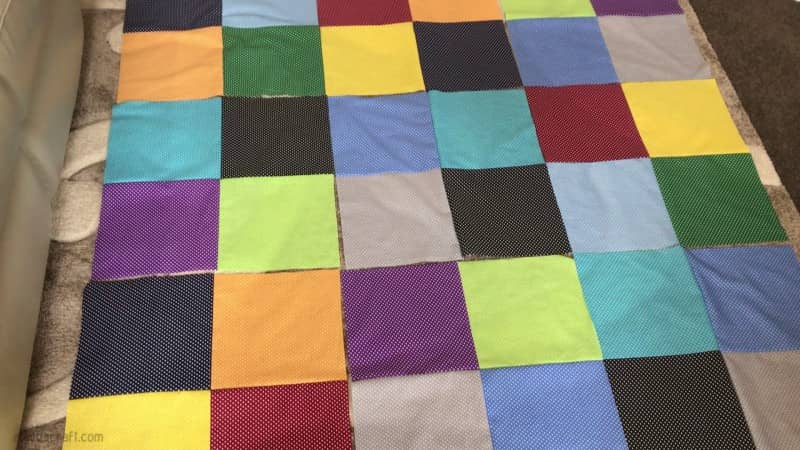
Lay the blocks out how you want the finished quilt to look, and that is as far as we are going to go at the moment with the centre piece.
On to the Borders
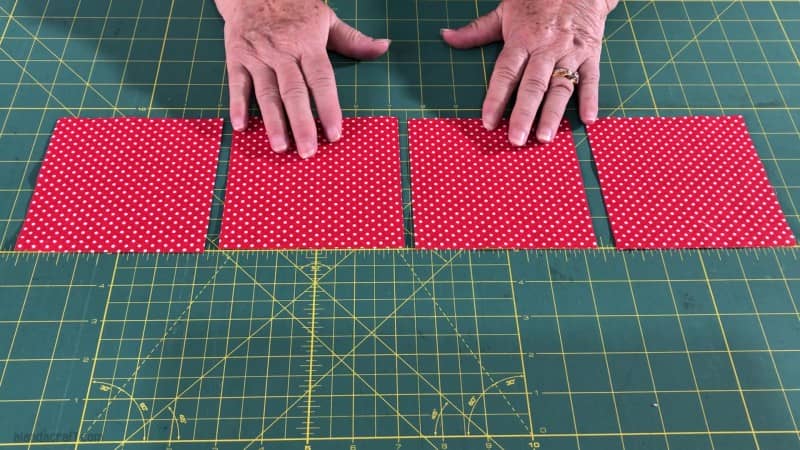
From the remaining squares of fabric, choose 4.
Cut them in half and then cut them in half again. You will end up with 4 pieces measuring 4¾” from each square..
We need 14 pieces for the border and 1 piece for the corner stones.
Cut the strip for the cornerstones into squares measuring 4¾”.
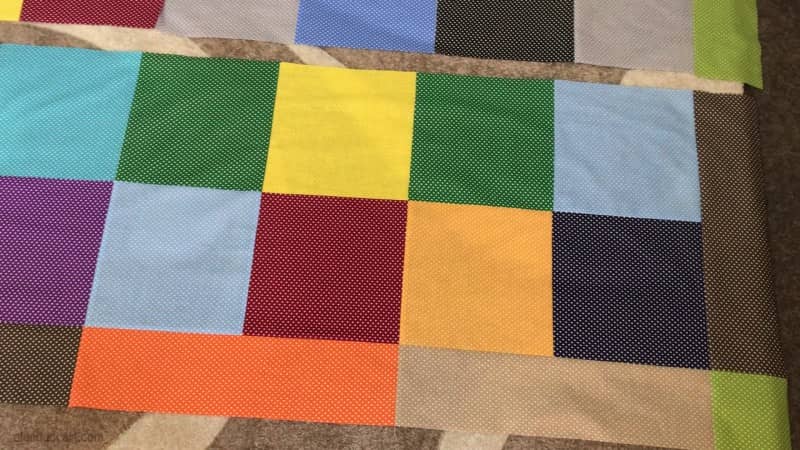
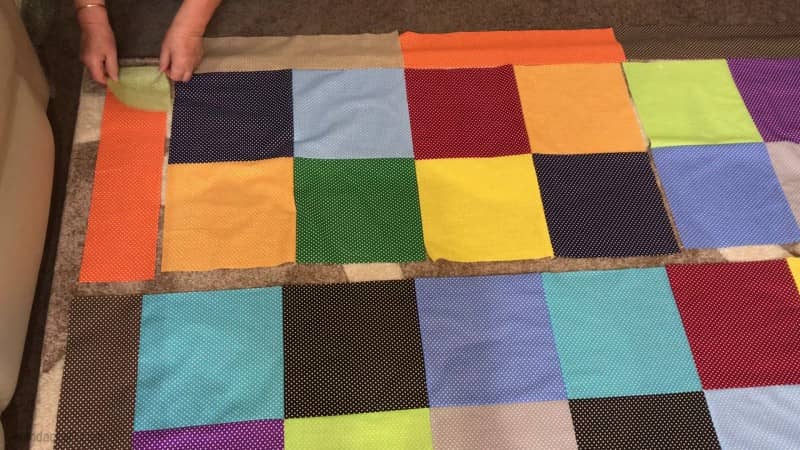
Lay the border pieces out around the quilt blocks.
You will notice that the border pieces are longer than the 4 patch squares so the will need to be trimmed back, and I will show you how I did this further on.
I find it’s easier to work in rows when I am constructing a quilt.
So the first thing we are going to do is place the cornerstone piece over the border piece with the right sides facing, and sew them together with a ¼” seam.
Now working along the row, take the next border piece and lay it, right sides together over the block.
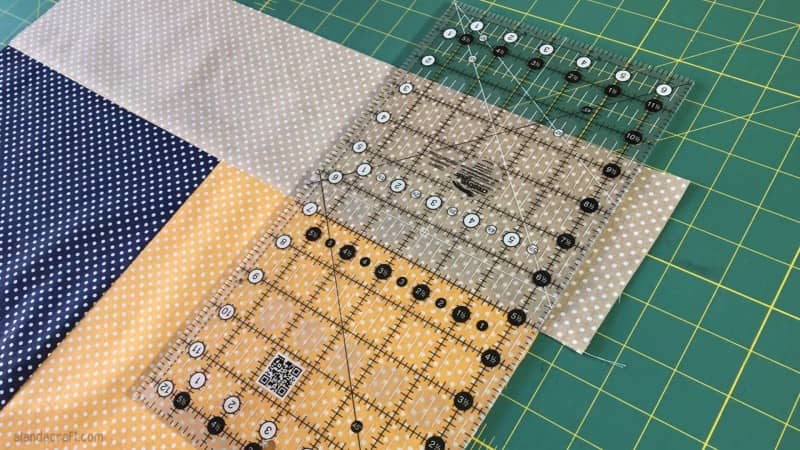
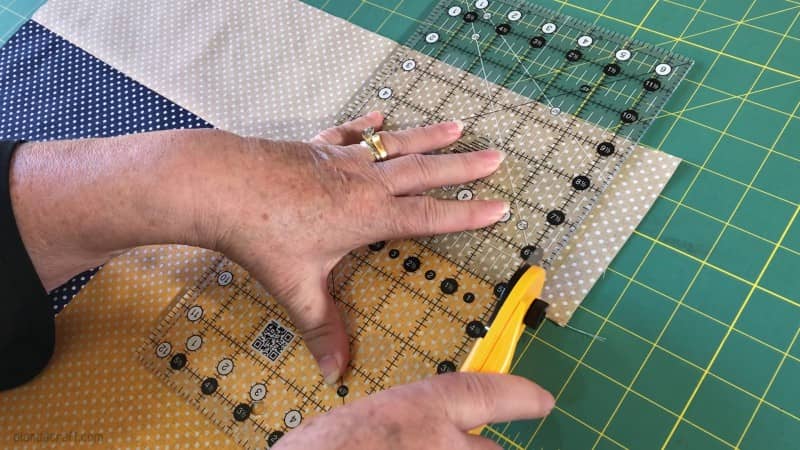
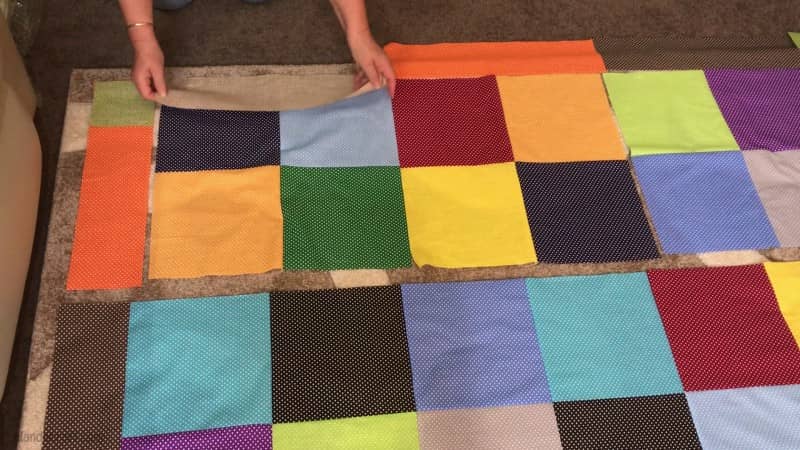
You will notice that the border piece is longer. So we need to trim it to match the block.
You can do this in two ways. Either measure the block and cut the border piece to the same size and then attach it or you can do what I have done and carefully line up one side and the bottom edges and sew the border piece to the square and then trim it.
To do this I line up the ruler along the edge of the square and have one line running along the seam line. Once everything is lined up cut the excess off with your rotary cutter. If you don’t have a rotary cutter then draw a line with chalk or a friXion pen and cut the excess off with your scissors.
Continue adding border pieces to the squares, and trimming them, along the row. When you get to the end add the cornerstone to the border piece.
You can just keep moving up the rows and adding the border pieces but I’m going to complete the first row before moving on.
To assemble the row, just take the border piece with the cornerstone attached and pin it to the block.
Again you will need to trim the border piece as we did before. Then go to the end of the row and repeat the process with the other border piece that has a cornerstone attached.
Once you have sewn those pieces together, take the first set of squares with the border piece attached and lay it over the next set of squares. Line them up with right sides facing and pin them together. Sew with ¼” seam.
Continue along the row until it is completely sewn together. Take your time as you want the centres of the squares to match so that when you lay the quilt out, all the centres all line up and look neat and tidy.
Now we are going to move up to the next row. We don’t have a corner stone for this row so we just attach the border and trim it back as we did before. Do this on both the first and the last block. Then sew the row together as you did in the previous step.
Once we have sewn the blocks together for this row we will do exactly the same with the next row.
Now that we have finished the middle rows we sew the last row in the same manner as the row we started with as we now have cornerstones again.
Sew the cornerstone to the border pieces with a ¼” seam.
Attach the border pieces to each of the squares.
Lay the border pieces over the squares and sew in place with a ¼” seam. Trim the borders to match the squares. And once again add the cornerstone to the border to finish off the row.
Sew the blocks with the borders attached together to complete the row.
Lay the rows out, and now we are going to sew the rows together.
Take the first row nearest you and place it right sides together over the next row up. Pin in place paying particular attention to where the squares meet. Remember we want those seams to be nicely joined.
Continue until all the rows are sewn together.
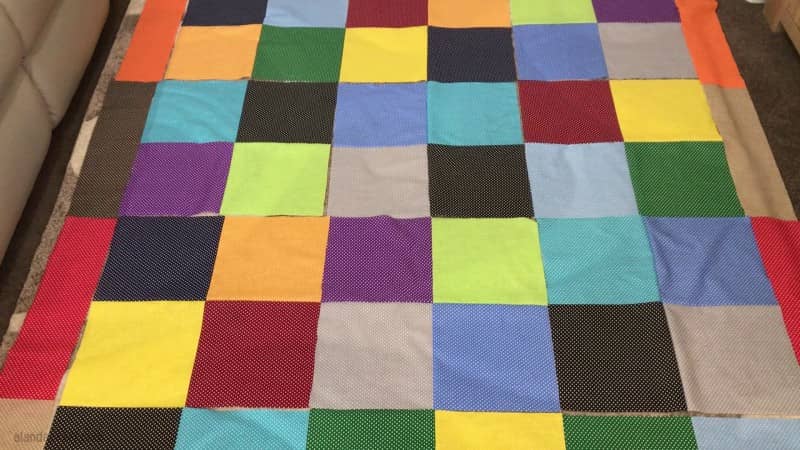
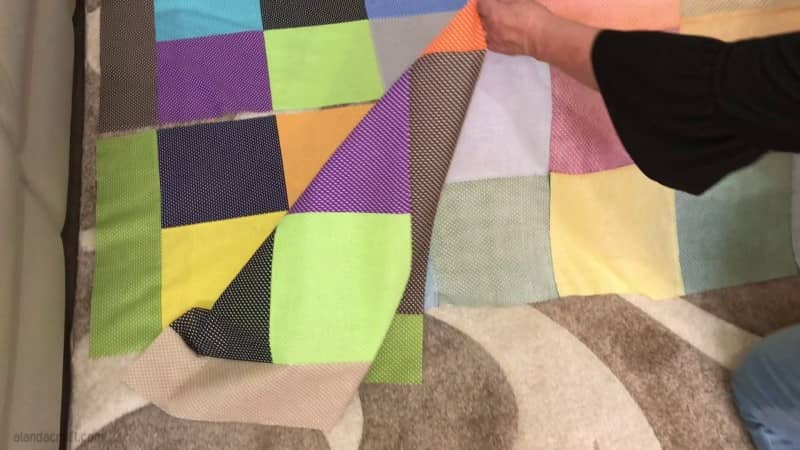
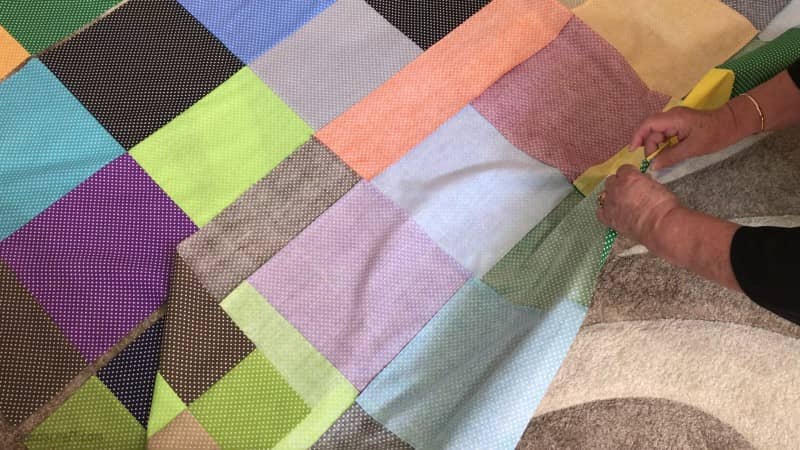
Your quilt top is finished. Now you just need to add batting and backing. Quilt it as you like.


Susana Lopez says
Wonderful tip. Thank U
Alanda Craft says
Thank you Susana 😃. Happy to hear you found it useful.
Connie Lowe says
Your videos are wonderful, so helpful. Thank you.
Alanda Craft says
Thank you for your lovely comment Connie 😊
Deb says
Your site is the first place I go to for quilt tutorials that are simple, pretty, and clearly written or demonstrated. Thank you .
Alanda Craft says
That is so lovely to hear Deb 😊. Thank you.