Here we are again, it’s almost Christmas and if you are like me you will have left some things until the last minute. I really do start out the year with the best of intentions, but this year just flew by. I still can’t believe we are here in December.
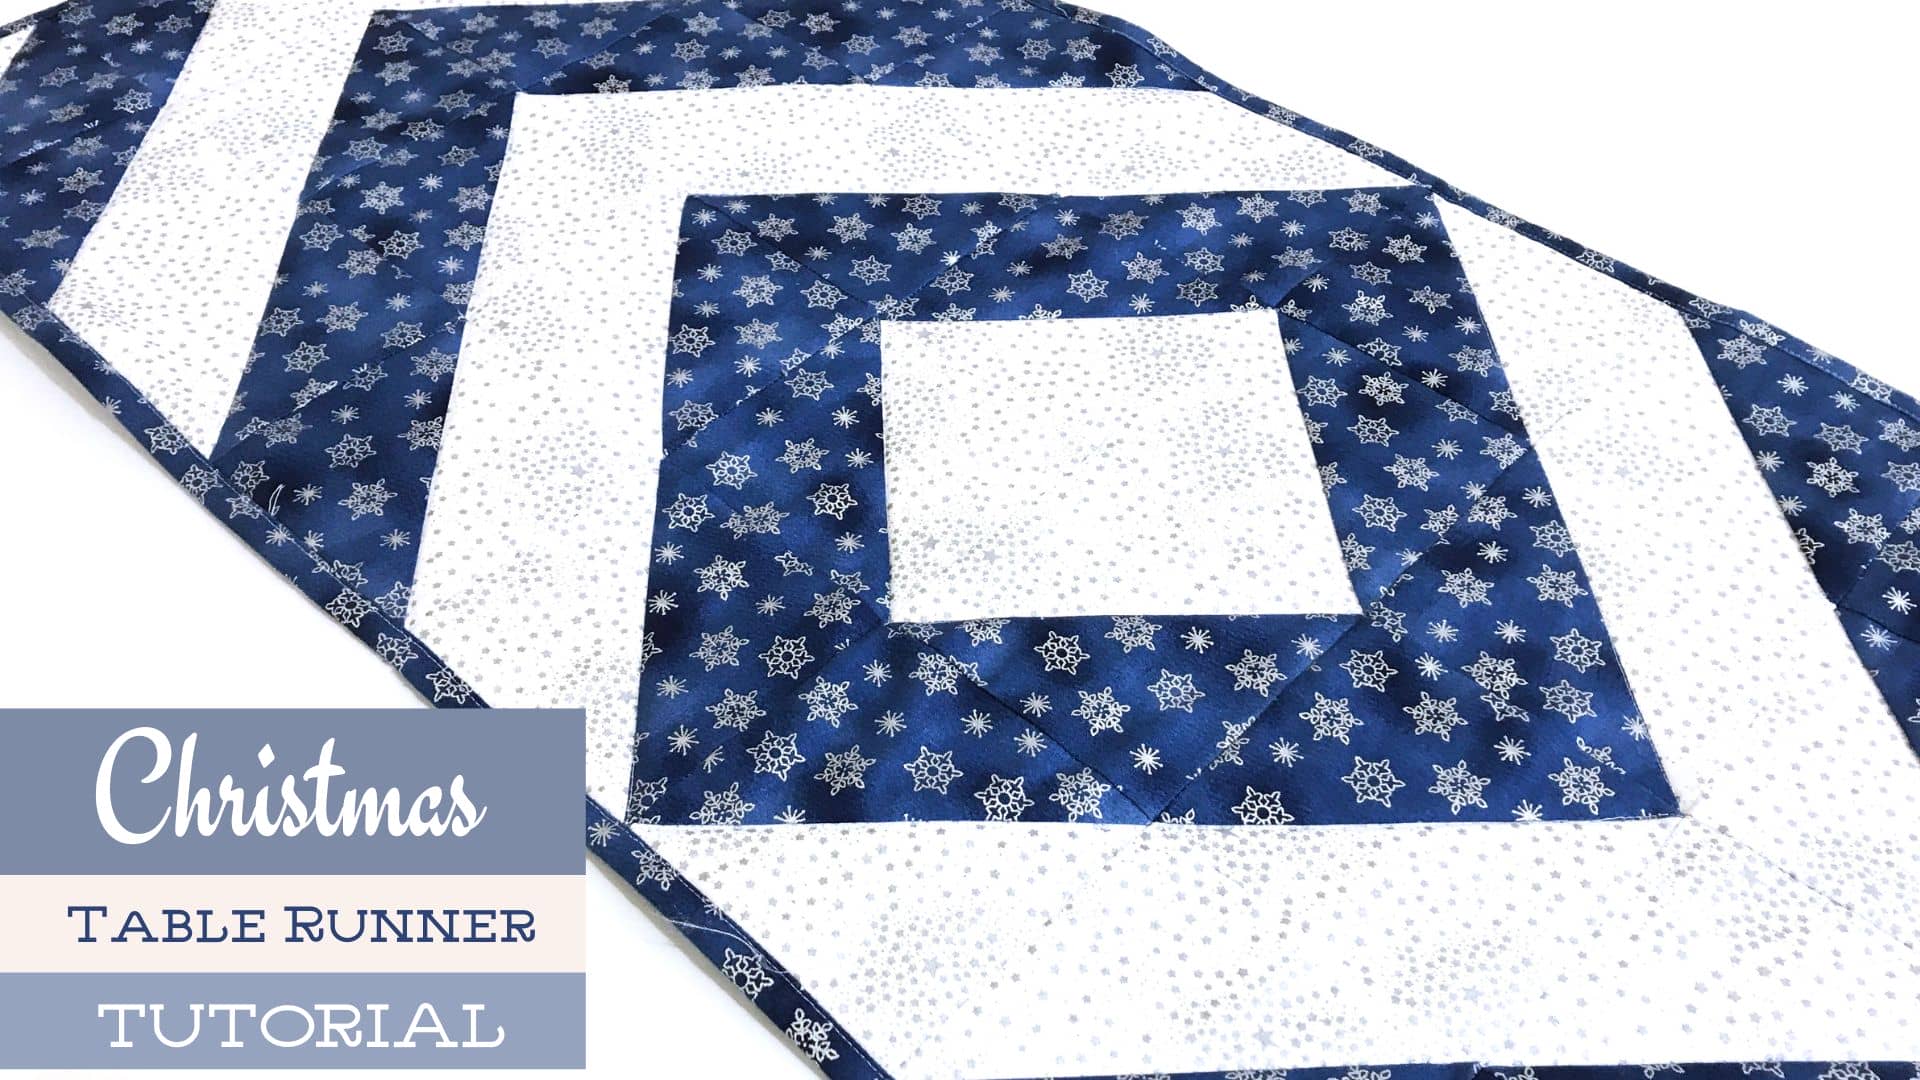
So it’s time to make our annual Christmas table runner and this year is is super simple as it’s made entirely from half square triangles. I love HST blocks, they are so versatile and you can create so many different designs just by flipping them around.
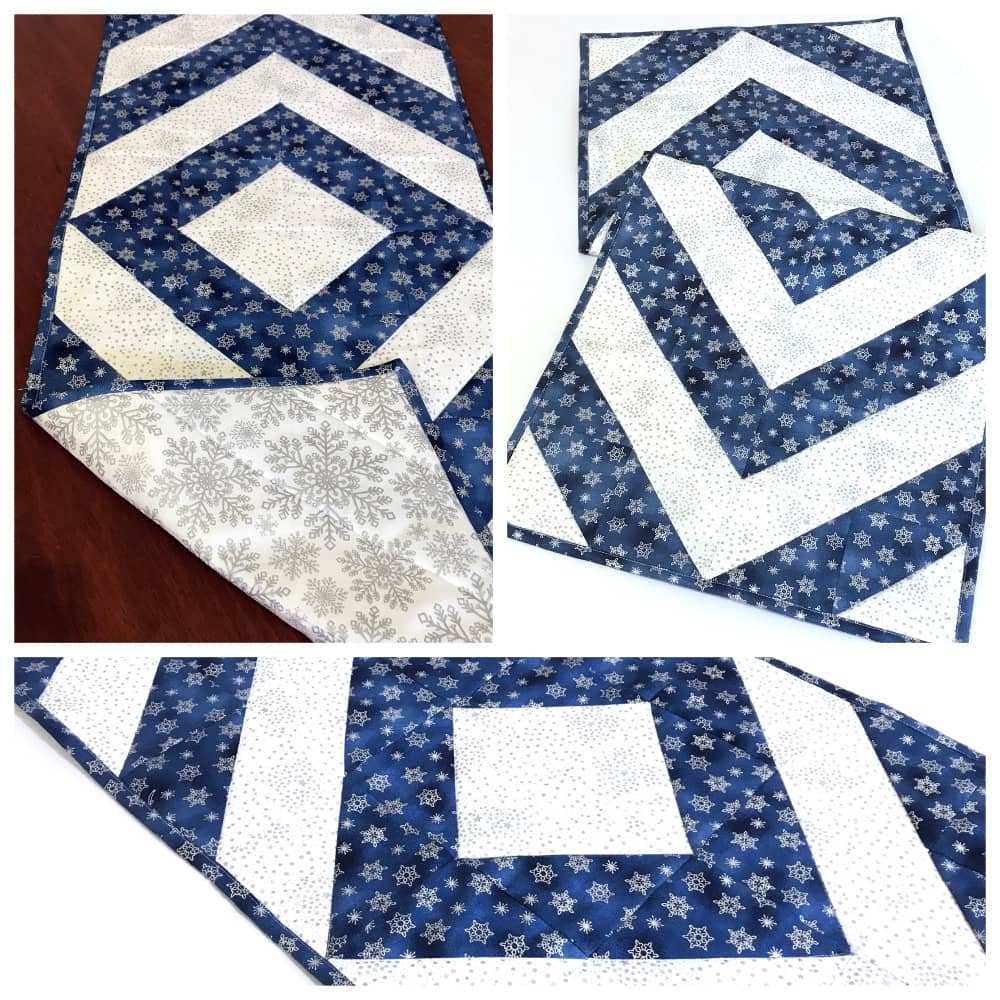
This is a diamond styled table runner.
The table runner measures approx 41″ x 16 1/2″.
What You Need
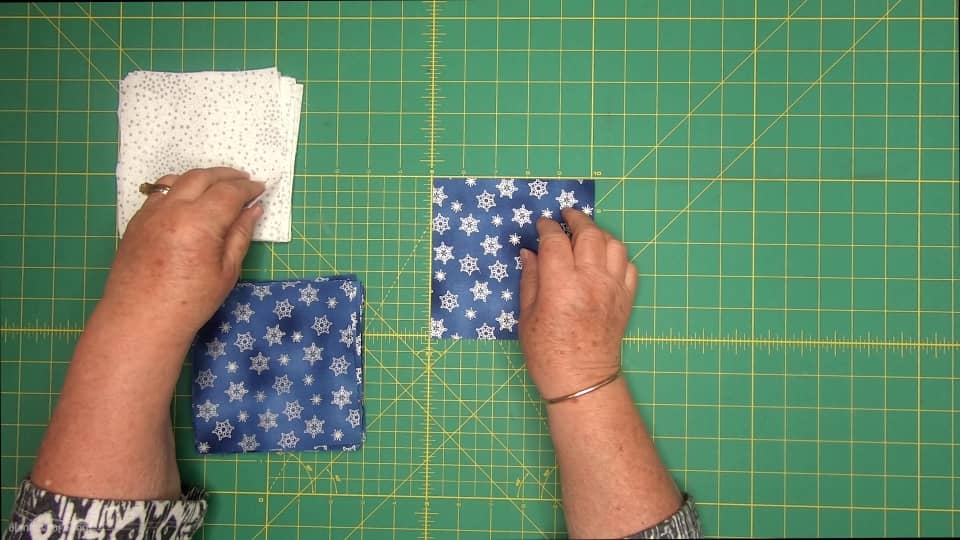
- Cut twenty 5″ squares in contrast 1 – I used white
- Cut twenty 5″ squares in contrast 2 – I used blue
- A piece of batting measuring approx 44″ x 18″
- A piece of backing – half a yard
Watch the video tutorial below or scroll down for written instructions
(Can’t see the video? You may have an ad blocker installed.)
Method
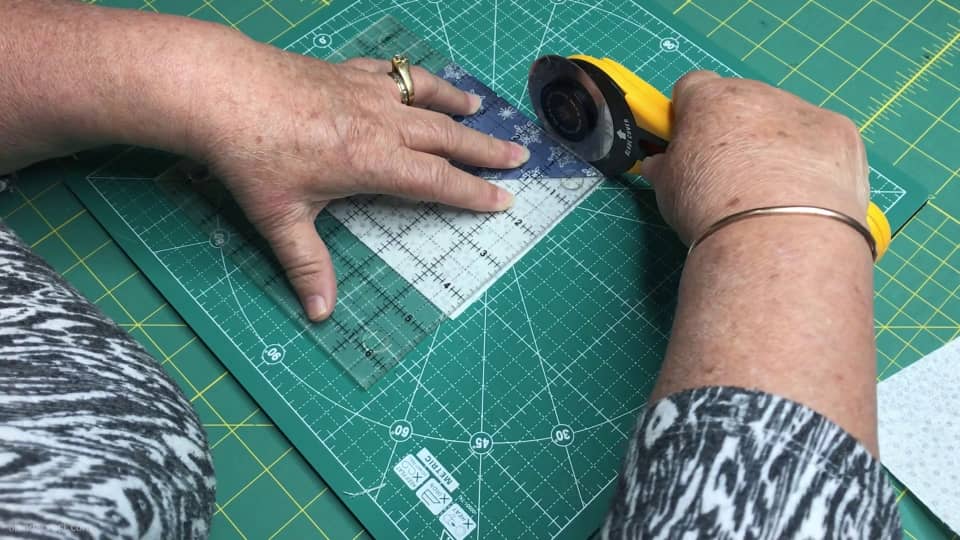
We’ll start by making the half square triangles.
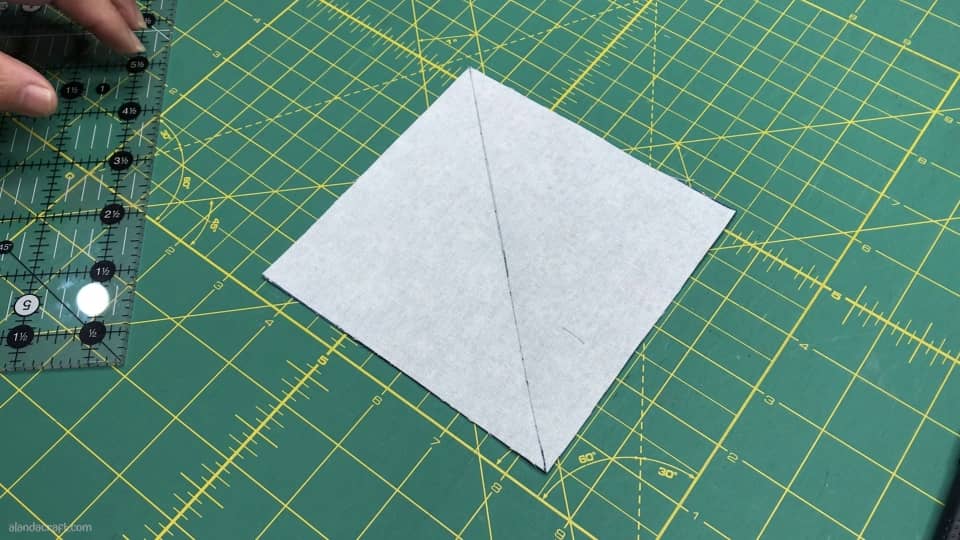
- Place one piece of blue on top of one piece of white, with right sides together.
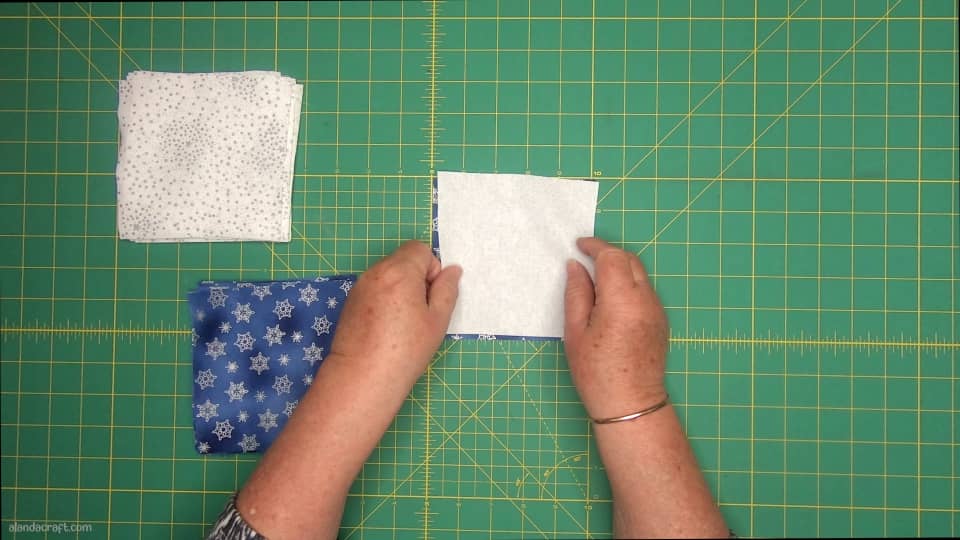
- Draw a line from one corner to the other on the diagonal.
NOTE
Use chalk, removable fabric pen or a frixion pen.
Please DO NOT use a ball point.
Please DO NOT use a ball point.
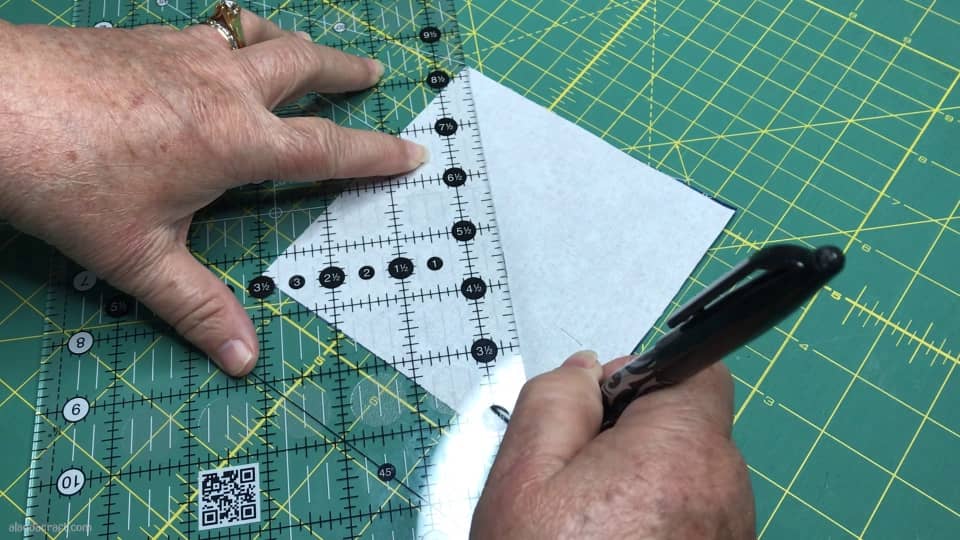
- Sew a ¼” on either side of the line that you drew.

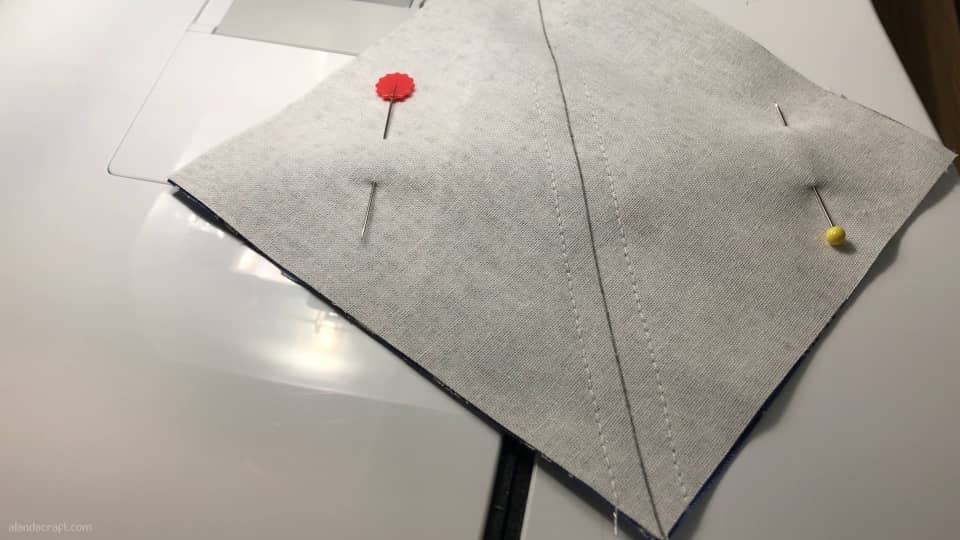
- Slice along the drawn line.
- You will now have 2 half square triangles.
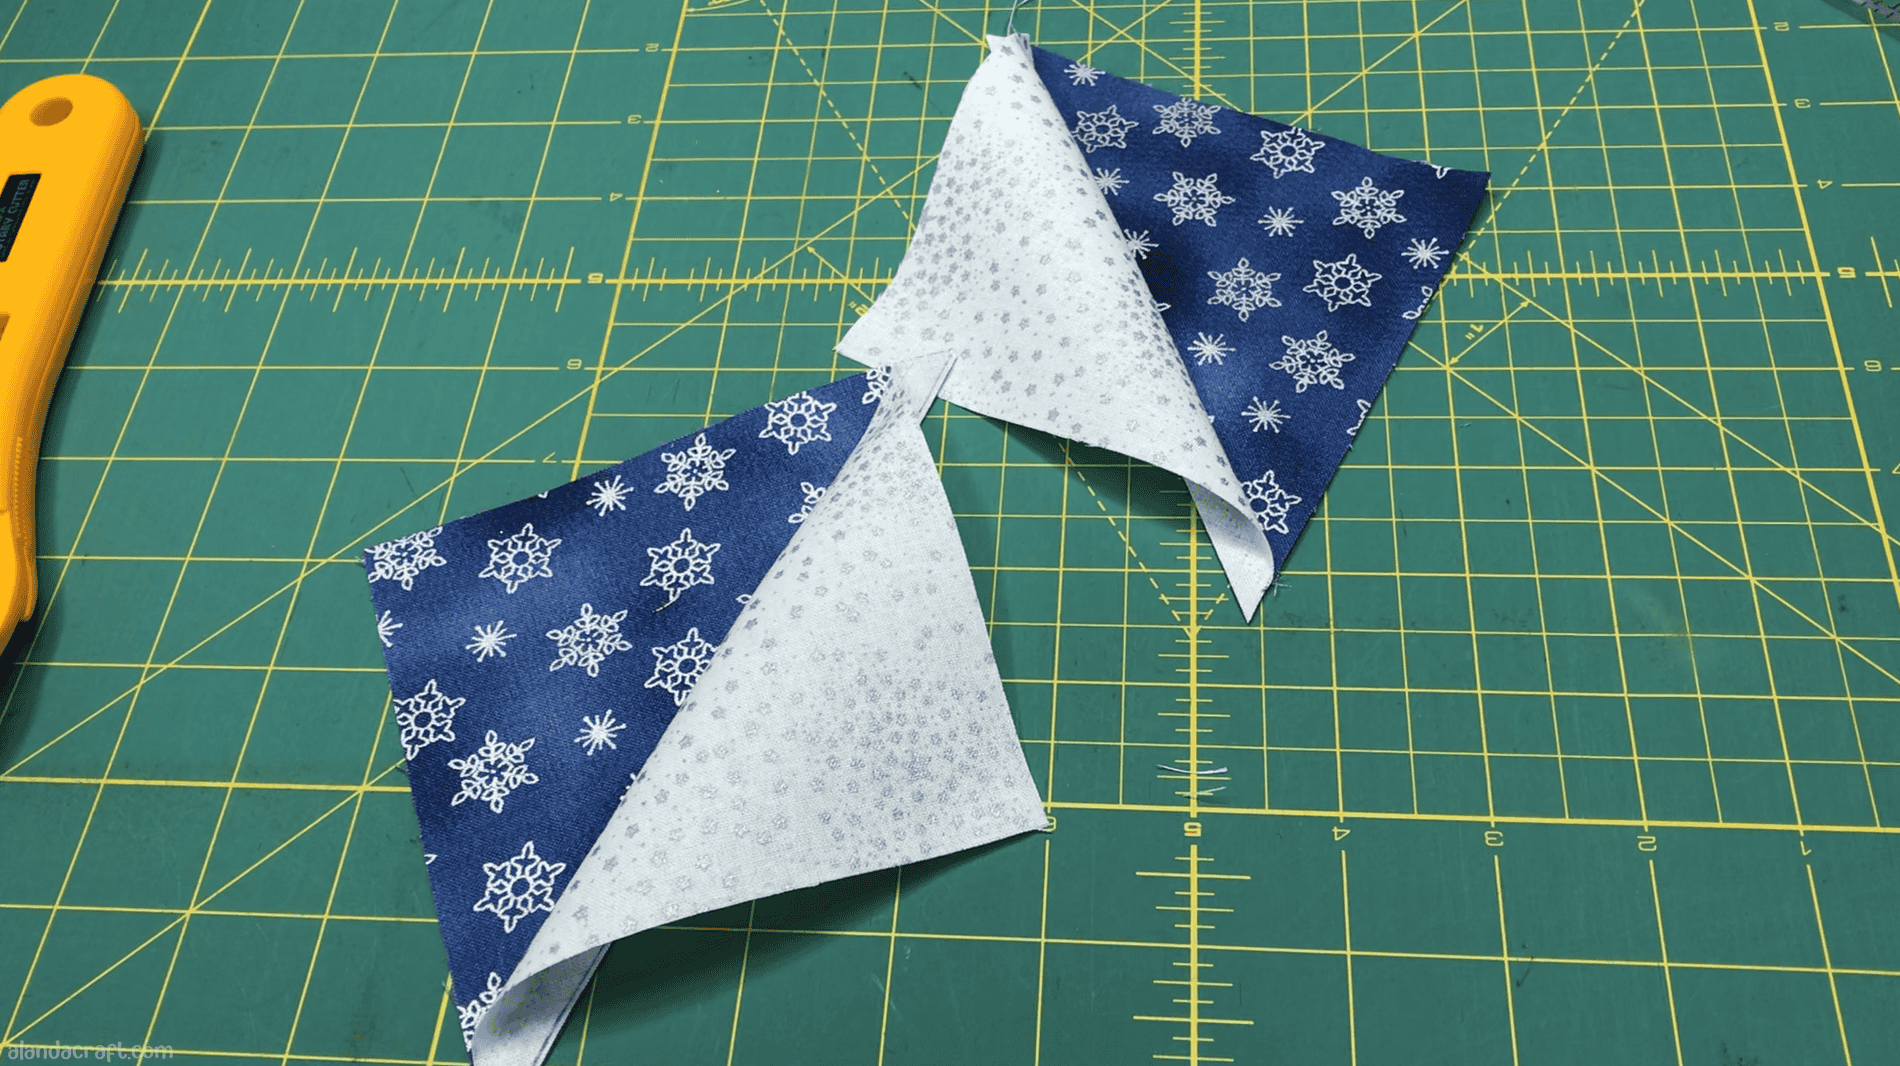
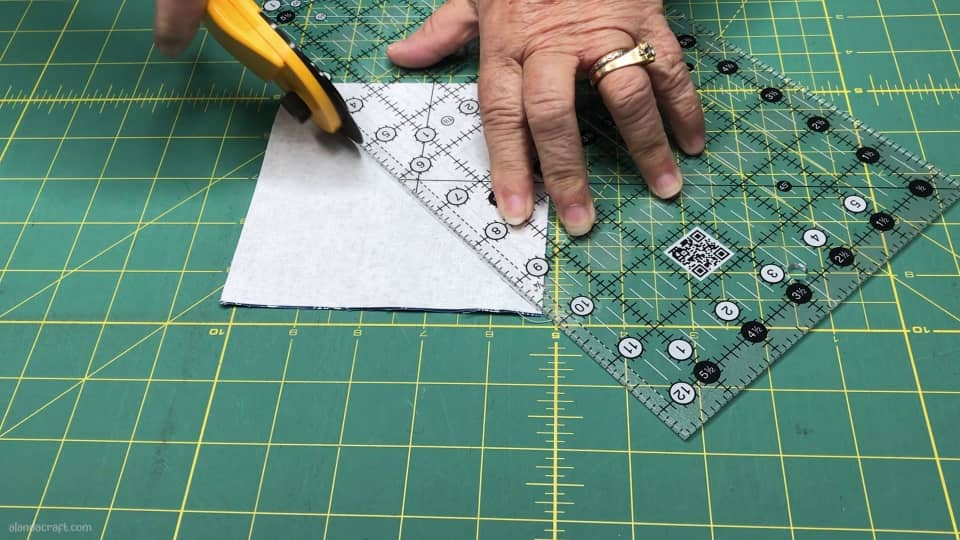
- Trim your HST’s to 4½”. Click here if you need help on trimming half-square triangles.
- Lay out the squares as shown in the image below.
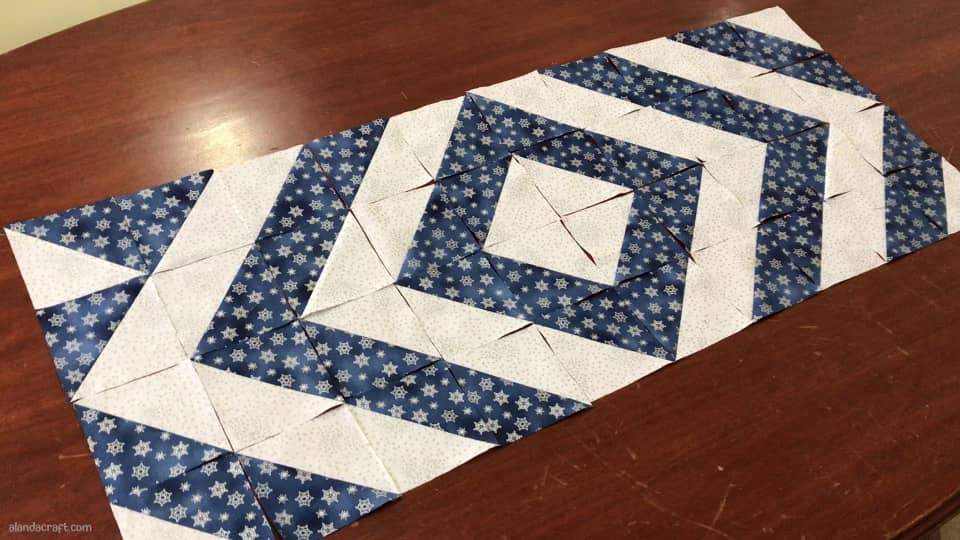
- We are now ready to sew the blocks together for form the quilt top. If you need help on how to do this, watch the video above for the step-by-step process.
- Once you have sewn the table runner top together, you can create your quilt sandwich.
- They the backing fabric face down, cover with the batting piece and then with the table runner top.
- I like to use 505 fabric adhesive spray to hold the three layers together but you can use pins (or both like I do).

- Quilt as desired. I am just going to stitch in the ditch. (Watch the video above for the exact quilting I used.) If you are going to do heavy quilting you will want to add a couple of inches to your batting and backing.
- Add your binding. I am not going to go through that here as we do have a step by step video and written instructions on how to add a binding.
And here we have the completed table runner.


Char Rathman says
THANK YOU and a very merry Christmas and and wonderful New Year
Alanda Craft says
You are most welcome. And a very merry Christmas to you Char 😊.
carol says
so festive and pretty
Alanda Craft says
Thank you Carol 😊
Audrey Bevan says
Thank you so much for all the brilliant topics you’ve covered. The instructions are brilliant….I recently made several of your origami bags for some teenaged children of a friend and they were ecstatic! I just have time to make this hst table runner before the pre-Christmas tidy-up….
I wish everyone at Alanda Craft, and all your subscribers throughout the world, a very peaceful Christmas time and a happy, healthy New Year in 2023 xxx
Alanda Craft says
Thank you for the lovely comment Audrey and best wishes to you for Christmas and the New Year.
Jill Davies says
Thank you such a fun and easy-to-complete Christmas project. Merry Christmas to you all.
Alanda Craft says
Thank you Jill and Merry Christmas to you too!!
M says
This looks great, definitely going to try. What are the finished measurements? First timer quilting pieces so would I just add more 5” Squares to make larger?
Alanda Craft says
The table runner measures approx 41″ x 16 1/2″. Yes you are correct, you would need to keep adding 5″ squares to make it larger.