
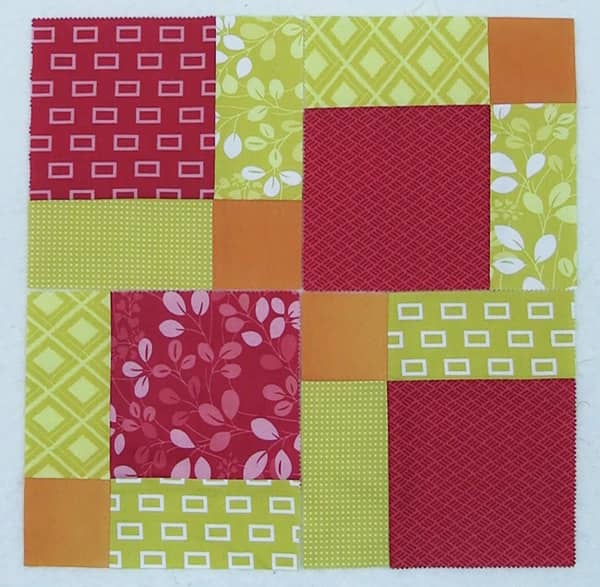
The Disappearing 9 Patch Quilt Block is another super easy quilt block tutorial. This one is so easy and it looks fabulous. Once you have made your cuts you can turn the squares around to form a number of awesome looking finishes. We used squares from the Moda ‘Simply Colorful’ range to make this square and I love the colors in this pack.
Watch the video below or scroll down for the written instructions.
What You Need:
- 9 x 5″ Charm Squares or you can cut your own 5″ squares from your stash.

TOOLS USED IN THIS TUTORIAL
You can check the latest prices at Amazon by clicking on the links below:
- Olfa 24″ x 36″ double-sided healing mat
- Quilters slidelock
- Olfa 60mm rotary cutter
- Oliso Iron
- Gutermann Sew All thread
Method:
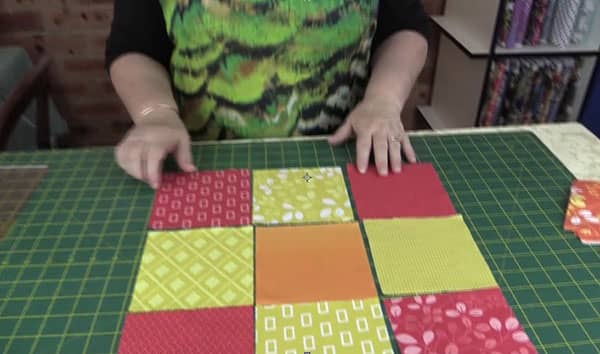
- Lay your 9 squares out in 3 rows of 3 squares. Move them around until you get the effect you want.
- Sew the three squares in the first row together – lay the first square over the second square, right sides together, and sew with a ¼” seam.
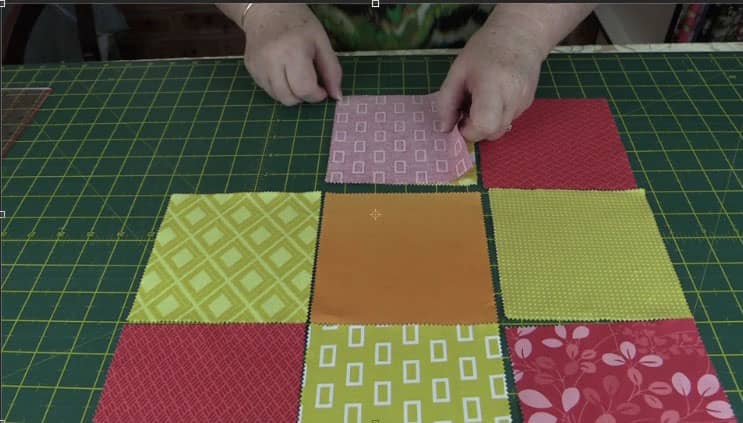
- Now place the third square over the middle square in that row, right sides together and join with a ¼” seam.
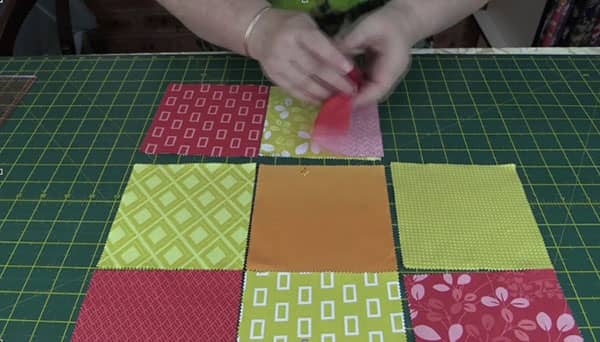
- Do the same with all three rows.
- Press the seams in row 1 in one direction.
- Press the seams in row two in the opposite direction
- Press the seams in the third row in the same direction as row 1.

- Join the rows together. Lay the first row of 3 squares over the middle row of three squares, right sides together, and join with a ¼” seam.
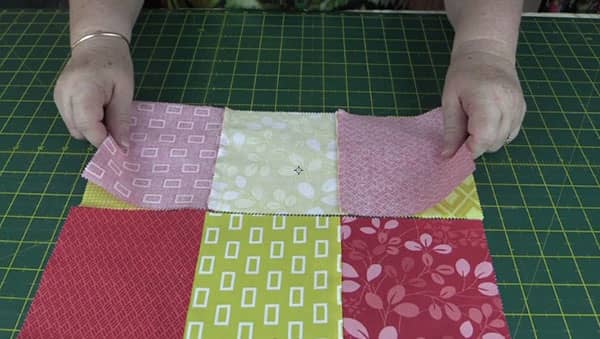
- Then join the two rows you have just sewn, to the bottom row, right sides together, and join with a ¼” seam.
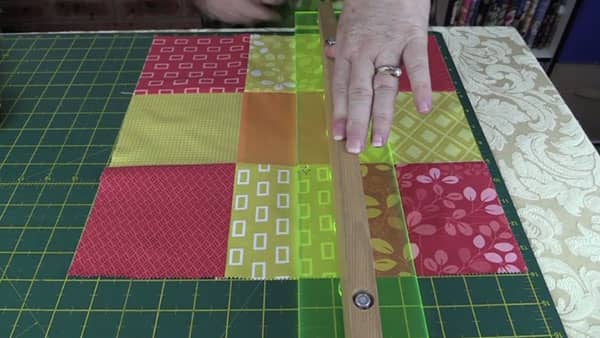
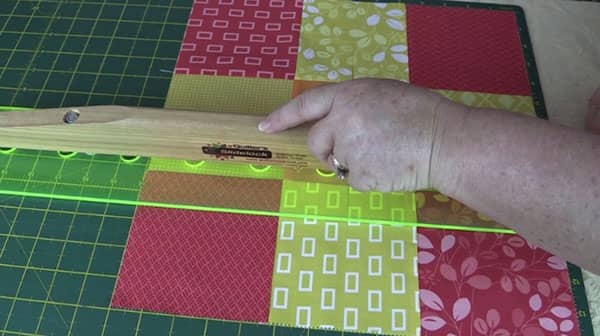
- Once you have joined all the rows to form a 9 x 9 square, it’s time to make your cuts.
- Lay the square on your mat and find the half way point. My square measured 14″ x 14″ so I needed to cut the square in half at the 7″ point on both sides.
You now have 4 squares that you can arrange how you like.
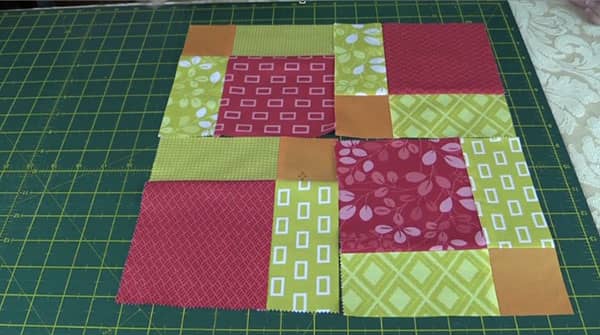
Once you have decided on the pattern you like, sew the top two rows together, then the bottom two rows together in the manner explained earlier above.
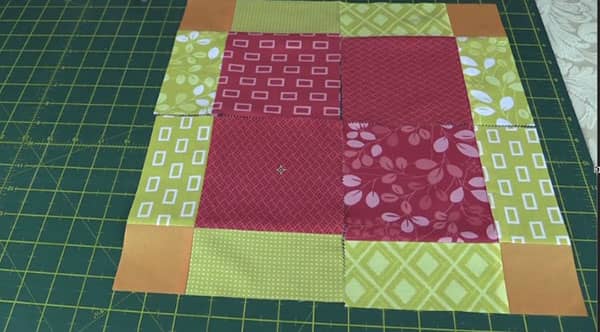
Join the two rows together and your block is finished. Quick, simple and really lovely.
We found that a lot of fussy patterned squares don’t work quite as well as a mix of light and dark, fairly plain and only a couple of fussy patterns.
You can check out the video tutorial below.


Vivien says
Thank you for such clear instructions with your tutorials. I’m so inspired to keep sewing after watching your demonstrations
Alanda says
Thank you so much for your lovely comment Vivien.
Lorraine Staniforth. says
Thank you , how would you quilt the blocks please
Alanda says
In this tutorial we are really only showing you how to make the block. You may like to add sashing between the blocks although they will form a nice pattern simply joined together. You could then simply ditch stitch around the blocks and borders or even do some straight line stitching over the block.
marilynne davis says
Thank you
very informative!
Kathy Annis says
Thank you thank you thank you now I can move on with disappearing nine patch, as I understand much more now!! Great tutorial
Alanda Craft says
Glad we could help Kathy.
Adele says
What size squares should I start with to make a 12” finished disappearing 9 patch block?
Momoflts says
Thank you, very clear instructions. What is the neon colored ruler called, that you are using?
Alanda Craft says
This is the Quilters Slidelock. Here is a link to our review where you can read all about it. /quilting-tools-we-use/
Linda Nicholson says
Please can you tell me where you got your ruler with the Handel. I so need that.
Thank you.
Alanda Craft says
This is a Slidelock ruler. You can read more about it at the link below, although I think the company may have shut down because their website is no longer working.
/2014/08/16/quilters-slidelock-demonstration/
Barb Werner says
Instructions are so clear!
Alanda Craft says
Thank you Barb 😊