If you have a special occasion coming up here is an easy to make Signature Quilt that will really be a hit with the recipient.
The white or cream strips give ample room for guests to write a message of congratulations, bon voyage or whatever else they wish to write.

The quilt in the background is one I made for my granddaughter Ishta, when she and Evan got married. I used a woodland themed charm pack with owls, as Ishta loves owls. I unfortunately didn’t take a photo when I first made it and so I don’t have a close up without the guests signatures. I also made one of these quilts for my grandson Sebastian and Lucia when they were married. I have added the photos below the post.
You will really be surprised at how easy this is to make and you should get it done in a day or less.
Watch the video tutorial below or scroll down for the written instructions
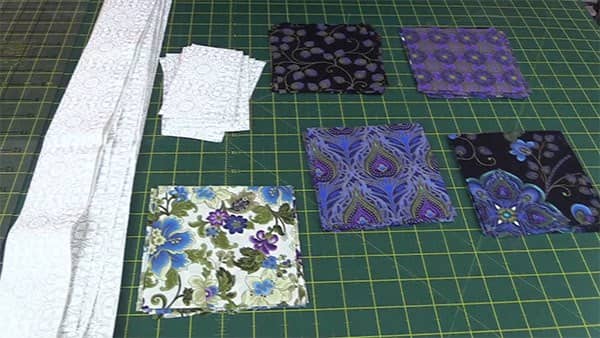
The signature quilt in the video is made from 5″ squares with 2½” strips in between and around the edges. We used our June Taylor Shape Cut Pro to cut out our squares, it makes it so easy to cut the squares and the strips exactly to size. You can read our review on the ShapeCut Pro here.
We used beautiful Japanese style materials for this quilt. Now we made this quilt with fabric in our stash and at the time we had no idea how much material was needed (we have rectified this and the fabric requirements are below).
Fabric requirements:
You can use a charm pack and all the squares will be different colors or you can use your own fabric and design your quilt as we have done.
- Colour 1: ¼ yard
- Colour 2: ¼ yard
- Colour 3: ¼ yard
- Colour 4: ¼ yard
- Colour 5: ¼ yard
- Sashing: 1 1/8 yards
- Backing Fabric: 1 3/8 yard
- Batting: 1 3/8 yards
TOOLS USED IN THIS TUTORIAL
You can check the latest prices at Amazon by clicking on the links below:
- June Taylor Shape Cut Pro Ruler
- Creative Grids Ruler 8½” x 24½”
- Olfa 24″ x 36″ double-sided healing mat
- Olfa 60mm rotary cutter
- Oliso Iron
- Gutermann Sew-All thread
Method:
- Main Contrasting Fabrics: Cut 35 squares @ 5″ x 5″
- Sashing: Cut 28 pieces @ 5″ x 2½”
- Sashing: Cut 10 pieces @ 2½” x width of fabric
From the 10 pieces of sashing cut:
- 8 strips 2½” x 31½” (or width of your quilt)
- 2 pieces @ 2½” x 46″ (or length of your quilt) – You will have to sew some pieces of sashing together to get the longer length.
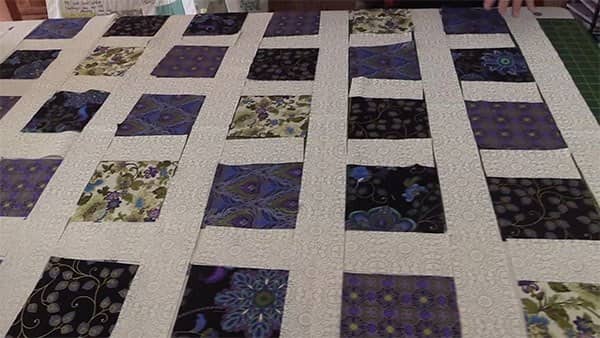
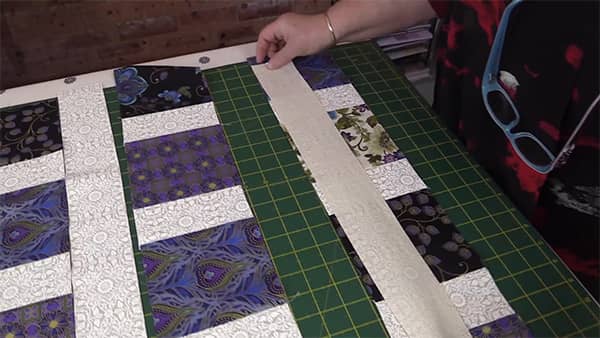
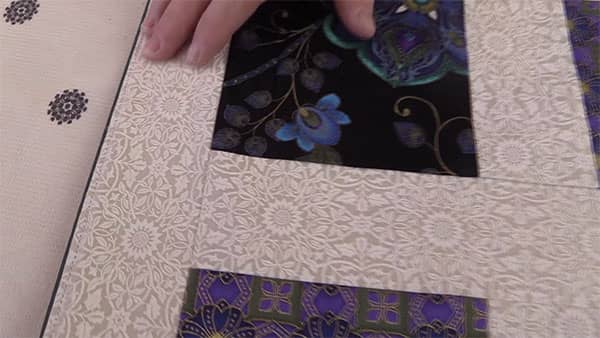
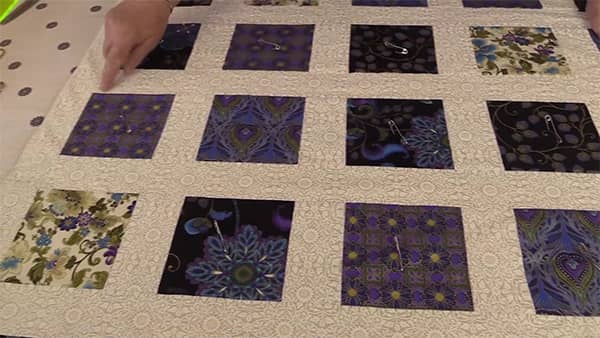
- Lay your squares out how you want them to look in your finished quilt.
- I have lain out the sashing as well to get an idea of how it will look when it’s finished.
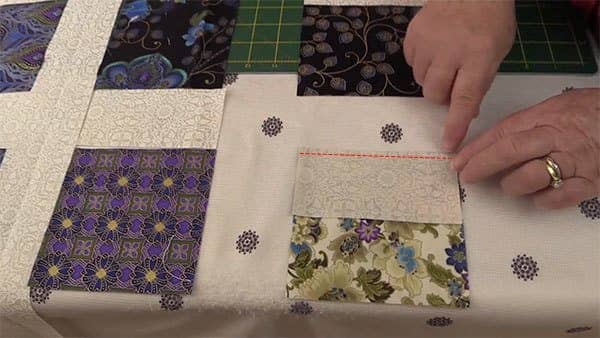
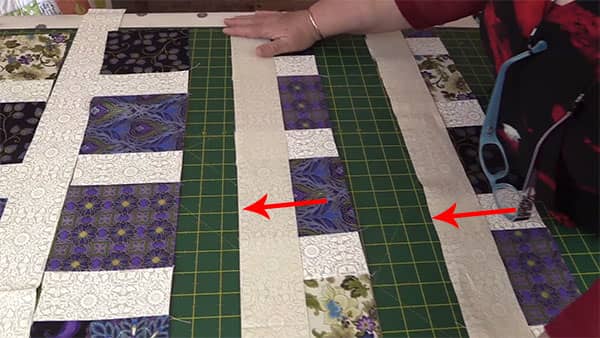
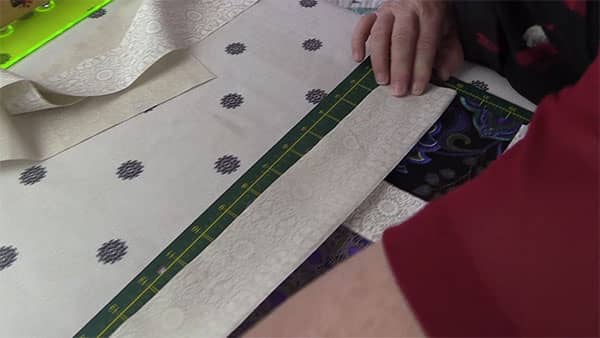
- Lay a piece of 5″x 2½” sashing along one side of each square except the first square in each row. Do not add sashing to that square.
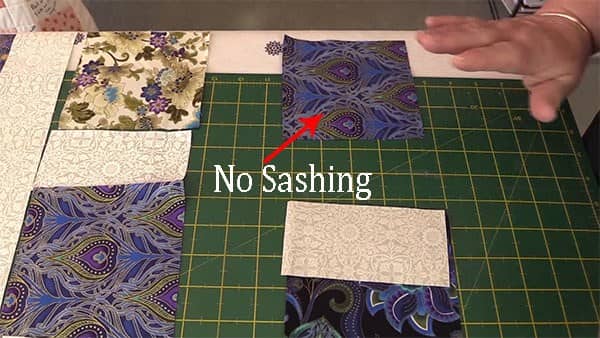
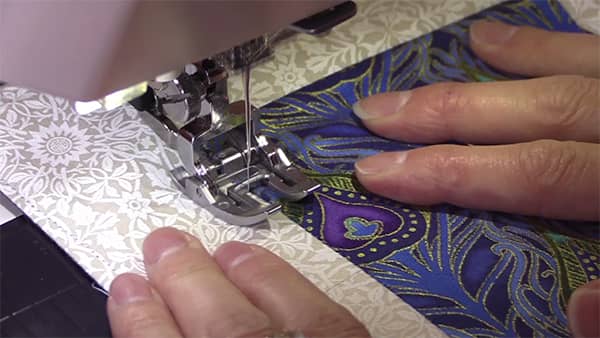
- Starting with the top row, and ignoring the first block, lay the piece of sashing along the edge of each of the other 5″ squares in the row, right sides together.
- Sew the two pieces together with a ¼” seam.
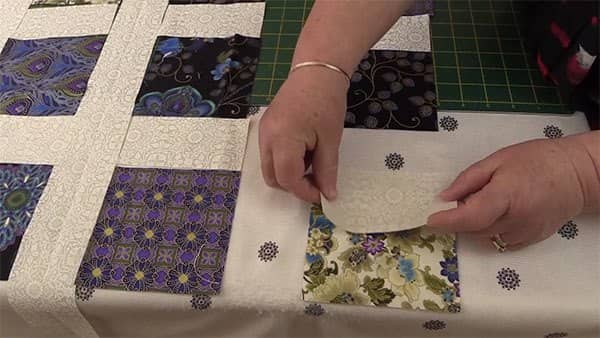
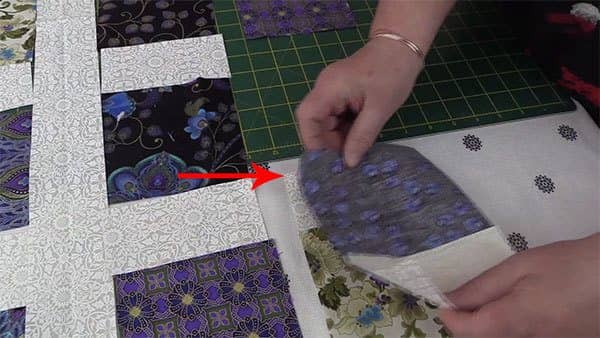
- Once you have sewn a strip of sashing onto each of the squares, it’s time to sew the squares together. (Remember we still have one square without any sashing attached)
- Lay the edge of the square without sashing along the edge of the sashing, right sides together.
- Sew together with a ¼” seam.
- Now add the square that doesn’t have any sashing attached, to a piece that does have sashing attached.
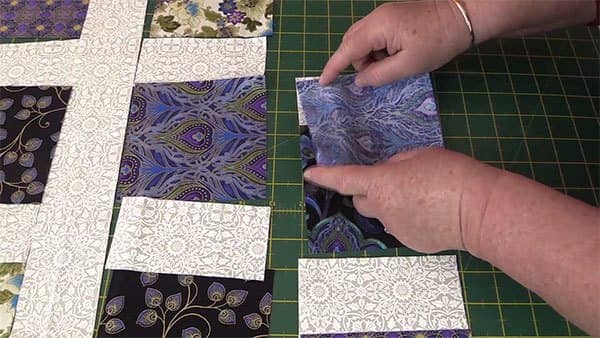
- The squares are now all sewn together and they form a row.
- Repeat the same process to create all of the rows.
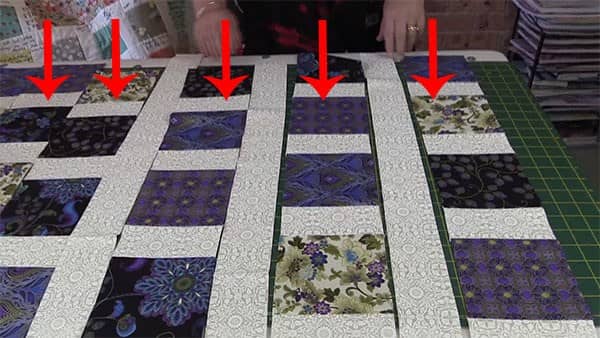
Now we want to attach the long pieces of sashing to the rows.
- Starting at one end, lay the sashing strip along the row of joined squares, right sides together.
- Pin the two pieces together and sew with a ¼” seam.
- Repeat this process for each of the rows.
- Once you have sewn all the long strips of sashing to your rows it’s now time to sew the rows together.
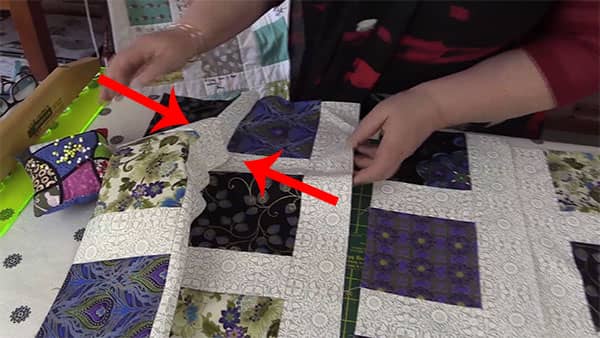
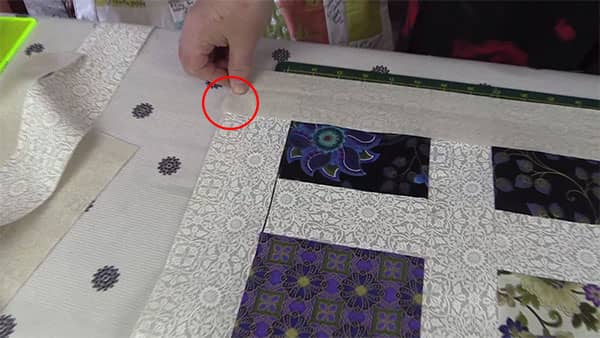
- Take the first row and lay the sashing along the edge of the colored squares, right sides together.
- Pin in place. Take time with the pinning to make sure the seams on the short pieces of sashing line up. You don’t want wonky sashing pieces when you have finished sewing the rows together.
- Sew with a ¼” seam.
- Repeat the process with the next two rows and so on until all the rows are sewn together in sets of two.

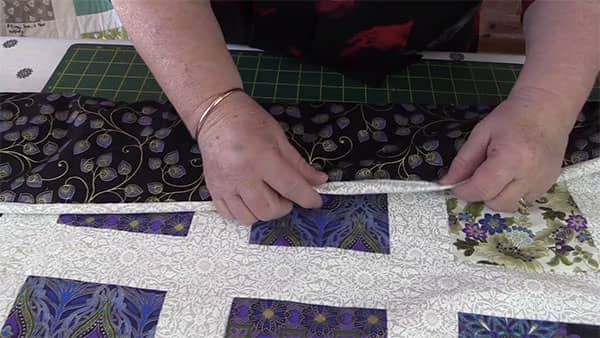
Now it’s time to add our outside sashing strips.
- Add your first strip to one of the short edges.
- Lay the sashing strip along the edge, right sides together.
- Pin one end, then pin the other. I generally give the sashing and the quilt a tug and place a pin in the middle. Now pin all along the edge. This evens out the sashing.
- Sew with a ¼” seam.
- Now do the same with the sashing on the other short edge.
Next, we need to attach the long pieces of sashing.
- Line the long piece of sashing up with the edge of the sashing you have just attached to the short edge.
- Pin in place and sew with a ¼” seam
- Complete the other side in the same manner.
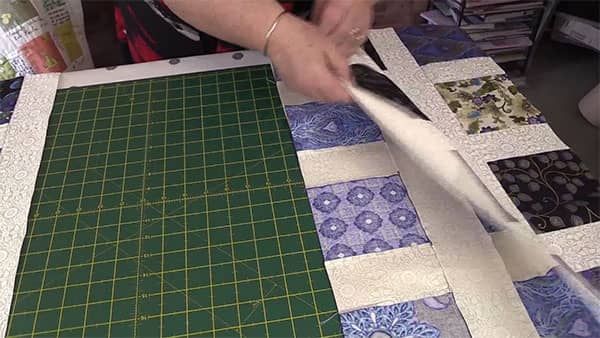
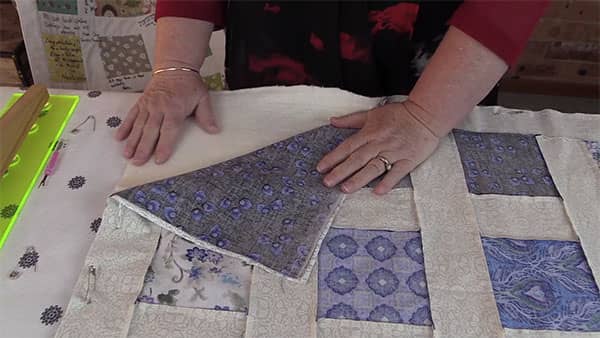
- Lay your batting on the floor and place the quilt top on top of the batting.
- Cut around the quilt top.
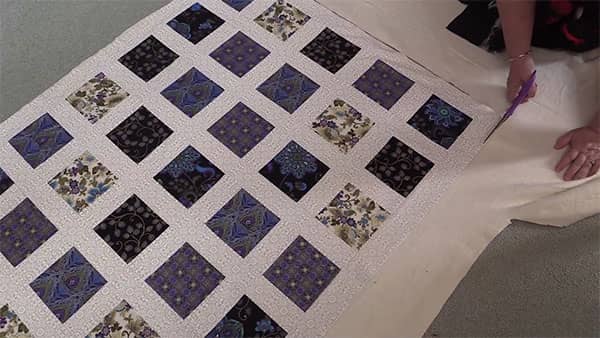
- Repeat the process with the backing.
- Lay the batting down on your work surface.
- Lay the backing on top of the batting, right side facing up.
- Smooth it down. You can spray with some 505 adhesive spray to make sure it is really smoothed out and there are no wrinkles.
- Lay the quilt top, face down on top of the backing.
- Pin all the layers together.
- Sew around the edge with a ¼” seam
- Leave an opening on one side of about 6″-8″ to turn the quilt through when we have finished sewing it together.
- Backstitch when you start and finish on either side of the opening.
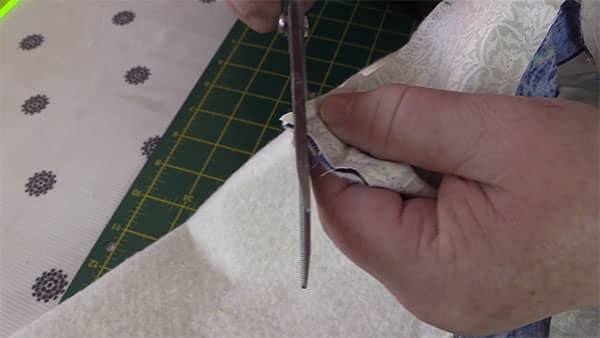
- Clip the corners taking care not to clip your stitching,
- Trim some of the excess along the side edge from the corner to reduce some of the bulk.
- Turn the quilt through to the right side.
- Give the quilt a press.
- Press in the edges of the opening.
- Top stitch about an 1/8th of an inch all around the edge.
- This will catch in and seal the opening.
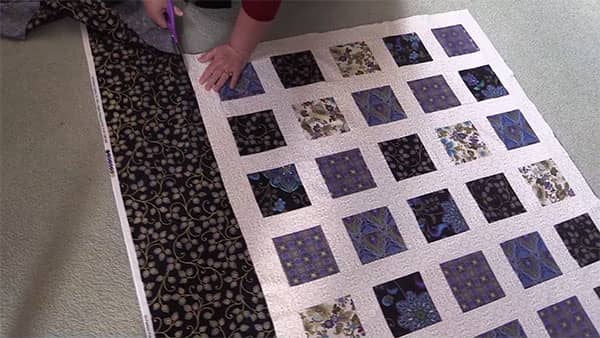
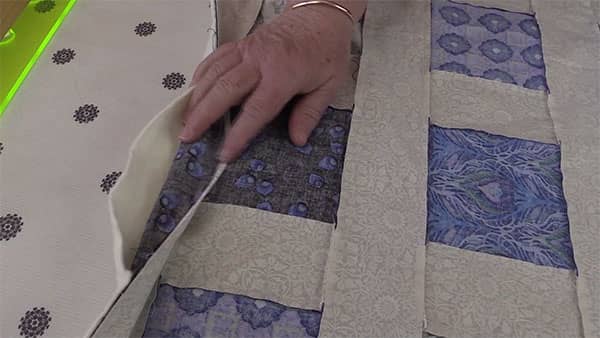
- Now its time to ditch stitch the Signature Quilt to finish it.
- Pin the quilt well to hold the layers together while you are ditch stitching.
- Ditch stitch around the outer sashing pieces
- Now start in the middle of the quilt and work outwards.
- Stitch along each of the rows.
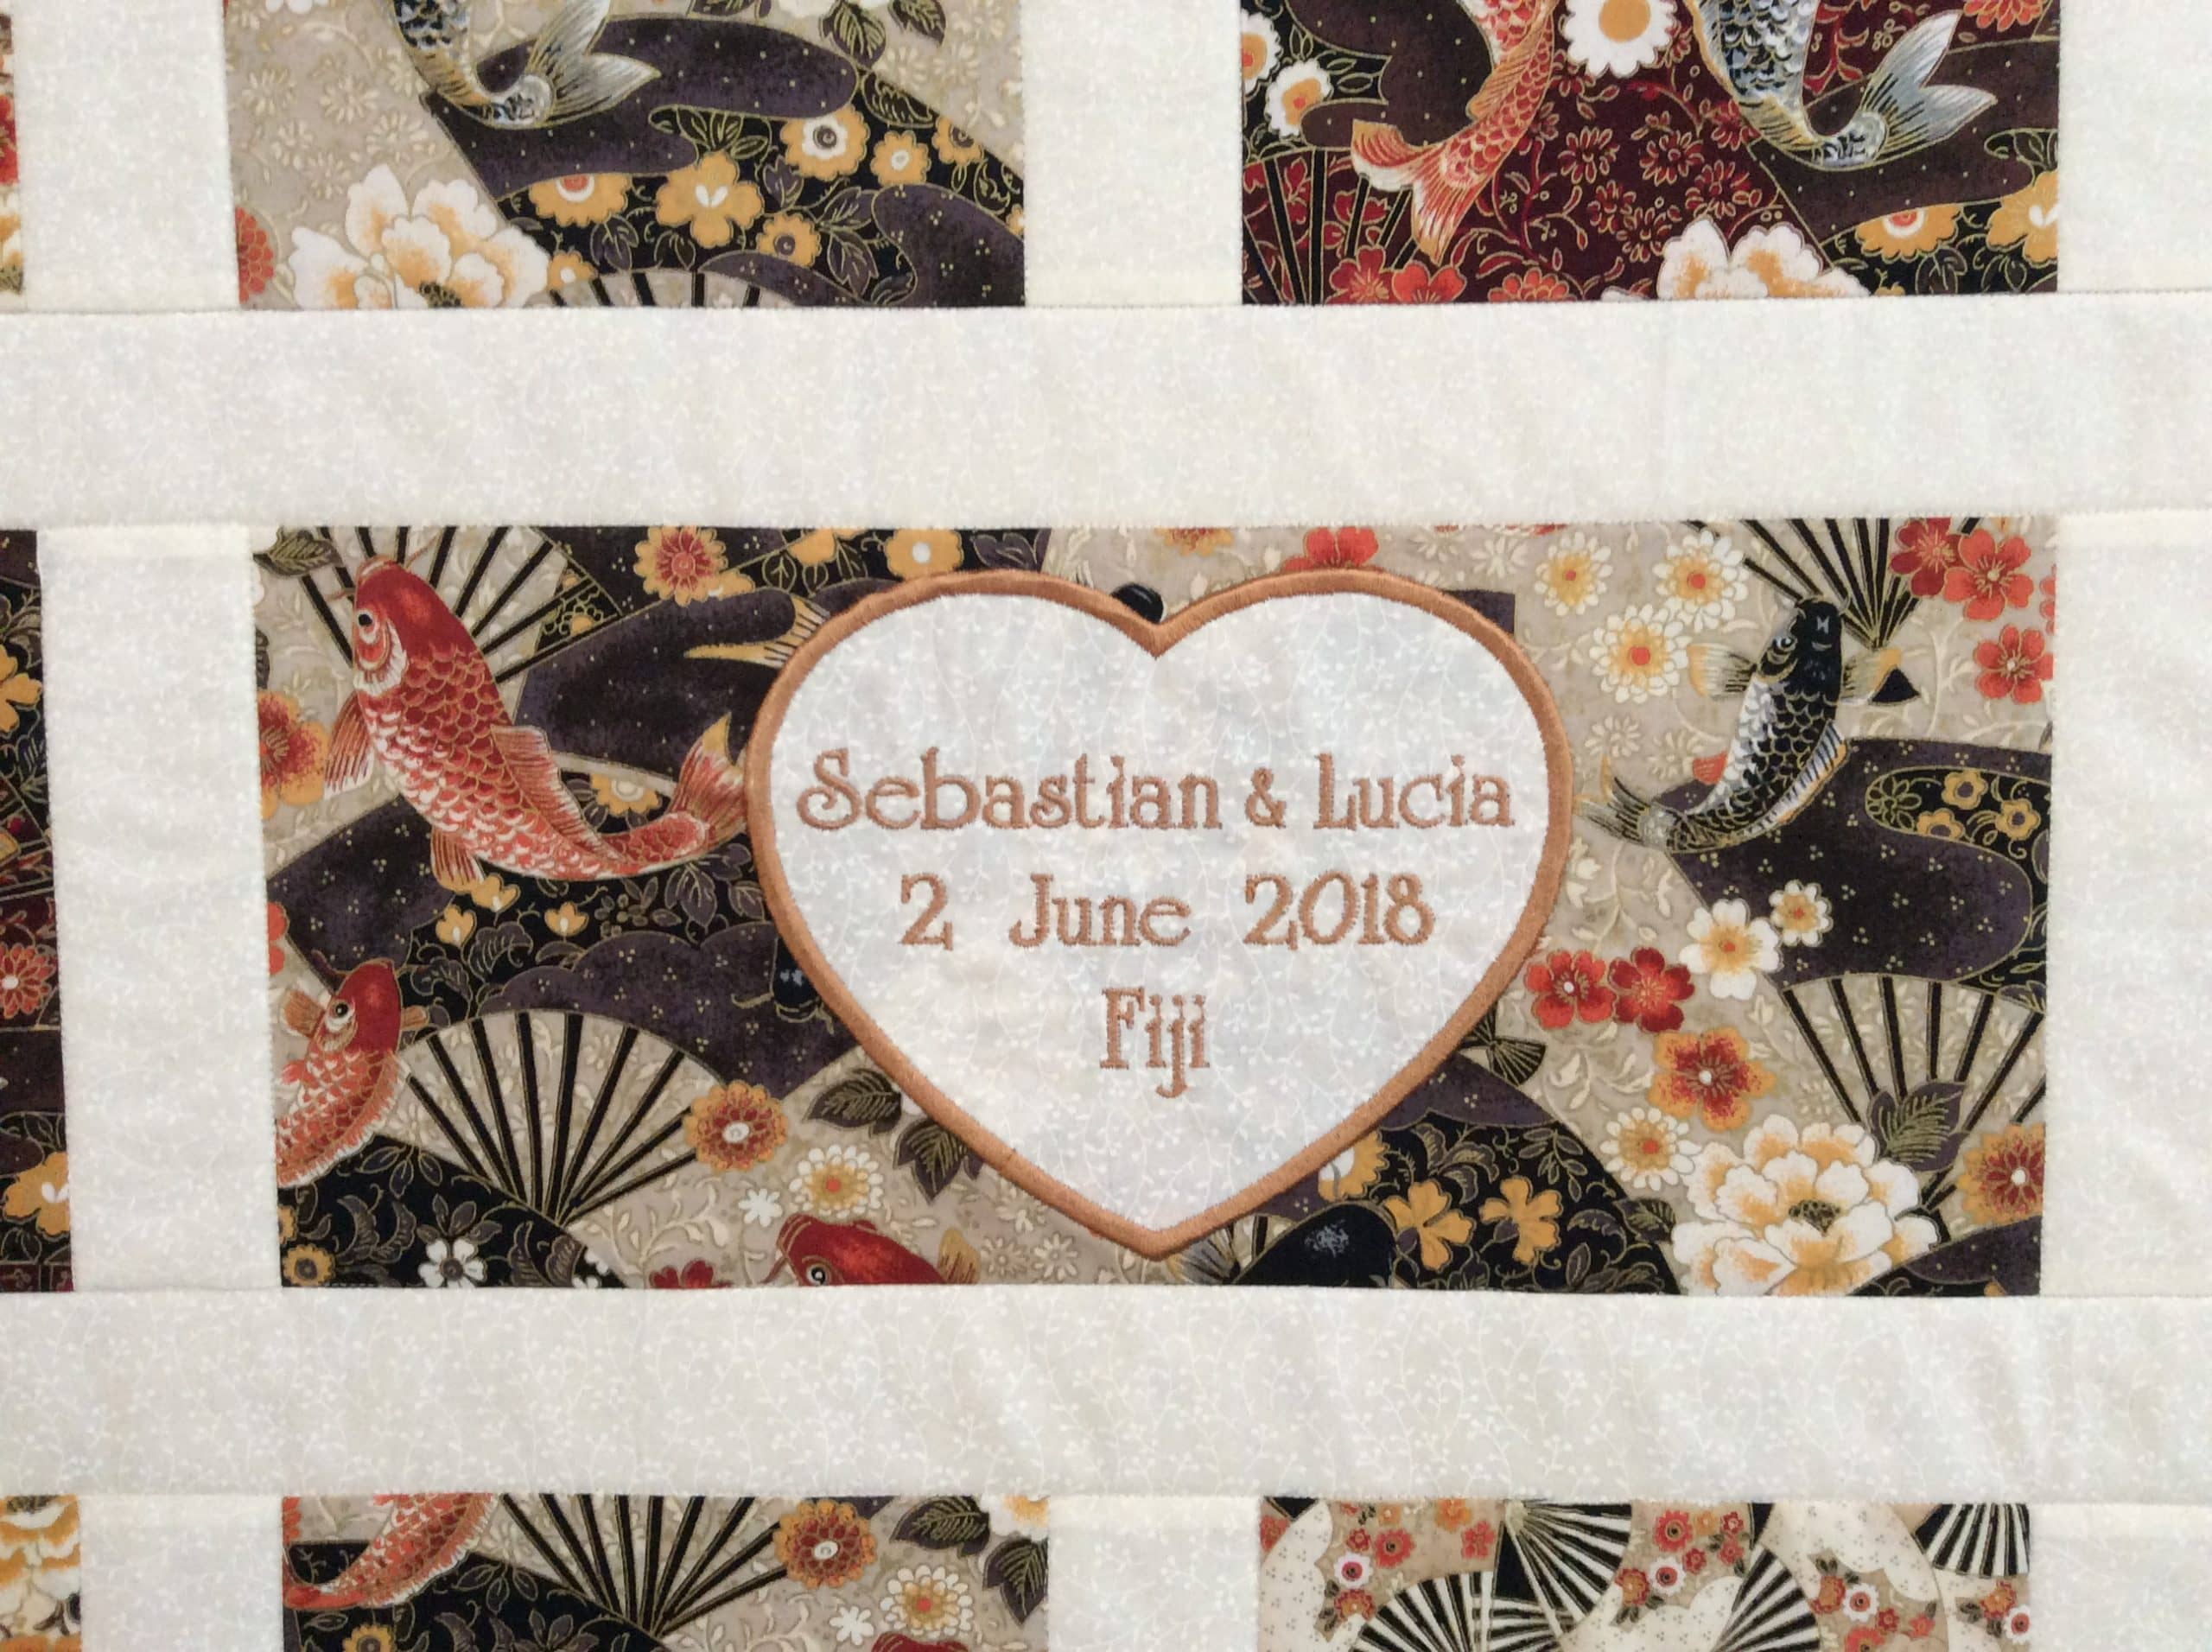
Sebastian and Lucia’s Signature Quilt.

They were married in Fiji so I embroidered their names, date of the wedding and Fiji into the center of the quilt.


Joyce Cloud says
love this easy signature quilt thanks for sharing
Alanda says
Thank you Joyce.
Crystal says
Is there a special pen or marker we need to use for signatures?
Alanda Craft says
Just look for a ‘permanent fabric marker’. You will want to get one that doesn’t wash off in water.
Jerry Ann Haynam says
What a great idea for something that doesn’t take a long time to do!
Sheila says
Looks beautiful, and you make it easy to follow.
Thank you for demonstration
Sheila
Alanda says
Thank you Sheila. I made one of these for my grandaughter when she got married and everyone remarked on it.
Lydia Macias says
Thank you for the pattern will try it out and let you know how it goes.
Alanda says
We always love to see our readers results so definitely share it with us. You can do so here: /submit-your-project/
Kelly says
What size is the rectangle on the other quilt that has the names embroidered on it? Thanks!
Alanda says
The panel with the Woodland Creatures and the embroidery measures 20″ x 15″ unfinished, (17 1/2″ x 13″ finished).
Kelly says
Thank you so much!
Jean diemer says
Love the idea of the signature as we are making lap size quilts for people going through cancer, PTSD, etc at church at our new quilt ministry. Any way you might make the instructions printer friends so I don’t have to print out all the pictures and waste a lot of ink? So appreciate it as this would be a simple quilt our ladies could make, especially the ones that don’t sew much. Thanks for your wonderful tutorials and instructions. You are amazingly creative.
Debra Graham says
Beautiful and simple and lets that fabric choice really shine.
Alanda Craft says
Thank you Debra 😊. I do enjoy making these signature quilts, they help to create lovely memories for the recipient.
Anne E Peacock says
Oh I like that, you don’t have to put a binding on.
Alanda Craft says
We also have our Easiest Quilt Ever tutorial which uses the same concept. You can access it here: /2015/06/08/quilting-for-beginners-the-easiest-quilt-ever/
Lucy O'Donnell says
In your requirements you state that 1 1/8yds of fabric needed for sashing. But I can’t make any sense of how you get 46″ (117cm) length side sashing strips from wide of fabric that is, at most 42″ wide, or from the 1 1/8 yards (40.1/2″) if cut down the length of fabric.
Grateful if you can clarify please.
Thanks in advance.
Alanda Craft says
You will need to sew together strips in order to get the length you will need. We’ve edited the post above to clarify this.