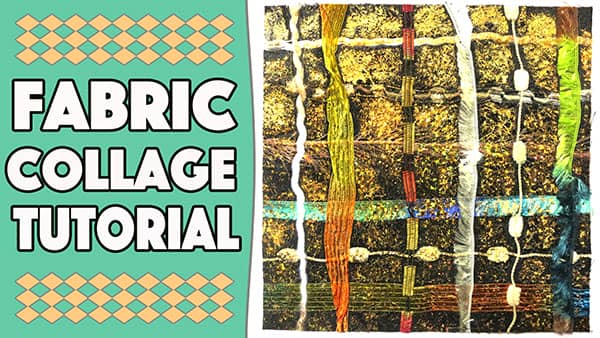
I just love the look of a fabric collage using mixed media. You can make your piece as small or as large as you like. Sometimes I have a project in mind and will cut the fabric piece to fit, and sometimes I don’t have a project in mind and the piece gets put aside until the right project presents itself.
Watch the video tutorial below or scroll down for the written instructions
What You Need
- A piece of fabric – cut to whatever size you need for your project.
- Fusible web such as Mistyfuse
- An assortment of wool – Scraps are fine. So if you have leftover wool and ribbon pieces from previous projects then by all means use them up.
- Heat Transfer Foil – This must be for use with fabric. We use Jones Tones.
- Baking Paper
Tools & Equipment Used in this Project
Method:
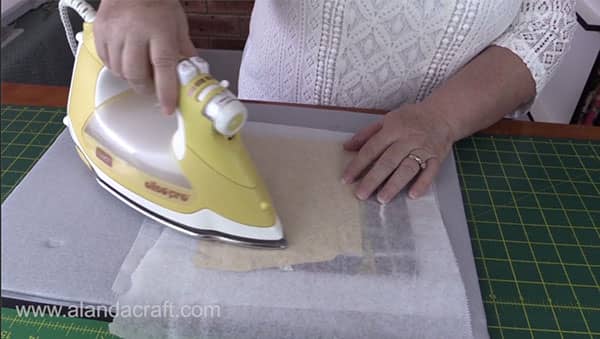
- Cut the fusible web slightly smaller than your piece of fabric.
- Place the fusible web on top of the fabric. Have the fabric facing right side up.
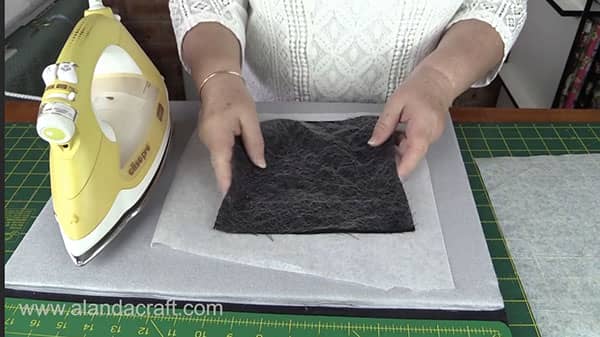
- Place a piece of baking paper over the fabric and fusible web and iron on the baking paper. DO NOT USE STEAM
Why do we use Baking Paper? Because the fusible web doesn’t stick to it.
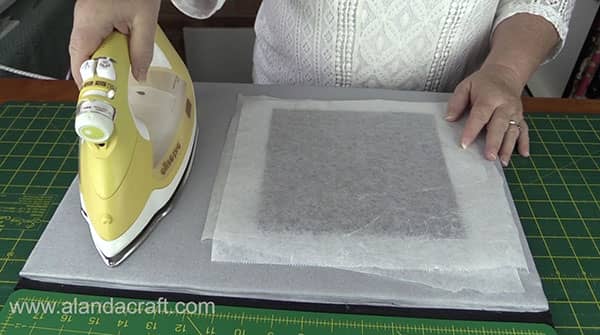
- Let the piece cool slightly then carefully peel off the baking paper.
- The fusible web will now be stuck to the fabric and you will also have a sticky surface to lay your wool on.
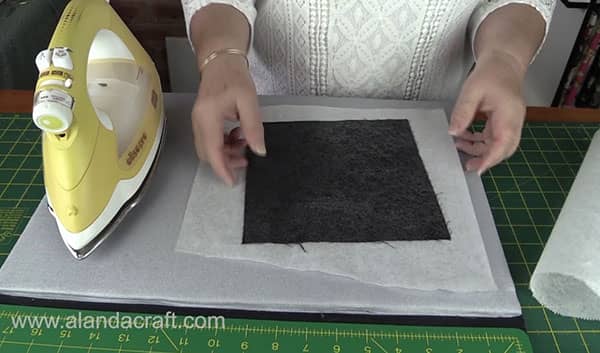
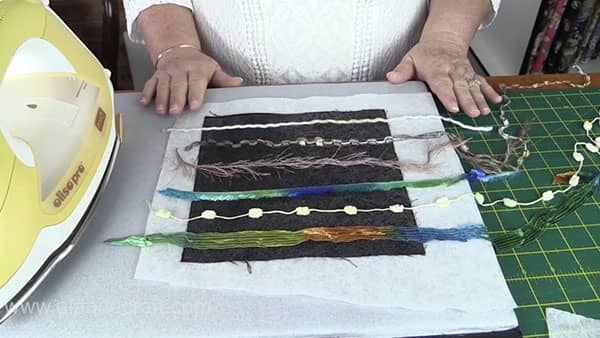
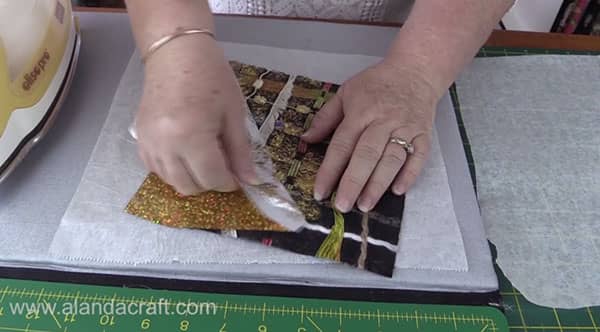
- Lay your pieces of wool on top of the sticky surface.
- Do not overlap the wool as it will only stick to the places where there is fusible web and if you lay one piece of wool on top of another, it won’t stick and will flap around.
- So once you have your design laid out how you like it, place the baking paper over the design and press with the iron.
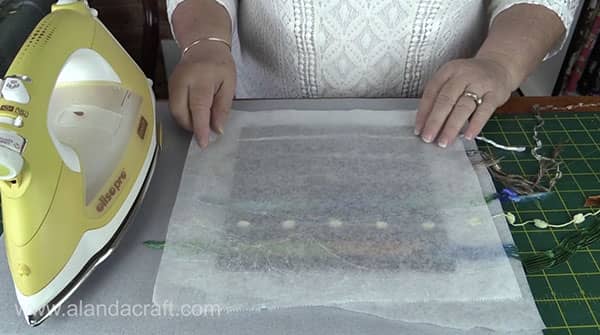
- Let cool slightly.
- Remove the baking paper.
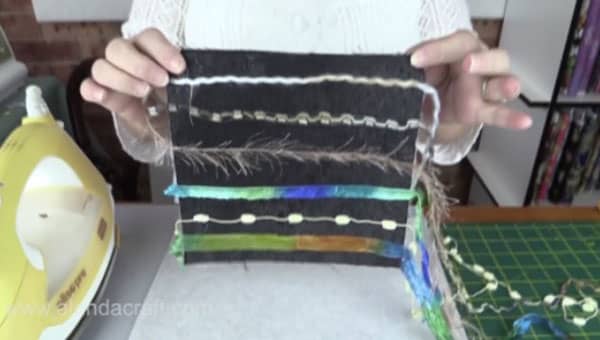
- Your wool will be stuck to the fusible web.
- Trim the excess wool from the edges.
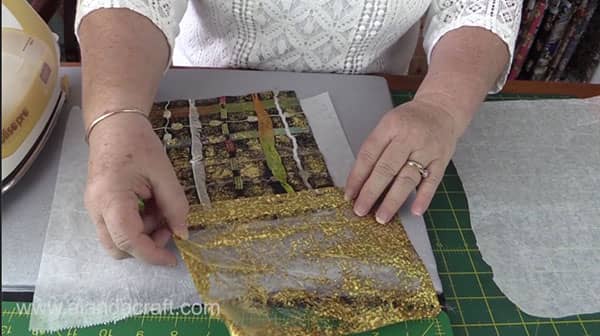
- Now take your heat transfer foil and place it right side up.
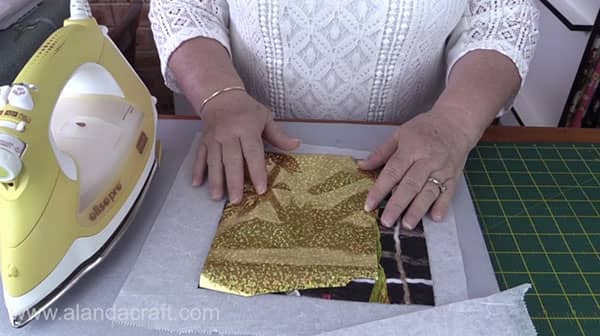
- Place the baking paper over the design and press with the iron.
If your foil is smaller than your design, don’t iron along the edge as you will end up with a solid line of colour, just push the point of the iron towards the edge of the foil. You can adjust the look of the foil as you go.
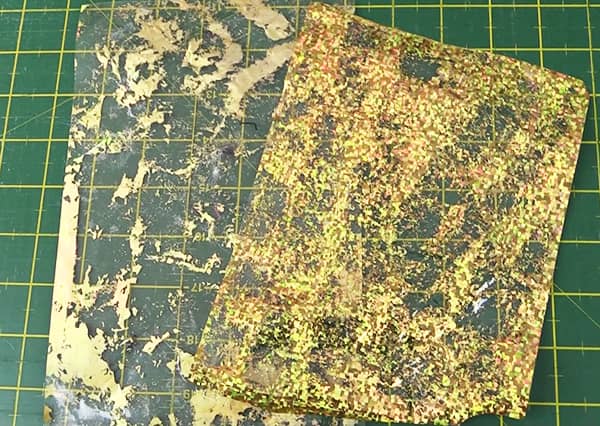
- Remove the baking paper and carefully peel off the foil. You will see how the foil has adhered to the areas where the fusible web was exposed.
- If there are areas where you would like more foil, just place the foil on the area with the right side up and iron. Keep doing this until you are happy with the look.
Now when you have finished making your design you may still have some foil left on the transparent sheet. Don’t throw this away. You can use these pieces on another project.
Creating an Overlapping Effect
If you want to overlap the wool you will need to add another piece of fusible web before adding the foil
So simply place a piece of fusible web over your design, overlay with the baking paper and iron. Then add your wool, overlapping the previous work pieces. Once you are happy with the placement, place your parchment paper over the whole design and iron. Now you can go to the step where you add the foil, to finish the piece.
Some Ideas for You
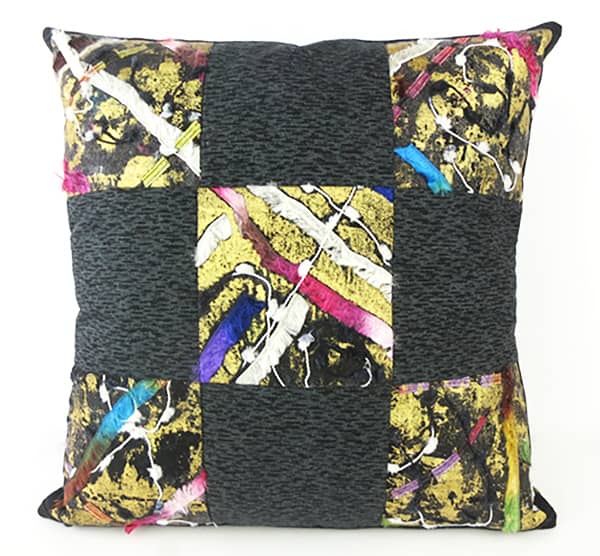
- The fabric and foil collage cushion cover was made from our Charm Square Cushion cover tutorial.
- I simply cut the fabric collage pieces and some contrasting fabric into 5″ x 5″ squares, sewed them together and added an envelope back.
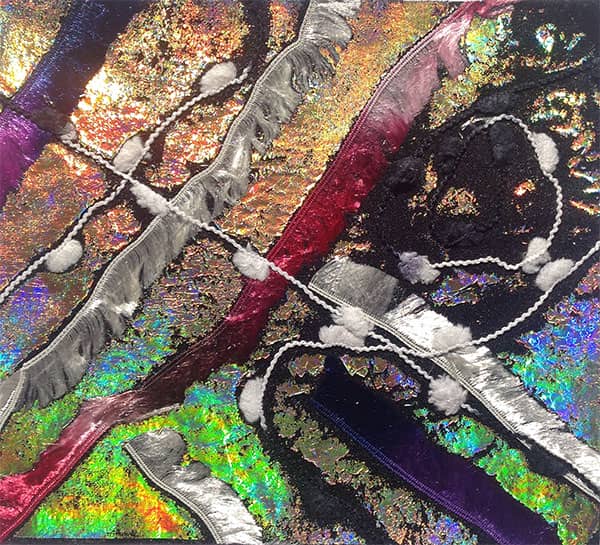
- This is a closeup of one of the 5″ fabric and foil collage squares.
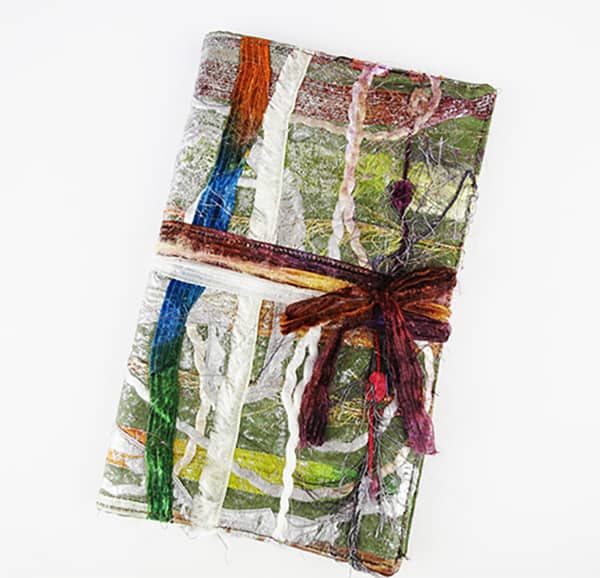
- Here is a journal cover made with another piece of the fabric collage that we made previously.

- Closeup of the foil and wool fabric used in the journal cover.
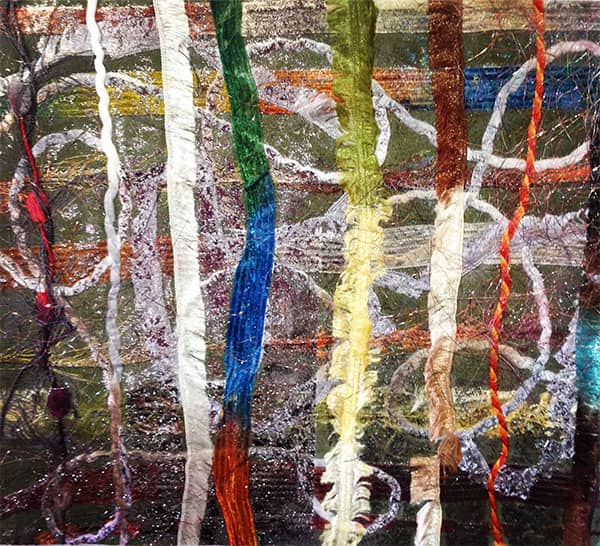
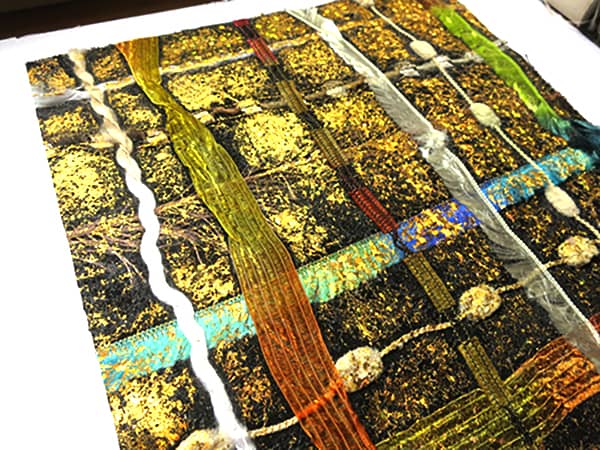
- Photos of the piece of fabric created in this tutorial.


Leave a Reply