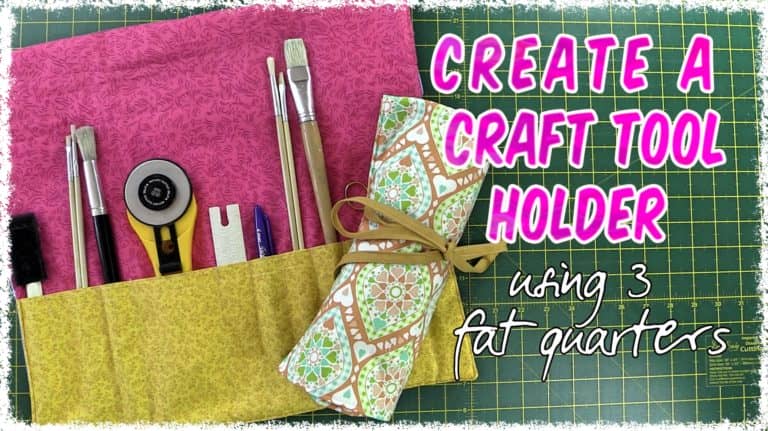
This is a quick and easy roll-up holder for your sewing, craft and art accessories. They are ideal for holding scissors, rotary cutters, paint brushes or even makeup brushes.
And it is made from just 3 fat quarters. These make great gifts so you can personalize them by choosing three contrasting pieces to suit the person you are giving it too.
Once you have made one and seen how easy it is, you will definitely want to make more.
Watch the video tutorial below or scroll down for the written instructions
TOOLS USED IN THIS TUTORIAL
You can check the latest prices at Amazon by clicking on the links below:
- Creative Grids Ruler 8½” x 24½”
- Olfa 24″ x 36″ double-sided healing mat
- Olfa 60mm rotary cutter
- FriXion Pens
- Warm & Natural Cotton Batting
- Oliso Iron
- Gutermann Sew-All thread
What You Need:
- main fabric – 1 pc 18″ x 21″
- contrasting fabric 1 – 1pc 18″ x21″
- contrasting fabric 2 – 1pc 13″ x21″
- contrasting fabric 2 – 2pcs 1½” x 21″
- batting – 1 pc 18″ x 21″
Method:
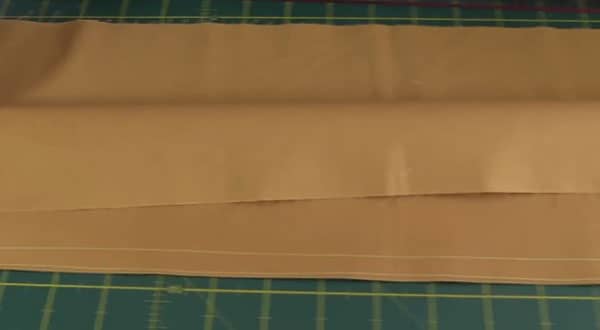
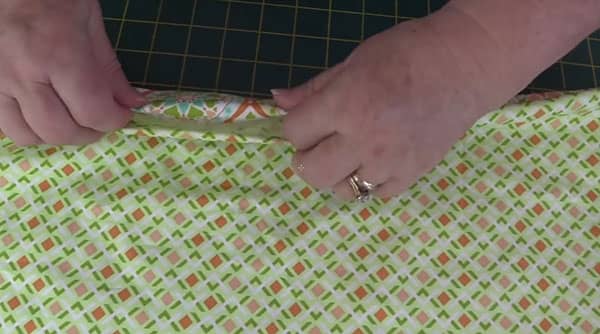
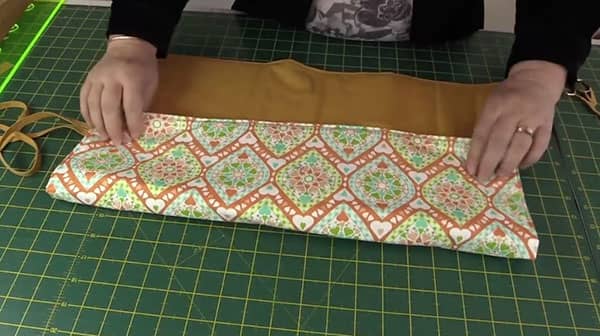
- Take the piece of fabric measuring 13″ x21″ and fold it in half. This is our pocket piece.
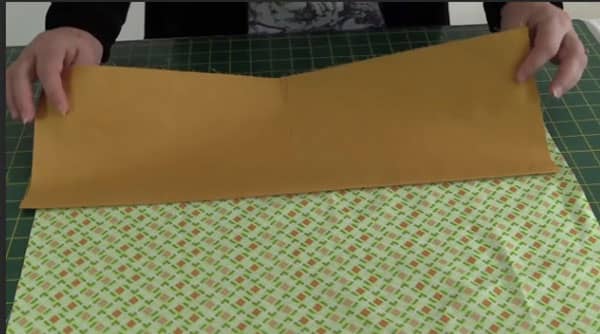
- Press firmly to create a crease.
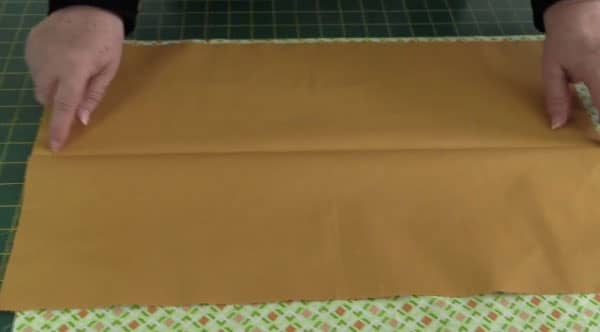
- Top Stitch 1/16″ from the folded edge and do another row of stitching about 1/2″ down from the edge. You can do a decorative stitch if you wish. This is just to give the pocket a nice finish.

- The open edges will be caught into the seams when we assemble the holder so we don’t need to neaten them.
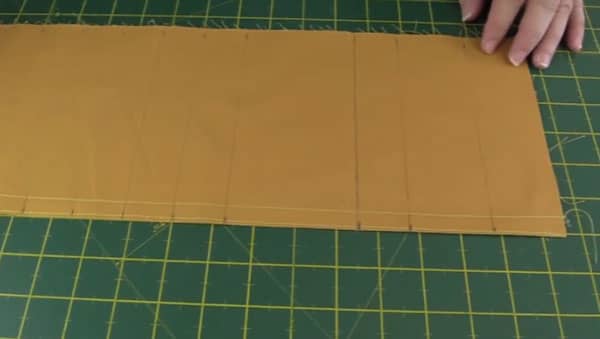
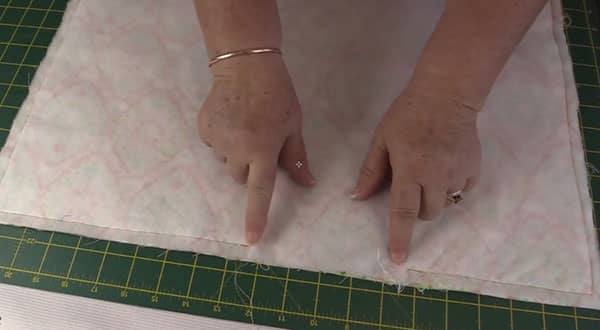
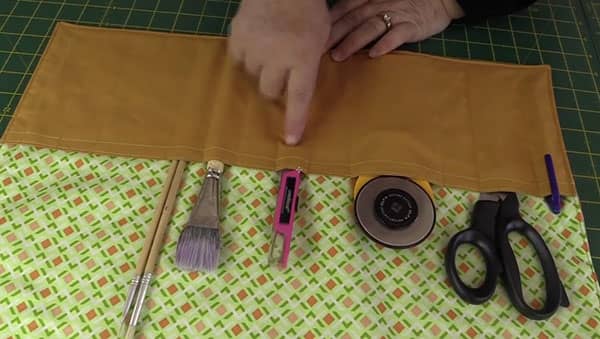
- Now its time to mark where you want your pockets to be.
- Make the pockets however wide you need them to be. The width of each pocket will depend on what you are using the holder for.
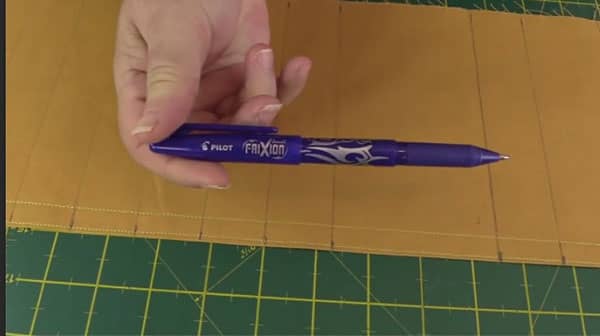
- I am using a Frixion pen which will come off easily when I iron my fabric.
NOTE:
Do Not use a ballpoint or pen that will leave a permanent mark.
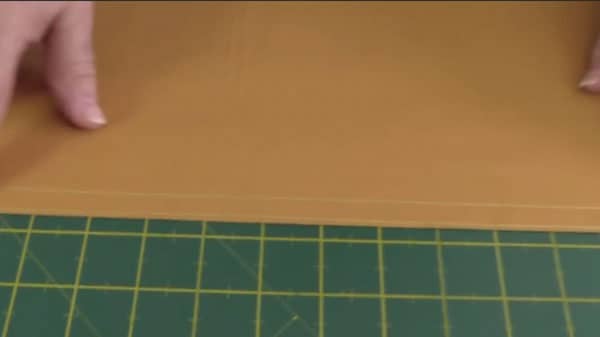
- Measure in ½” from each side edge and make a mark. Make the marks for the rest of the pockets between those two marks.
I have made my markings from the first ½” mark as follows:
- 1¼”, 2″, 1¼”, 3¼” and all the rest were 1¼” and the last one I left at approx 1″.
- Make the same marks on the bottom and using your fabric pen, join the marks.
- Lay the pocket piece on top of the inside piece of fabric.
- Have the inside piece of fabric facing right side up.
- Line up the edges.
- Pin the pocket piece in place, down both side edges.
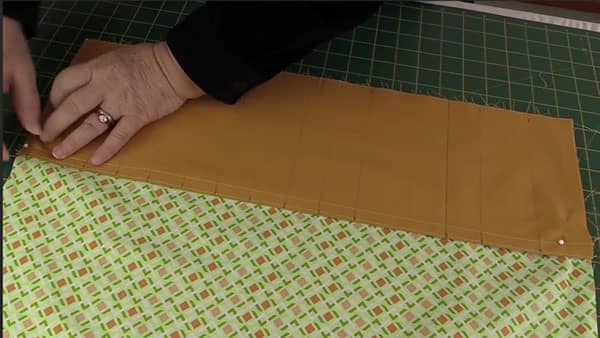
- Sew down each of the lines that you drew previously.
- Backstitch at the top end to give the pocked some added strength. However, don’t worry about backstitching at the bottom edge as this will be caught up in the seam allowance when we join the pieces together.


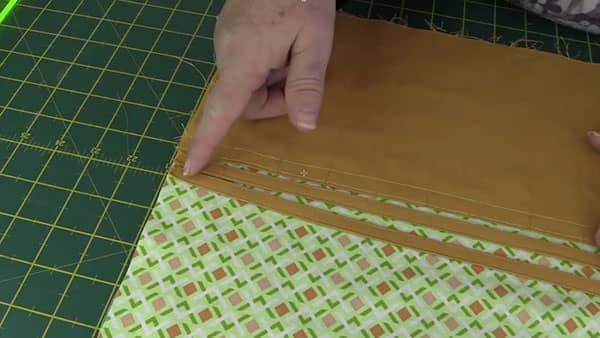
Put this piece aside for now and let’s make our ties. You can make your ties anyway you wish, this is just how we like to make them.
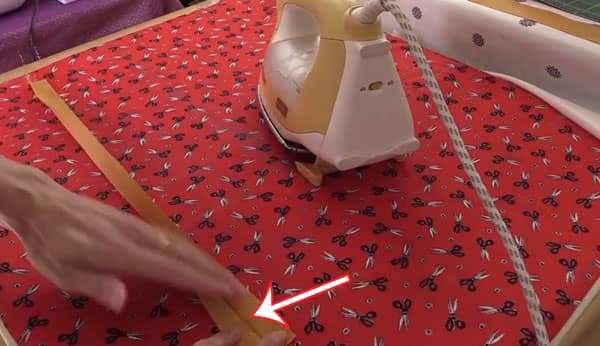
- Take one of the narrow strips and fold in half.
- Press so that there is a center crease.
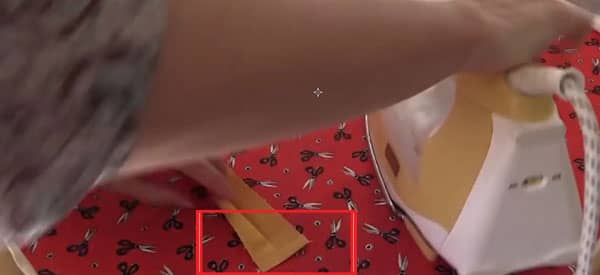
- Fold in one end approx. ¼”. You only need to do this on one end.
- Press.
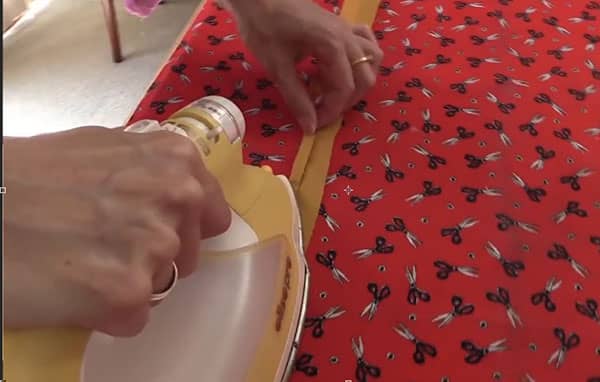
- Fold one edge towards the middle crease.
- Press
- Repeat with the other edge.
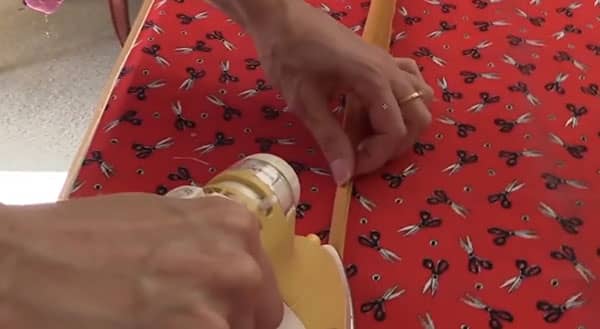
- Now fold the strip in half bringing the folded edges together.
- Press.
- Topstitch down each side of the tie approx 1/16th” in from the edge, and across the bottom.
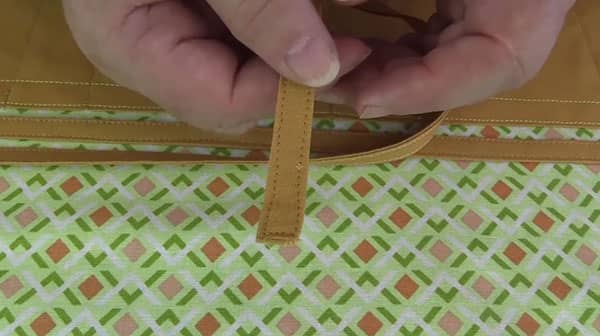
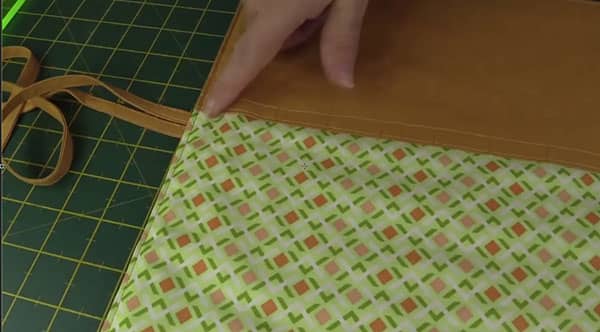
- Lay the ties on the lining piece, just above the pocket piece and sew them to the lining, about 1.4″ from the edge just to keep them in place.
- Position the ties in the middle of the project just to keep them from being accidentally caught up in the sides seams.

- Take the top piece with the batting or fusible fleece attached.
- Lay it right sides together on top of the lining.
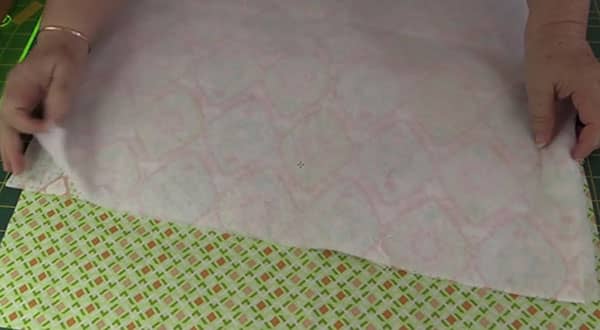
- Line up the edges and pin everything together making sure the ties are out of the way of the seams.
- Leave a gap of approx 4″ on one edge. I generally place a pin where I want to start sewing and a pin where I want to finish. That way I remember to leave the opening.
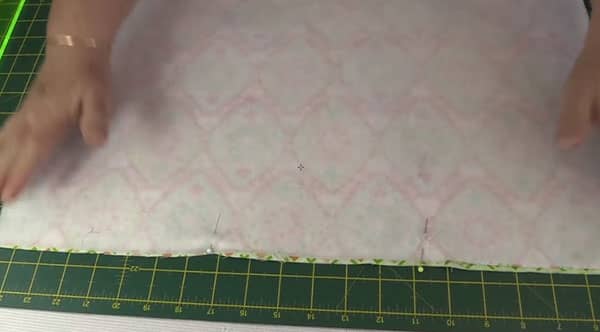
- Sew all around the edges with a ½” seam allowance remembering to leave the gap.
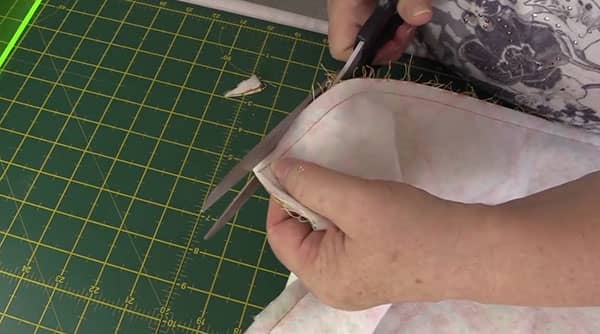
- Trim the corners to remove some of the bulk, taking care not to cut your stitching.
- Fold the tool holder through the gap so that the right sides are showing.
- Fold the edges of the gap in to neaten them and press. I usually pop a couple of pins in as well to keep the opening closed while I sew it shut.
- Press the tool holder.
- Topstitch around the edge about 1/16th or 1/8th in from the edge.
- Make sure the long pieces of the ties are pushed away from the edge as you sew around the edge.
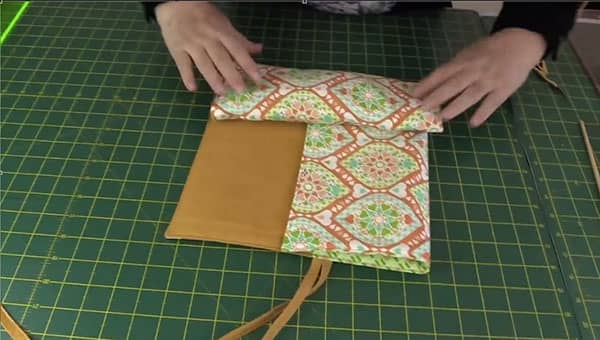
- Place your accessories into the pockets.
- Fold the top down over the accessories.
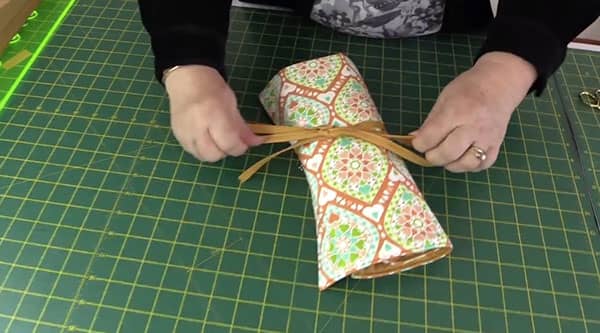
- Roll up the holder.
- Tie to secure.


Marnell Lapeyrouse says
Is there a pattern for this tool holder
Alanda says
I have added the material sizes to the post and will add the full written instructions shortly Marnell. But the sizes are all in the video. There is no pattern because it is simply made from straight pieces of fabric.
Alanda says
I have just finished adding the written instructions to the post.
Maryann says
I made one to put under my embroidery sewing machine to hold my embroidery equipment. I also made a cover to cover my embroidery sewing machine with the embroidery unit on. I could not find one anywhere, so I made my own. The embroidery unit is always on, and I was afraid something would be dropped in it, as my quilt, sewing embroidery room is also my office. Watch out for those paper clips when you have young grandsons around.
Alanda says
Thats a great idea Maryann. Sounds like it is something other ladies would be interested and would possibly make a nice tutorial. I agree, grandsons can be a little bit of a menace in the sewing room :).
Jan Agee says
These Are amazing and gifted 2 women
Sharing what they know and love with those of us hungry to learn. Thank u ladies for being so gracious.
Alanda says
Thank you so much for your lovely comment Jan, we really appreciate it.
Lois Erdmann says
I will find this so useful to keep one for my acrylic paint brushes and one for my watercolor brushes to take on the go.
Wonderful for sewing items that I can take with me to my workshops as well.
Thanks for the easy tutorial making this so easy to customize.
Alanda says
Glad we could help Lois.
Jill Chapman says
I was looking for a DIY pattern for a tool roll for my sons wrench tools. I was having a hard time finding one that had good instructions. Then I came across your roll on Pinterest. I watched the video – you two did a great job – then I scrolled to the bottom of your post. To my delight you had a link to the PDF instructions. Thank you so much for making it available in print form. And, of course, I will be using duck cloth for his tool set for something that is more sturdy. Again, THANK YOU!!
Alanda Craft says
So glad we could help Jill. The PDF option is relatively new but we had so many requests for it, we had to add it.
Nicky says
Loved this! Thank you for sharing! Xxx
Wendy Davis says
What brand of machine are you using?
Alanda Craft says
I have a Brother Dream Machine 2, Wendy. But this project can be made on just about any home sewing machine.