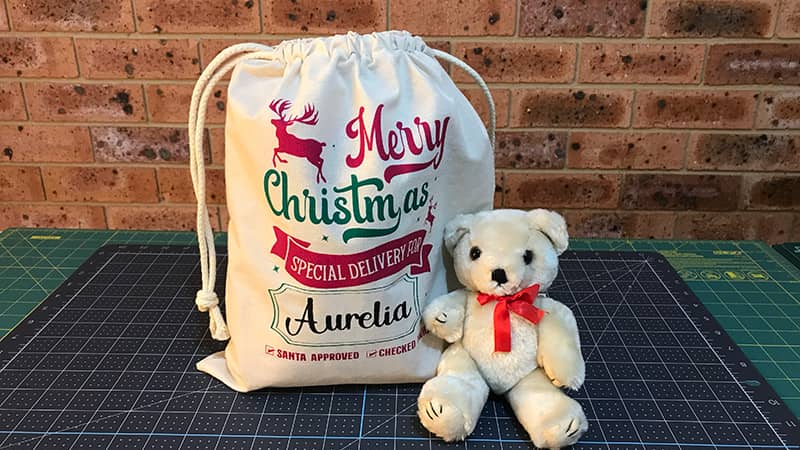
This tutorial is for a Make it Yourself (DIY) Santa Sack.
It’s that time of year again, and what could be nicer for a child (or an adult) than receiving gifts from Santa in a personalized Santa Sack.
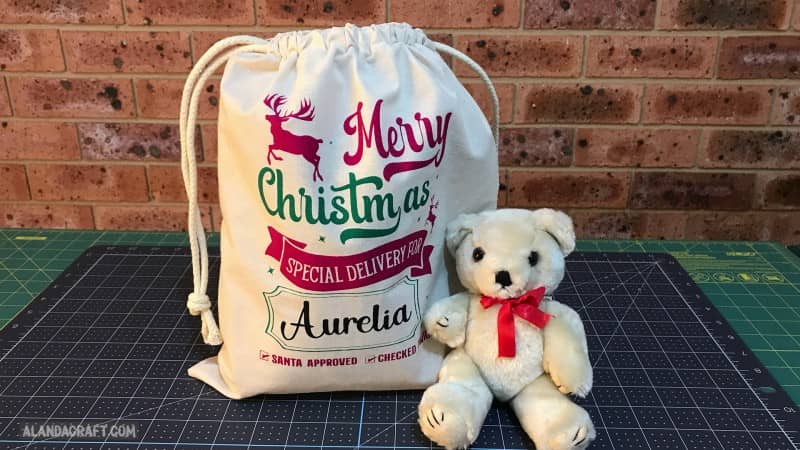
We have made this Santa sack from calico although in the US you may call it muslin. It’s a heavy weight fabric, well it’s heavier than quilting cotton.
The design came from Creative Fabrica (of course), it’s our go to font and image online store.
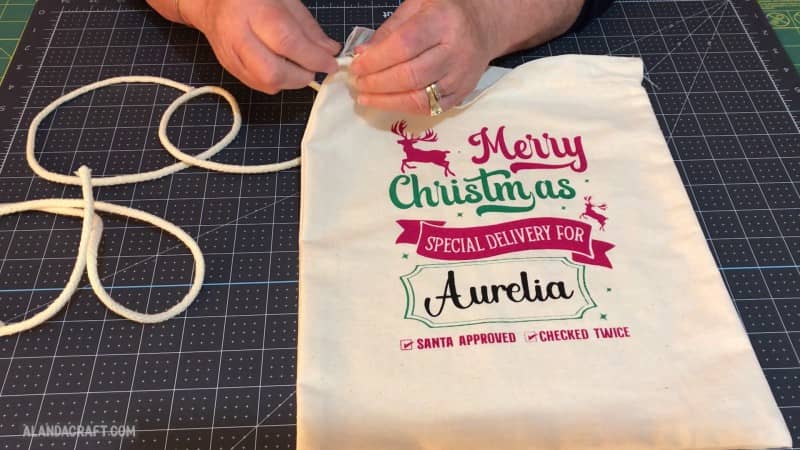
Now we made the design in 3 layers using our xTool Screen Printer. Ohmigod, we are so lovin’ this machine that attaches to our laser engraver. If you would like to see how we did this in 3 layers there will be a link to our video shortly.
Now you don’t have to screen print your design, you can add a design using HTV, a stencil, applique, or even just use a lovely Christmas fabric for the bag. These instructions are for making the basic bag, the creative part is up to you.
FINISHED SIZE
11″ X 13″
Materials
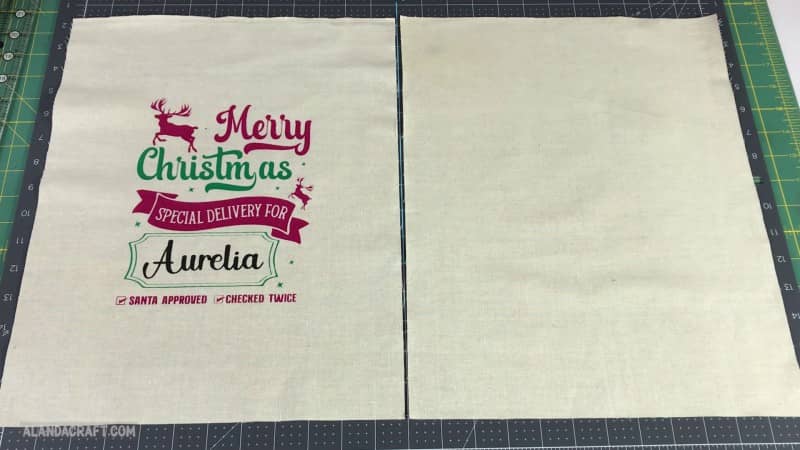
- 2 pieces Calico (for a firmer bag) or quilting cotton – 12″ x 15″
- Cord or Ribbon – 35″. This is for my bag. It you make the bag smaller or larger you will need to adjust the amount you need.
- Matching Thread
Products Mentioned in this Post
- xTool Screen Printer
- xTool D1 (This link is to the newer xTool D1 Pro)
- Creative Fabrica – Santa Sack Bundle
- FriXion Pen
You can make this Santa Sack any size you like. I am using a piece of calico that I had cut and screen printed before I decided what I was going to do with it, so my Santa sack is smaller than you may want.
Watch the video tutorial below or scroll down for written instructions
(Can’t see the video? You may have an ad blocker installed. You can watch it over on YouTube instead.)
Instructions
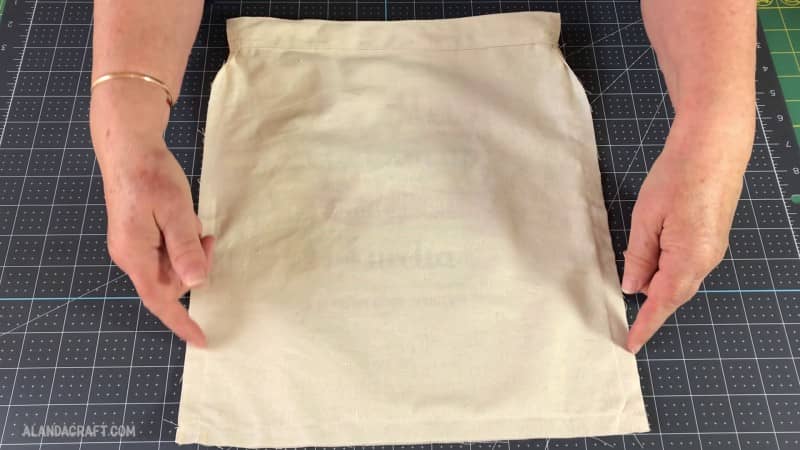
- Cut 2 pieces of fabric 12″ x 15″
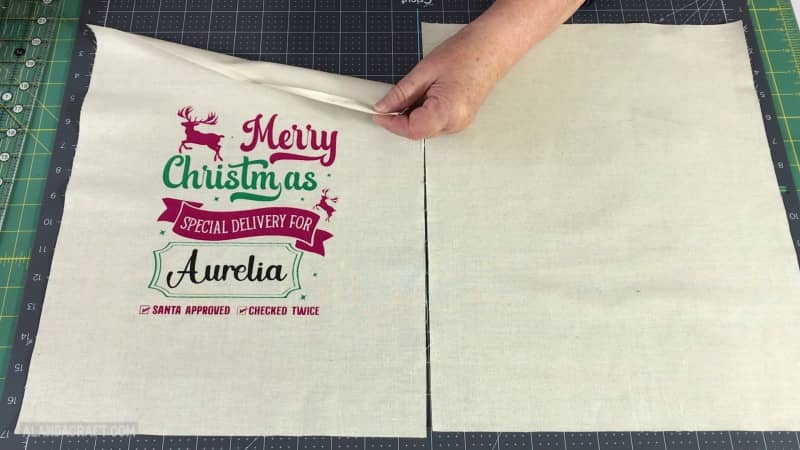
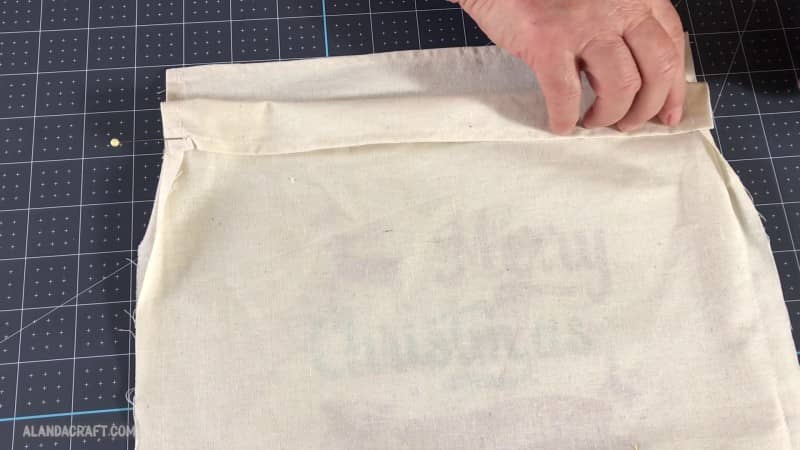
- Fold over a ¼” along the top edge (on both pieces of the fabric) and sew.
- You can give the fold over a press to keep it in place before you sew. It’s a lot easier and you won’t need to pin.
.
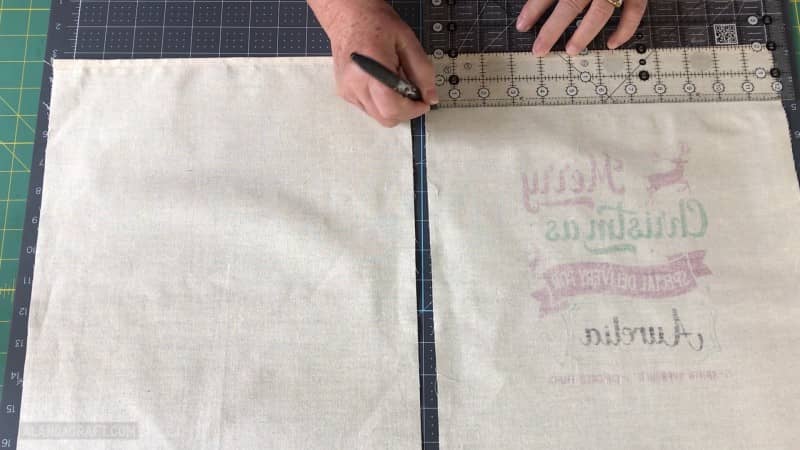
- Make a mark with your chalk or FriXion pen, 2″ down from the folded edge.
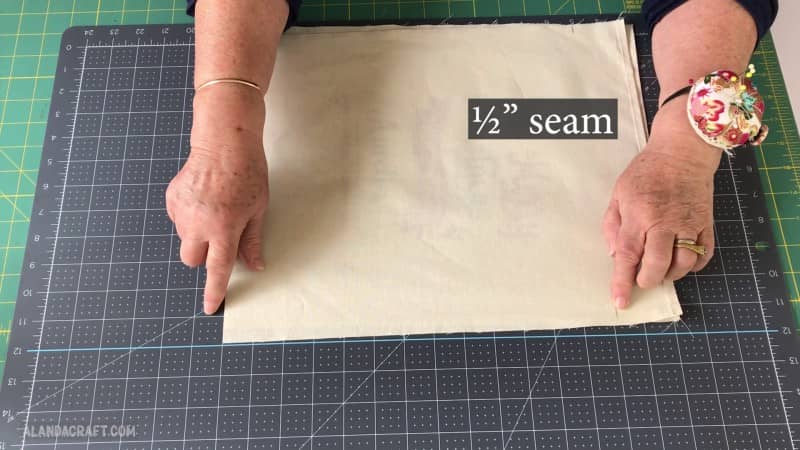
- Put the two pieces together with the right sides facing.
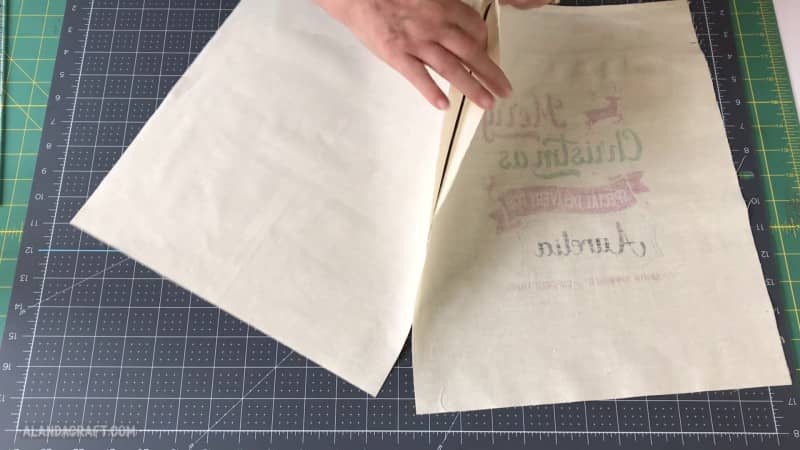
- Sew down one side, starting at the 2″ mark and beginning and ending with a backstitch.
- Use a 1/2″ seam.
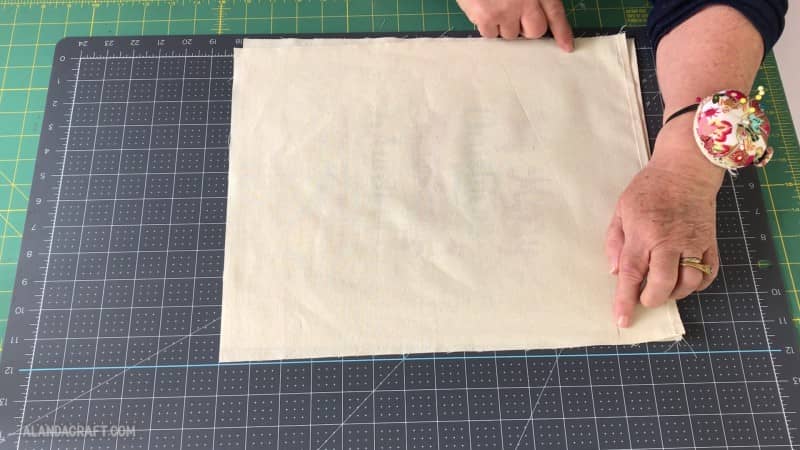
- Sew along the bottom starting and ending with a backstitch.
- Sew along the other side, up to the 2″ mark. Start and end with a backstitch.
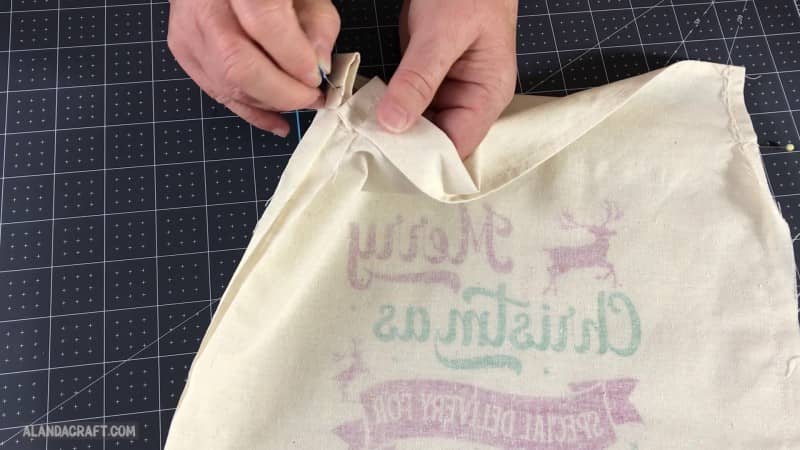
FINISHING THE TOP OPENING
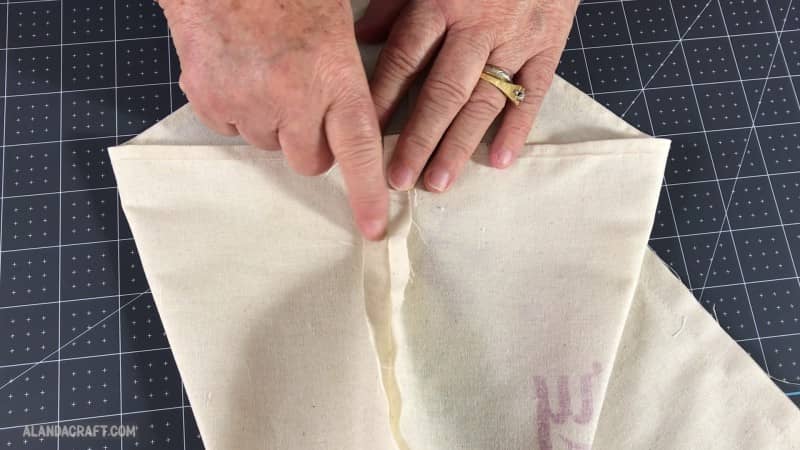
This bit is better explained in the video, but what we are wanting to do is neaten the edge by top-stitching along the seam line opening.
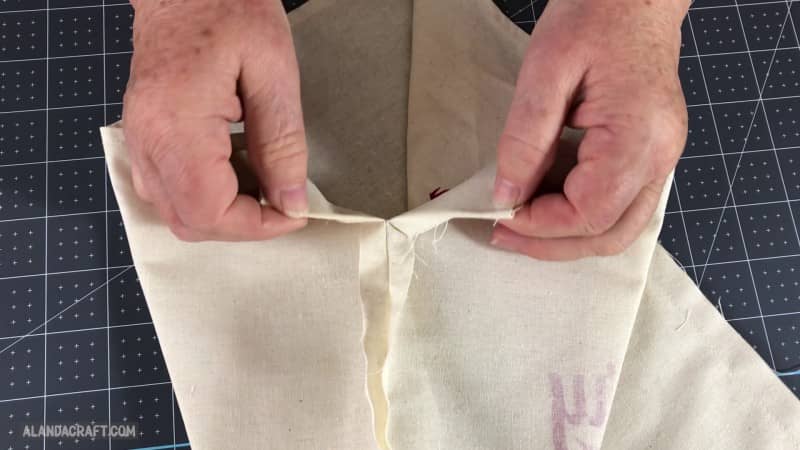
- Starting at the folded edge, sew down the seam, across the seams and up the other side.
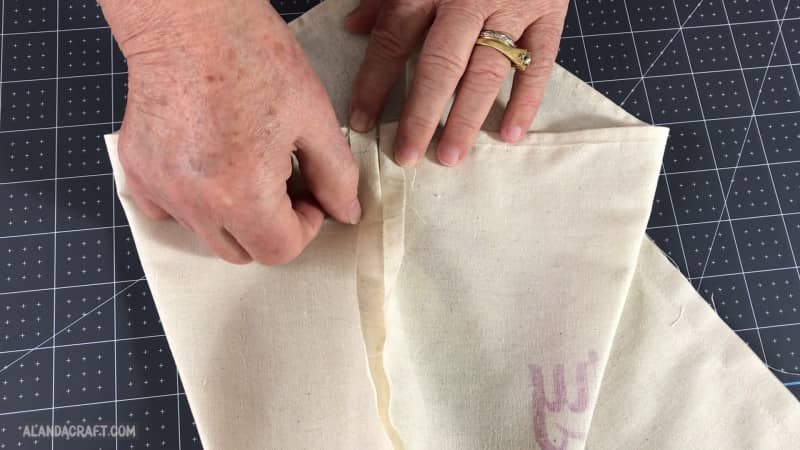
- Sew across the seams and backstitch a couple of time to reinforce this.
- Leave your needle in the down position and pivot around to come up the other side.
- Finish with a backstitch.
This gives a nice finish to the opening and it will make it easier when threading through the cord or ribbon.
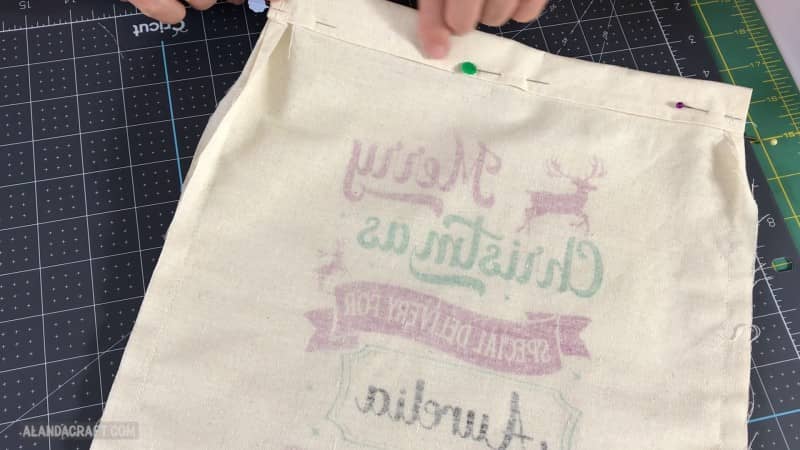
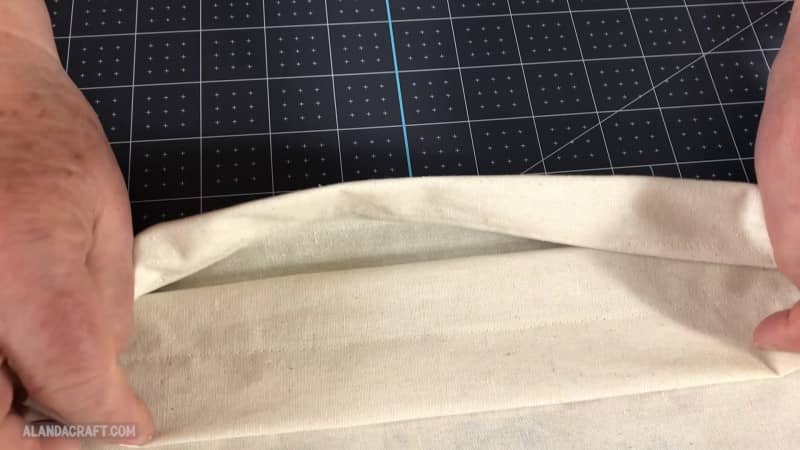
- Fold over 1″ at the top of the Santa sack and pin in place.
- Repeat on the other side.
- Make sure that the two folded over edges line up neatly next to each other.
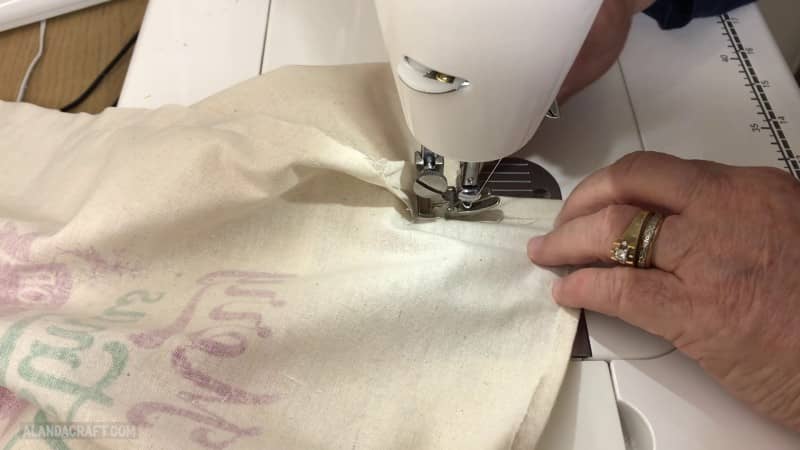
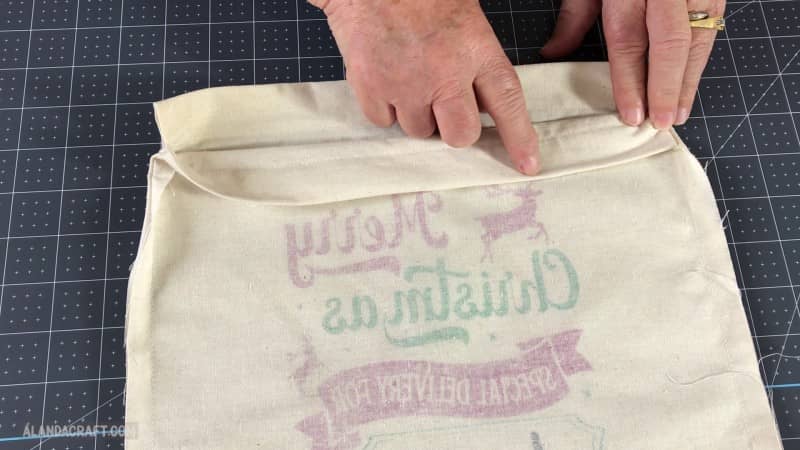
- Now we need to sew right around the bag with about an ⅛” seam.
- Start at one side and backstitch just to reinforce that area.
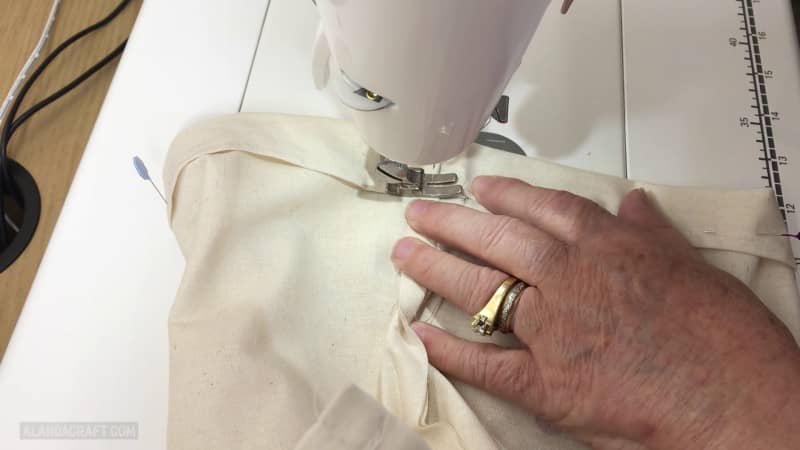
- Sew all the way around the bag.
- When you come to the opening on the other side, backstitch across to reinforce the area.
- Continue sewing to where you started, and backstitch.

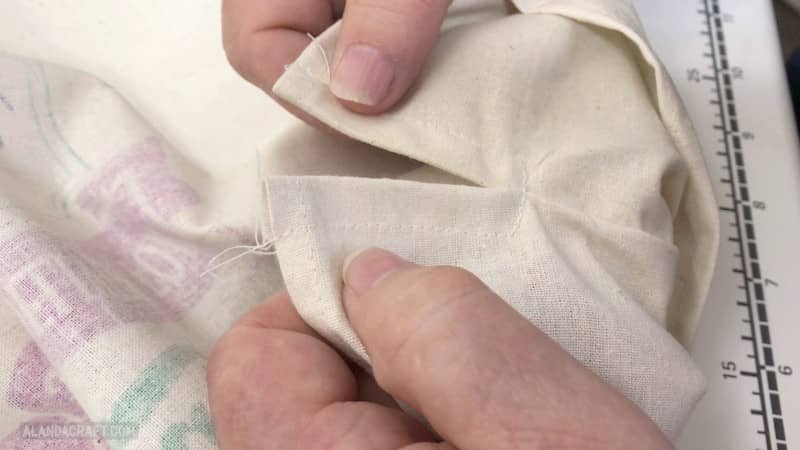
- And this is what the top looks like on the front of the bag.
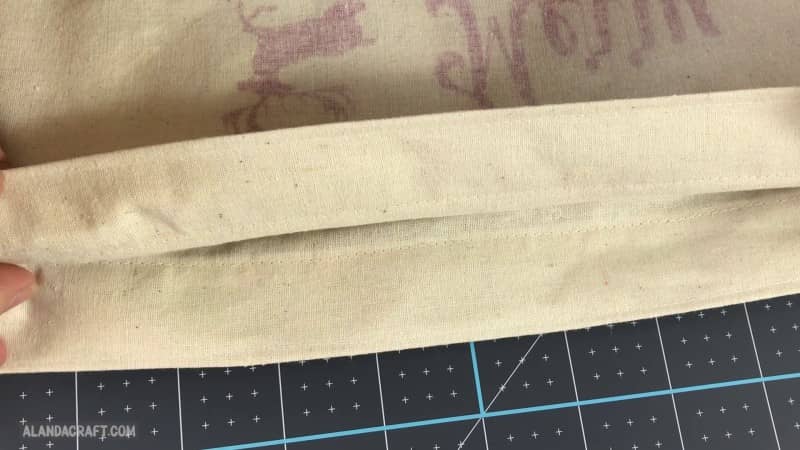
- Now I’m going to topstitch around the very top about an ⅛” from the edge. This is optional but I think it adds a nice touch to the finished look.
- It’s a bit hard to see but this is what it looks like.
Now we just need to turn the bag through. I’m not going to clip the corners but you certainly can do that if you wish. I am just going to carefully poke them out.
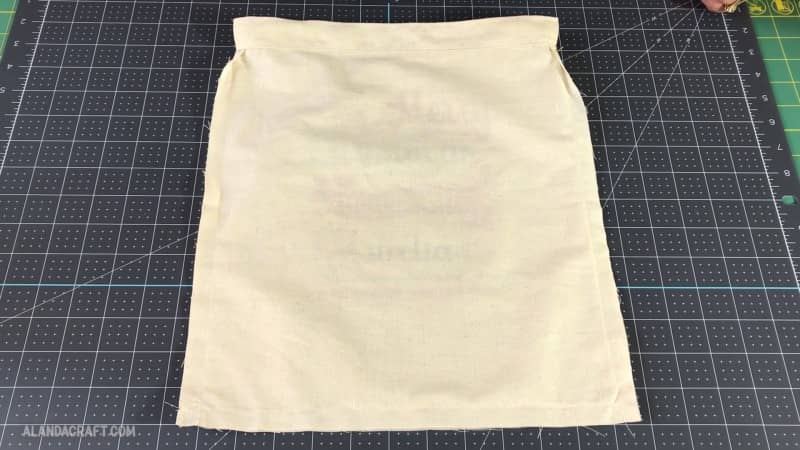
Another thing you can do is zig zag or overlock your edges, but I’m not going to do that either. I just want this to be quick and easy bag.
Now it’s time to add our cord or ribbon.

Inserting the Cord
I am using a safety pin to thread the cord through but you can use a bodkin if you have one.
Thread the cord through from one side taking it right around through the other side until you come back to where you started. So you have two cord ends on the same side.

Then thread the cord through from the other side taking it around so that you have the two cord ends on the other side.
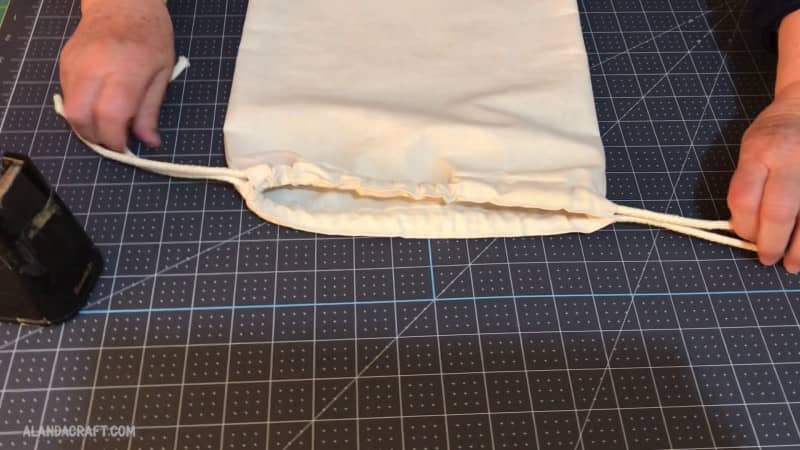
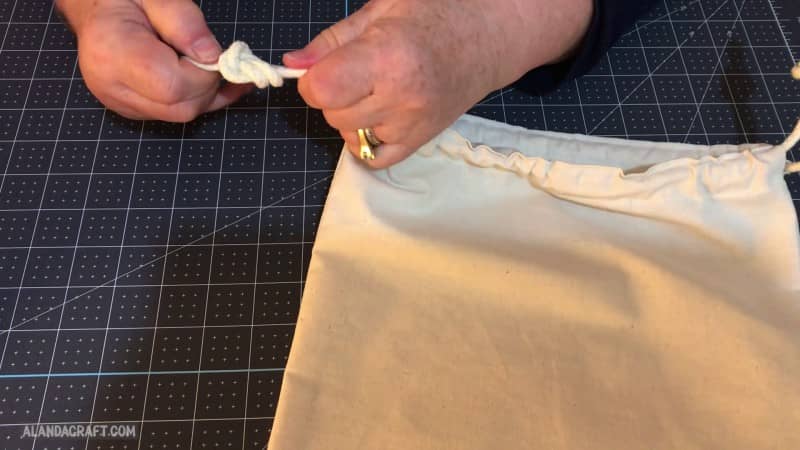
Tie the cords off with a knot.
TIP: If your cord starts to fray or come apart, just wrap a piece of sticky tape around it. This will make it easier to thread through the gusset.
Fill with goodies and pull the cords tight.
This is such a quick and easy Santa Sack to make and you can personalize each bag. I can just imagine the squeals of joy when the kids open their Santa sacks on Christmas morning.
Now as I mentioned at the beginning of this post, we screen printed our design onto the canvas using our xTool Screen Printer. This machine is a game changer when it comes to screen printing. I never thought it could be so easy. I’ve seen screen printing in action and it always looks so messy and complicated, but not with this machine.
You do need a laser engraving machine to use the xTool screen printer, and fortunately we do have one of those.


Carol says
Hi Wanda and Paula, what a cute bag! Boy, I’m even more jealous about the Xtool laser – now you can screen print too?!!
Christmas is my favorite time of year, there’s always new and fun things to make…
Have fun with your Xtool.🎄🥳
Carol
Alanda Craft says
The screen printing has been a lot of fun although we are still learning. Hope you have a great Christmas – it’s coming up super fast!
gwen ziegler says
do you do a business for your subscribers? (hint) lol
Gwen Ziegler
Noreen Jankowski says
I just love ❤️ all your easy sewing projects. I just can’t keep up with all of them, some day! Thanks
Alanda Craft says
Thank you Noreen ☺️.