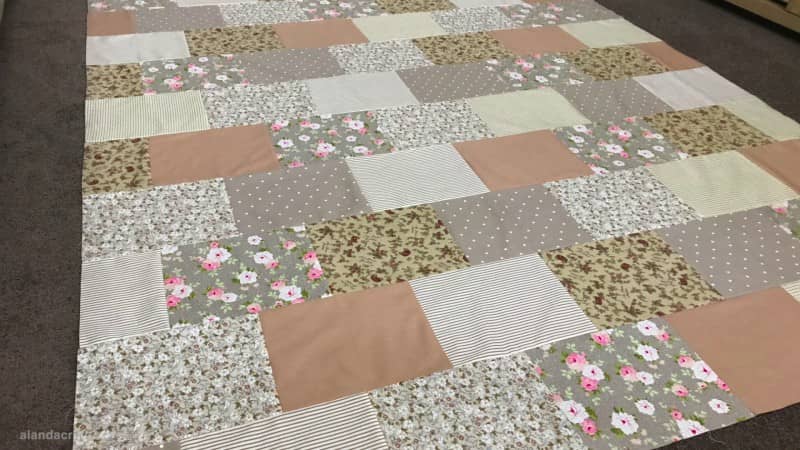
Today we are going to be making a Staggered Bricks Quilt. These quilts are a timeless classic with their simple yet striking design. Having the ‘bricks’ arranged in an offset pattern gives the impression of a brick wall. And the beauty of this quilt is that you can create unique designs depending on the number of fabrics you choose. We went with 7 different fabrics but you use just 2 or you could even make every block a different fabric, which is a great way to use up your scraps.
Imagine the fun you can have playing with different color combinations, and even the block sizes to achieve different looks. It doesn’t matter if you choose quiet, subtle tones or bright, vibrant colors as either will look amazing in this design.
Just like a lot of other quilt patterns, the scattered brick design can be traced back to the early American Settlers. I would think that their fabric choices would have been pretty limited back then so they were really good at repurposing their fabric scraps to create warm and cozy quilts. So this is a quilt that will definitely lend itself to using up fabric you have on hand.
This is definitely a beginner quilt…
If you are a beginner, you are going to love making this quilt. You don’t have to worry about lining up seams so it’s pretty difficult to mess up. I’m not gonna lie, there is a lot of cutting involved as you need to have 65 blocks that all measure the same size but it is a good way of practicing using a rotary cutter and mat….although you can of course use scissors. But once those blocks are cut, it’s just sewing from then on.
Choosing Fabric
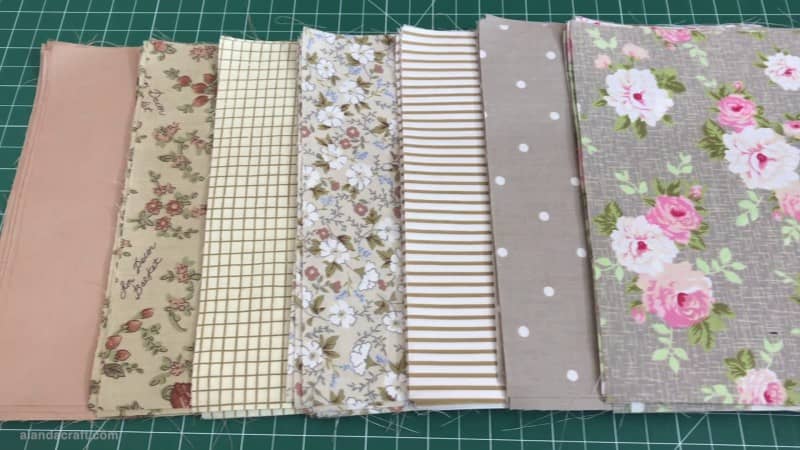
For our Scattered Bricks quilt we are using a cotton twill fabric from Temu. We actually didn’t realise it was cotton twill at the time. It’s not the same as 100% quilting cotton – it is softer and lighter, but it’s still a nice weight to use in quilts and other sewing and quilting projects.
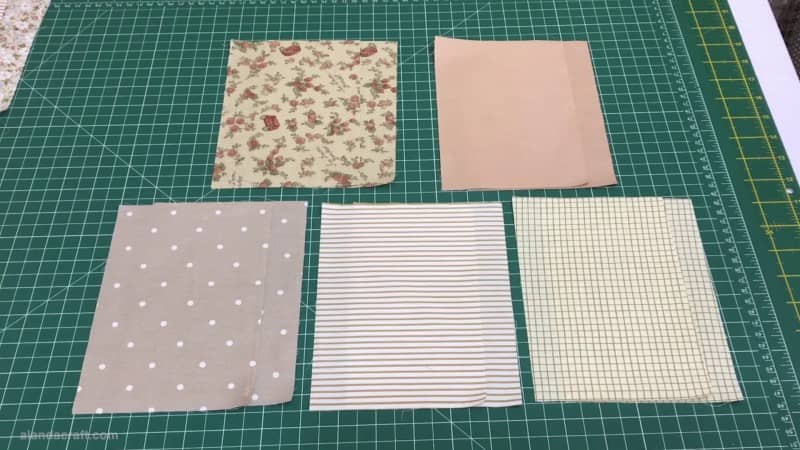
When we saw this pack of rectangles measuring 10″x8″, with 7 different patterns included we quite liked the sort of vintage look of the fabric with it’s subtle tones. So we got 10 packs, that way we knew we would have plenty of fabric to make a quilt.
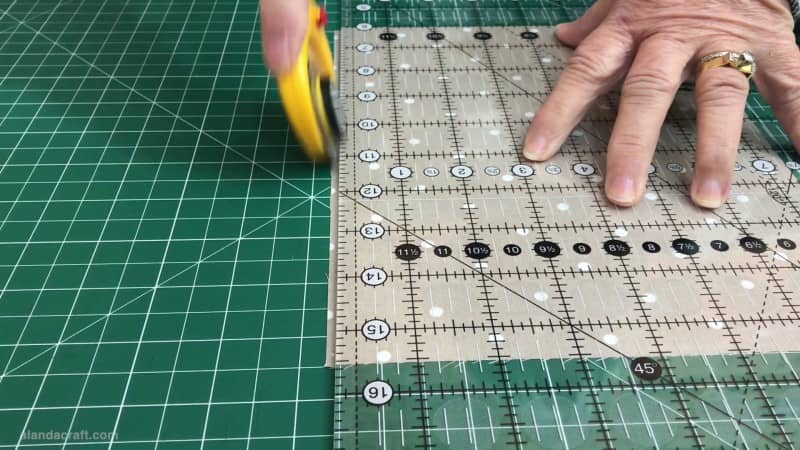
Some of the rectangles weren’t quite 10″x8″ so the first thing we had to do was decide on what size we wanted the rectangles to be and after deciding on 9½” x 7 ½” we cut each of the rectangles to that size. We felt that this size minimized the amount of waste fabric we would have. Not that anything goes to waste, we use it all no matter how small. You can see how we use small scraps for crumb quilting here, and we do have a video coming up sometime in the future where we show you how to use even the tiniest pieces of fabric and threads.
And as I said before, you know what, you can use any fabric you have on hand, so this is a way to use up some of your larger fabric scraps you have sitting around in boxes and you’re not sure what to do with them.
I think vibrant colours would look really nice in this quilt pattern.
Quilt Size
Our quilt measures 59″ x 71½”
What you Need
- Enough fabric to make 70 rectangles measuring 9½” x 7 ½”. You can use fabric from your stash for this or you can do what we did and purchase a pack of ten (10″x8″) pieces of fabric. We used Vintage Floral Twill Cotton Fabric
- Cotton – We use Gutermann’s Sew All Thread.
- Rotary Cutter – Olfa 45mm rotary cutter
- Ruler – Creative Grids ‘ The Big Easy’ 12½” x 24½”
Watch the tutorial below or scroll down for written instructions
(Can’t see the video? You may have an ad blocker installed. You can turn that off OR watch the video here on our YouTube channel.)
Method
The first thing we did was to press the fabric and measure the rectangles. The pieces in the pack weren’t all cut to the right size. So we selected the smallest rectangle and cut the rest to match it.
Trim the Rectangles
After pressing the rectangles we trimmed them down to 9½” x 7 ½”.
Cut the Edge Pieces
Now that we have our rectangles trimmed to size we need to select 5 of our rectangles to use as edge pieces. I decided not to use the prettiest flower fabrics for these edge pieces as I wanted to keep them for the main body of the quilt, so I used plainer fabrics.
NOTE: This step is important because these edge pieces will create the staggered brick look.
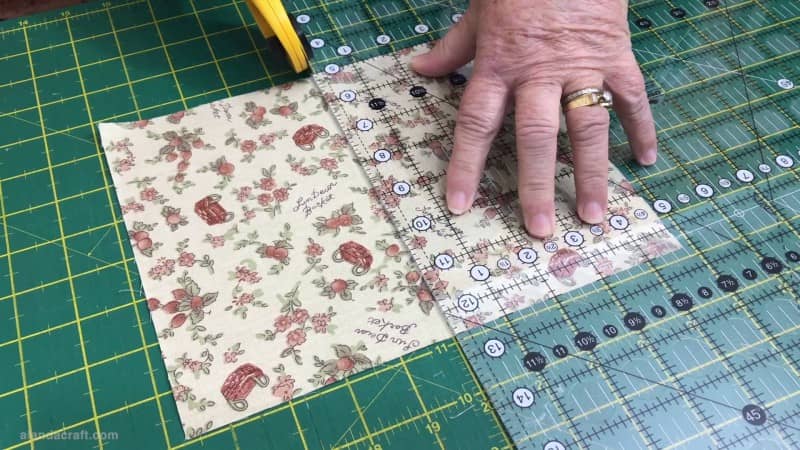
Next we need to cut each of these 5 pieces in half. So I have cut them through the middle at the 4 ¾” mark. I’m using my ruler here to measure the half way mark but you could just fold the fabric in half and cut along the crease.
Just a quick mention about my new ruler which I absolutely love. It’s a Creative Grids ruler called The Big Easy and it measures 12½” x 24½”, so it’s a big ruler. In true Creative Grids fashion it grips the fabric beautifully so nothing moves.
Okay, so now we have our 10 edge pieces ready to go. There are 2 pieces of each pattern.
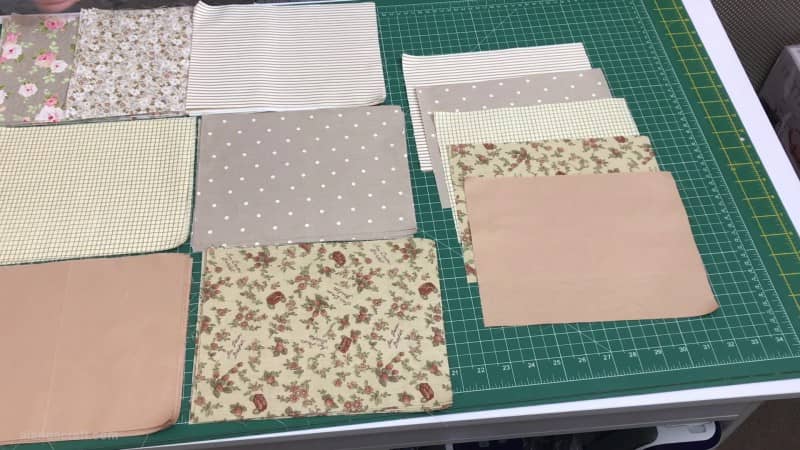
Lay Out the Pieces
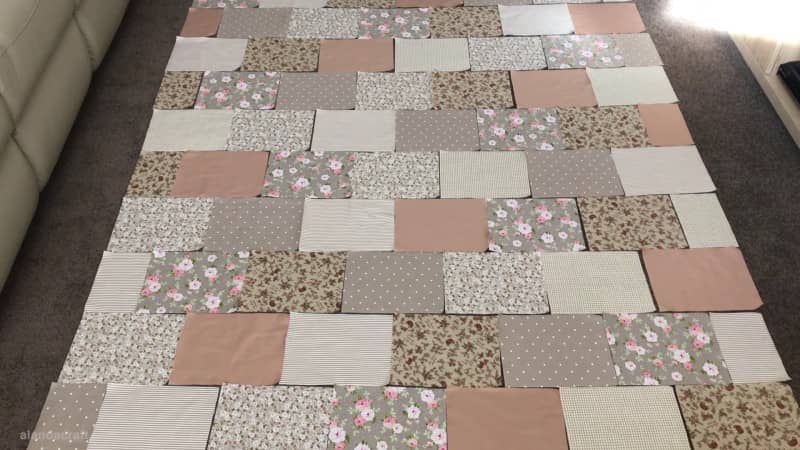
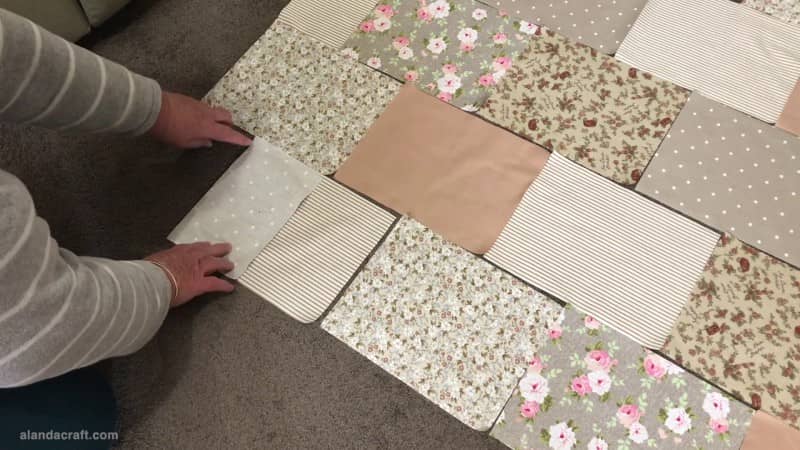
Once you have all your rectangles trimmed to size, and your edge pieces cut, it’s time to lay them out and arrange them how you like them to look.
So for the first row, I have placed 6 rectangles and added an edge piece to the end.
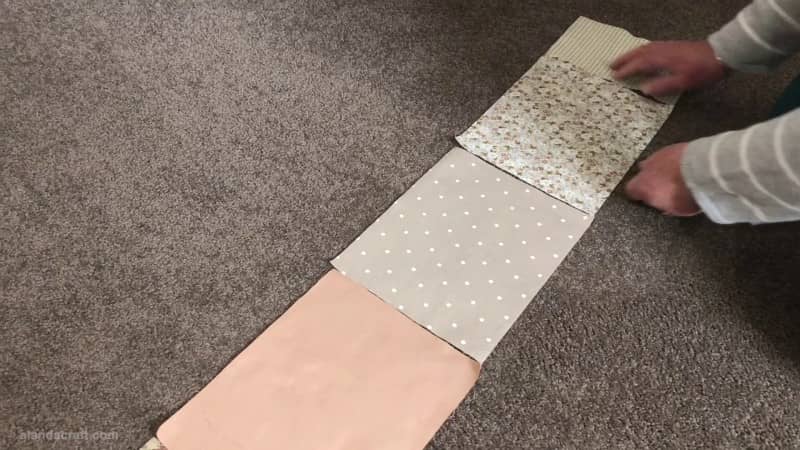
On the second row, we need to start with an edge piece and then finish with 6 rectangles.
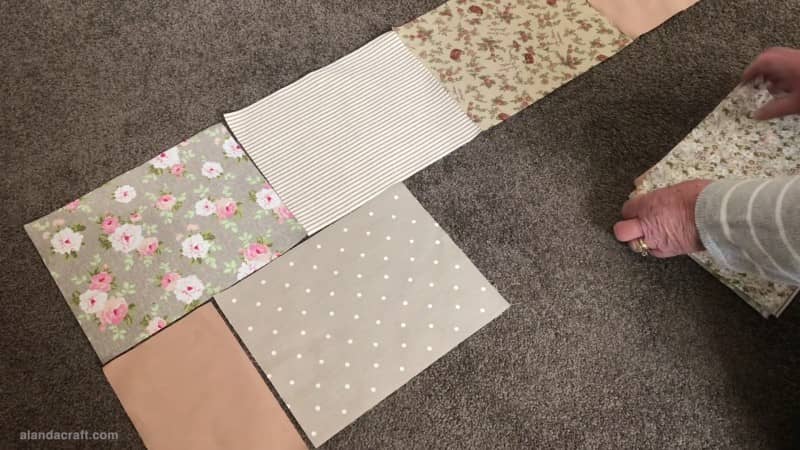
And we continue doing this down the quilt.
Now that it is laid out you can see it resembles a brick wall and how those edge pieces have helped to create that look.
Assemble the Quilt
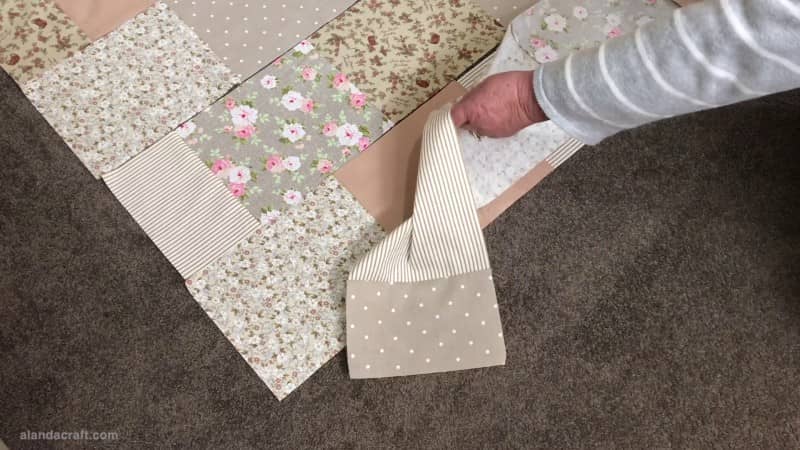
Lay the first block over the second block in the row with right sides facing and sew them together with a ¼” seam. You can see here that the first block was an edge piece.
Then place the next two blocks together with right sides facing and sew them together with a ¼” seam. Continue sewing the blocks together until all the blocks in the row are sewn together.

Repeat this with each of the rows all the way up the quilt.
Now it’s time to sew the rows together.
- Place the first row over the next row with right sides facing.
- I tend to pin at each end of the quilt, give it a tug so that the pieces are laying flat and the edges are lined up and then I place a pin in the centre of the quilt. Once that is done I continue pinning along the edge of the quilt.
- Sew the rows together with a ¼” seam.
- Continue sewing the rows together until they are all joined.
Your quilt top is now finished. You can add borders if you wish. Otherwise it’s time to add some batting and backing and quilt the top. Finish the quilt by adding your binding.


Connie says
Love this thanks!
Alanda Craft says
That’s great to hear Connie. Thank you 😊