The Brother Dream Machine is such an awesome sewing machine with so many options and features…I never get tired of playing with it. With 9 pages of settings you can customize this machine in all sorts of ways to suit exactly how you work.
One of the settings that you can change is the speed controller. That’s the slide button at the top of your machine that allows you to control the speed at which you sew.

I use this a lot but it wasn’t until recently that I found out that you can change this button to do something completely different and it’s something that those who applique might find very useful.
What it can do with just a change of a setting, is go from a speed controller to a zig zag width controller. So as you sew you can move the controller to make changes to the width of the stitch. This is great if you are working with a lot of satin stitch.
How to Change the Speed Controller
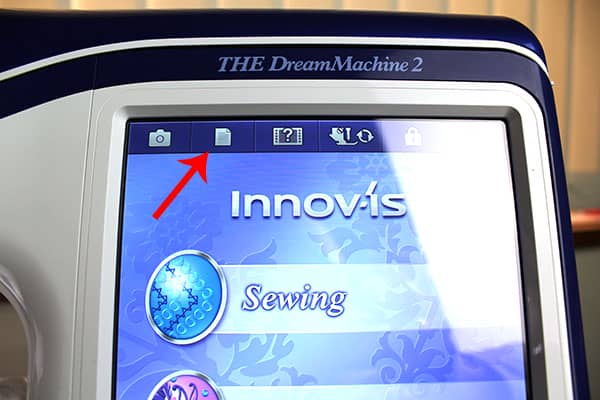
1. Click on the SETTINGS option on the top menu.
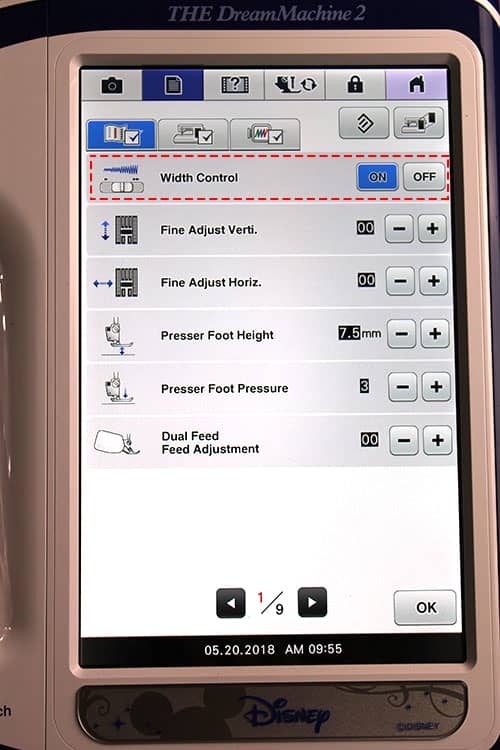
2. The first option on Page 1 should be WIDTH CONTROL. Just turn this to the ON position and click OK.
3. Now you are ready to go. Select the stitch you want to use – mostly likely a zigzag stitch.
4. Start sewing. Use a scrap of fabric to practice on and just slide the Speed Controller switch back and forward to see how it works.


Leave a Reply