Making quilt blocks can seem to be a daunting process for a beginner, but really it’s just a matter of taking your time and knowing which bit goes where.
For this block, we used Half Square Triangles (HST’s). If you are unfamiliar with making these, then here is a link to making a half square triangle.
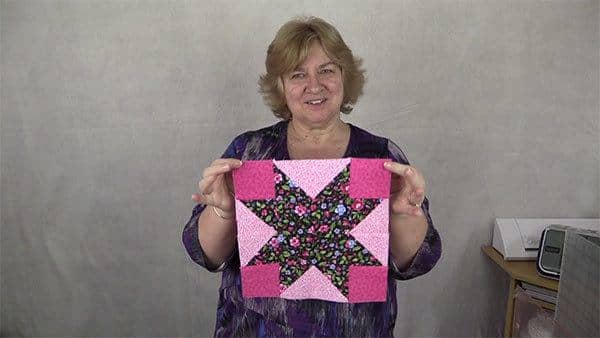
When I finished this block I wasn’t 100% happy with the bright pink corner blocks and feel I should have chosen something a little more subtle. But once you start filming and get halfway through, there’s no going back, well not if you want to get the tutorial finished. Maybe when a few of them are put together it might look better to me.
Watch the video tutorial below or scroll down for the written instructions
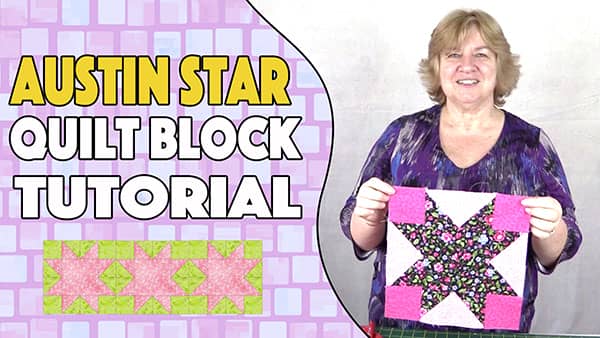
The Austin Star quilt block measures:
- 10½” – unfinished
- 10″ – finished
What You Need:
Fabric 1: Star pieces
- 1 pc 6¾”
- 1 pc 5½”Fabric
Fabric 2: Side pieces
- 1 pc 6¾”
Fabric 3: Corner squares
- 4 pcs 3″ square

TOOLS USED IN THIS TUTORIAL
You can check the latest prices at Amazon by clicking on the links below:
- Olfa 24″ x 36″ double sided healing mat
- Quilters slidelock
- Olfa 60mm rotary cutter
- Creative Grids Ruler 8½” x 24½”
- Oliso Iron
- Gutermann Sew All thread
Let’s Put it Together:
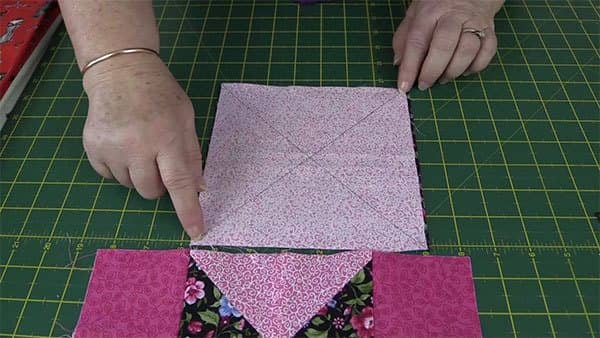
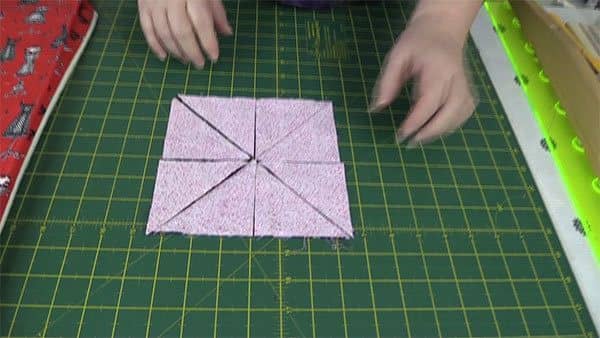
- Take the two 6¾” pieces of fabric and place them one on top of the other, right sides together.
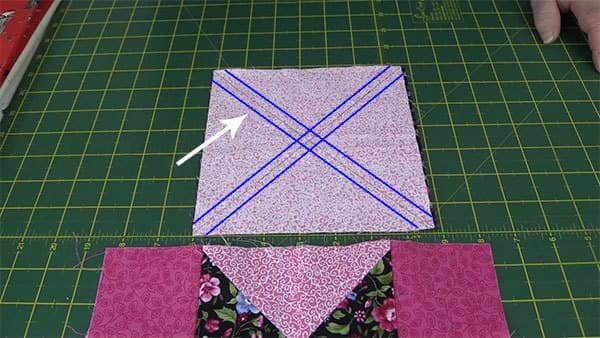
- Draw a line diagonally across the fabric from corner to corner, in both directions as shown in the photo below.
- Sew a ¼” seam on either side of the lines that you have drawn.
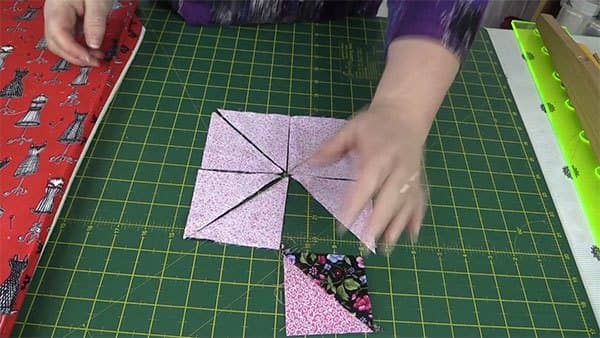
- Slice the fabric in the order shown in the photo below.
- Do Not move the fabric, move the ruler.
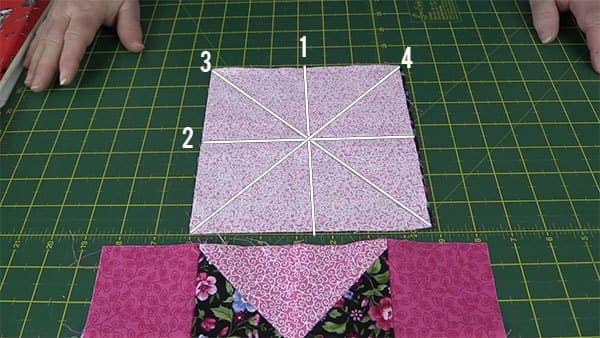
- You now have 8 half square triangles (HST’s)
- Press each of the HST’s with the seam going towards the dark side.
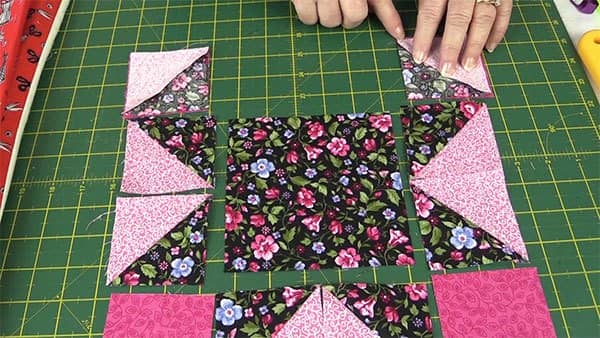
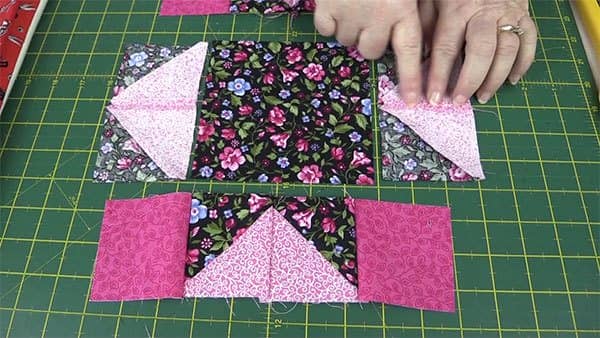
- Lay out the pieces as shown below.
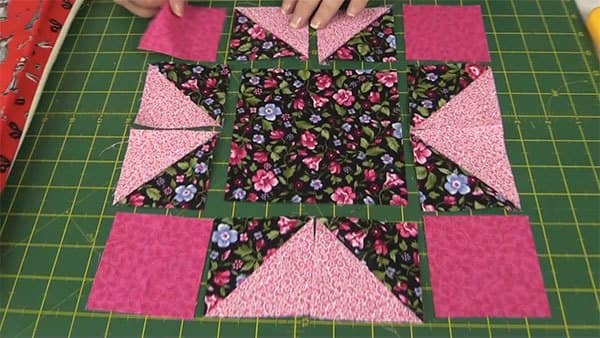
- Sew the first two pieces together with a ¼” seam.
- Sew the next two pieces together with a ¼” seam.
- Then sew the two sets together to form the top row.
- Repeat the process to form the bottom row.
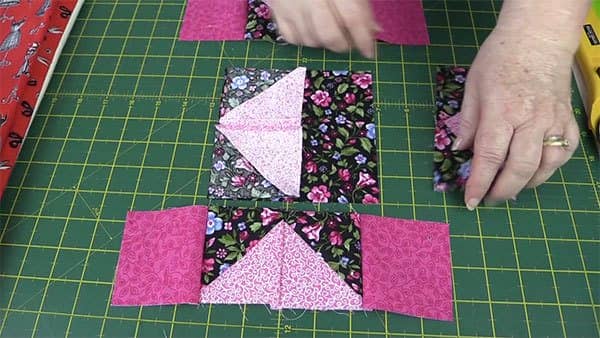
- Take two side pieces and lay them one on top of the other, right sides together.
- Join them with a ¼” seam.
- Repeat the process for the two squares on the other side.
- Press the seams open on the side pieces.
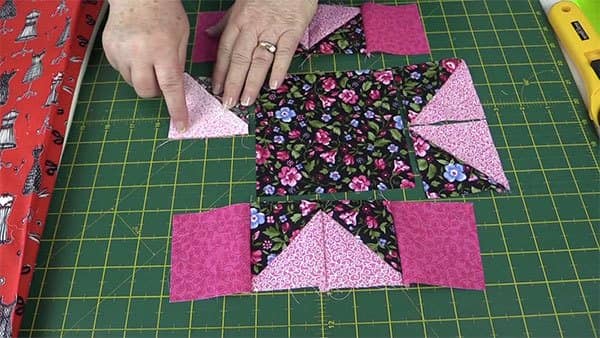
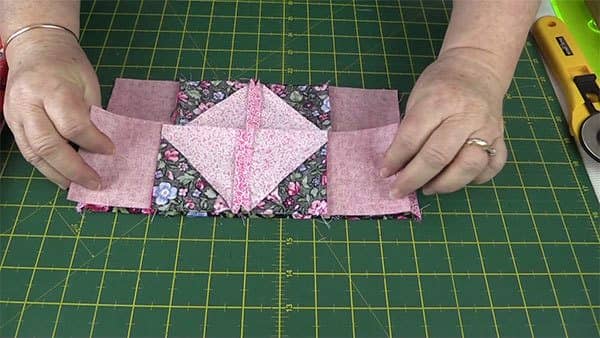
- Lay the side piece over the middle square, right sides together.
- Sew together with a ¼” seam.
- Do the same with the other side piece.
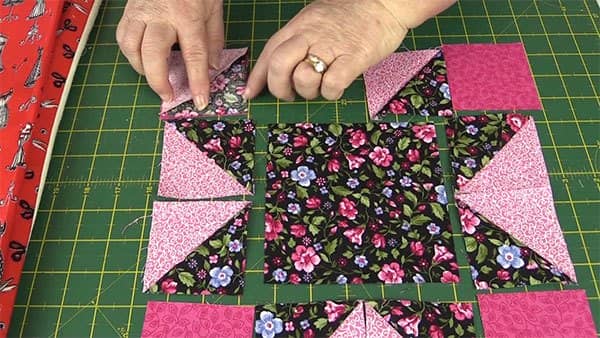
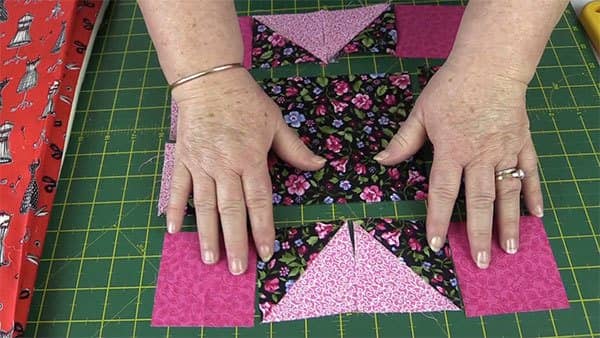
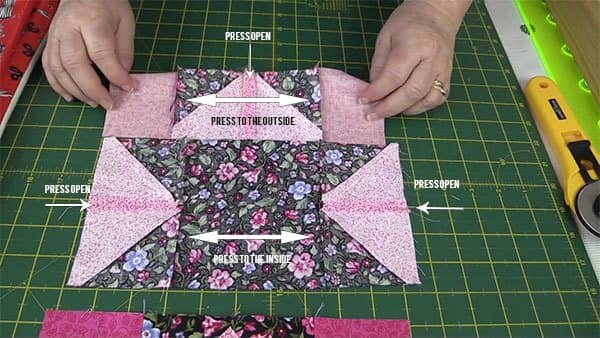
- Now press the seams as shown in the photo below.
- Press the bottom piece the same as the top piece. – Centre seam open, side seams towards the outside edge.
- Press the middle piece with the seams towards the middle square and the seams on the side pieces were already pressed open in an earlier step.
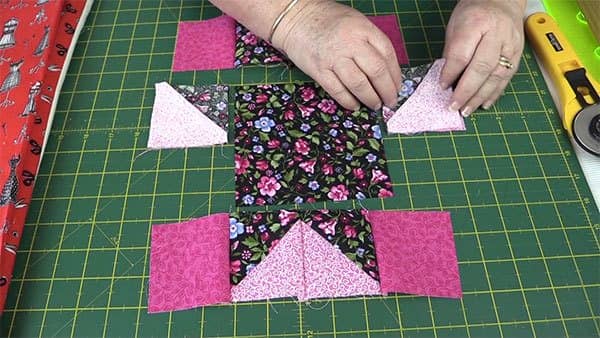
- Lay the top piece on top of the middle section and sew together with a ¼” seam.
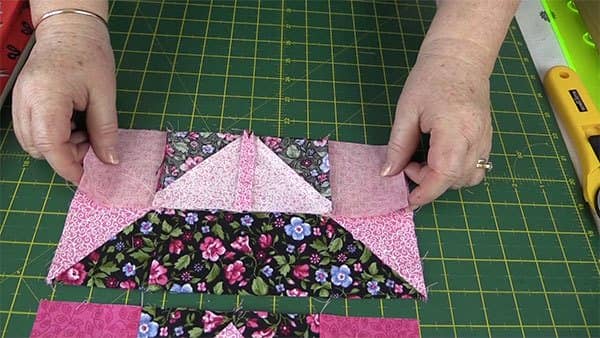
- Lay the bottom piece on top of the middle section and sew together with a ¼” seam.
- And here is the finished block.
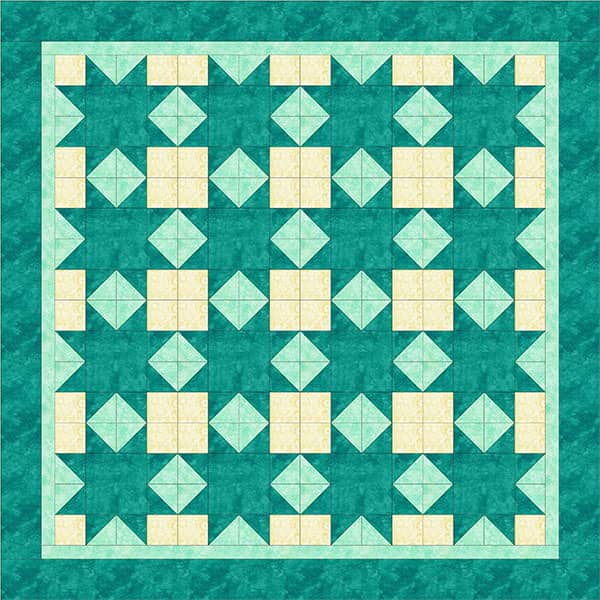
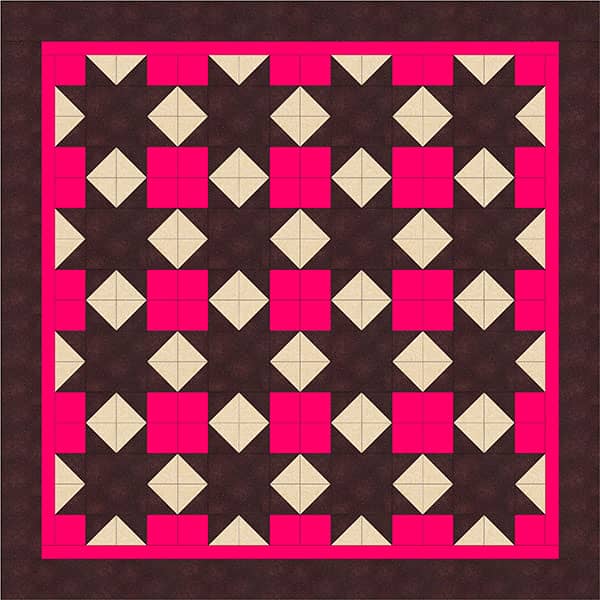
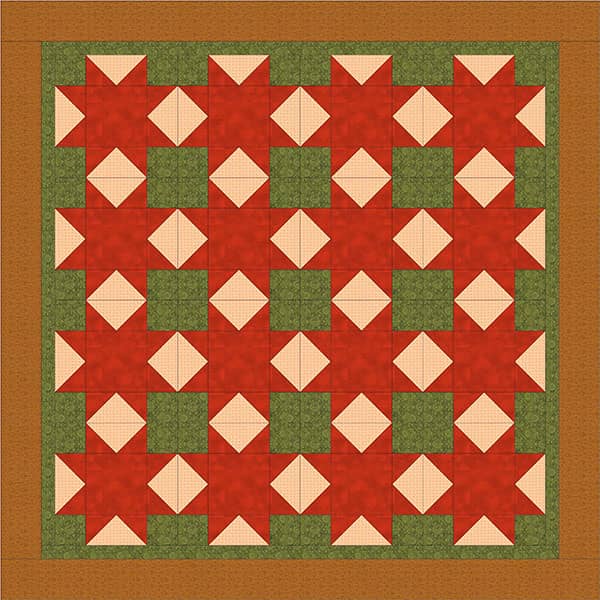
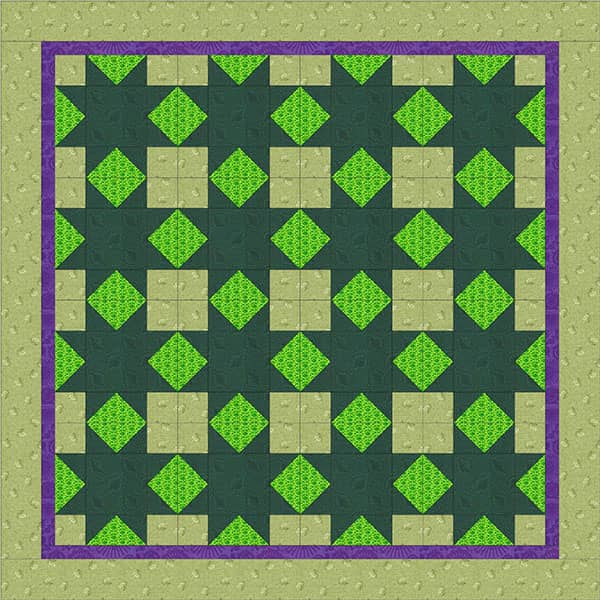
Here are some examples of the Austin Star Quilt Block made into quilts.


Maria Thirlwall says
Hi
How much of each fabric would I need to make a queen sized quilt?
Thanks for the instructions
Maria x
Alanda says
Im sorry Maria, we don’t have the staffing capacity to work out the requirements for individual quilt sizes. Our aim is to provide instructions on how to make individual blocks. The materials would depend on the size you actually want, the size of block, the sashing and the borders, and unfortunately we just don’t have the time to this. However, there are programs available that would be able to do this for you. Here is a link that may help you http://quiltbug.com/articles/fabric-calculator.htm