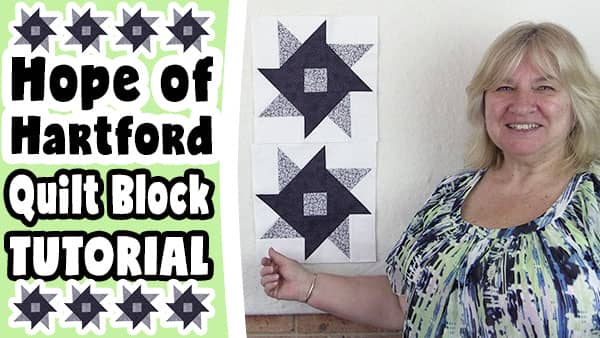
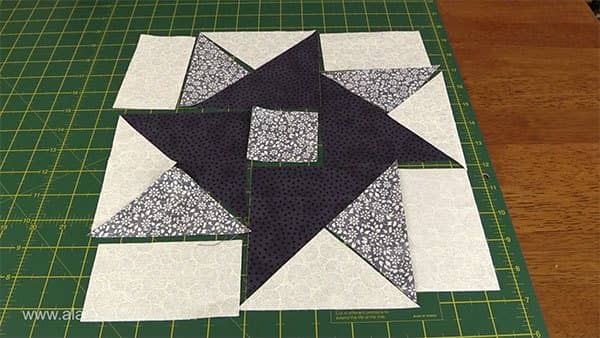
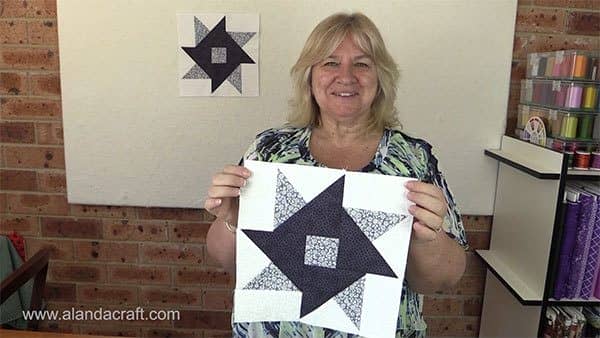
The Hope of Hartford quilt block is a lovely block that looks nice when it is done with three different fabrics, but of course, you can use more if you wish. We have used a light, medium and dark fabric.
Watch the video tutorial below or scroll down for the written instructions
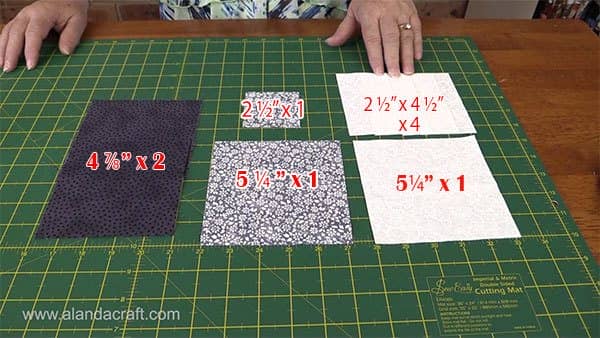
What You Need for a 10″x 10″ finished block (10½” unfinished):
Light fabric
- 1 piece 5 ¼” square.
- 4 strips 2½” by 4½”
Medium fabric
- 1 piece 5 ¼” square.
- 1 piece 2½” square.
Dark fabric
- 2 pieces 4 7/8″
Measurements for a 12″ Finished Block
To make the Hope of Hartford quilt block as a 12″ finished block (12.5″ unfinished) use the following measurements:
Light fabric
- 1 piece 6″ square.
- 4 strips 5 ¼” by 2 7/8″
Medium fabric
- 1 piece 6″ square.
- 1 piece 2 7/8″ square.
Dark fabric
- 2 pieces 5 5/8″
TOOLS USED IN THIS TUTORIAL
You can check the latest prices at Amazon by clicking on the links below:
- Creative Grids Ruler 8½” x 24½”
- Olfa 24″ x 36″ double-sided healing mat
- Olfa 60mm rotary cutter
- Oliso Iron
- Gutermann Sew-All thread
- Quilters Slidelock
Method:
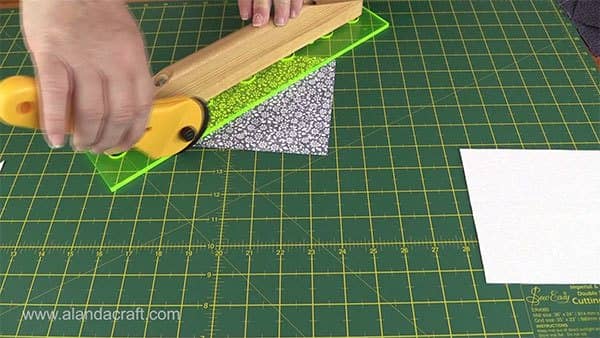
- Slice the dark square on the diagonal from corner to corner.
- Do this with both the 4 7/8″ pieces.
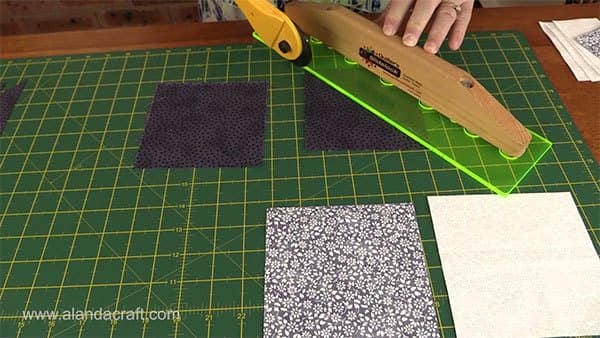
- You now have 4 triangles.
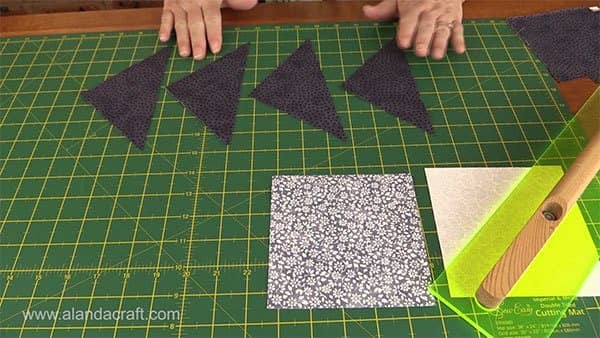
- Slice the light and the medium squares diagonal from corner to corner.
- Now slice from corner to corner, diagonally, on the other side.
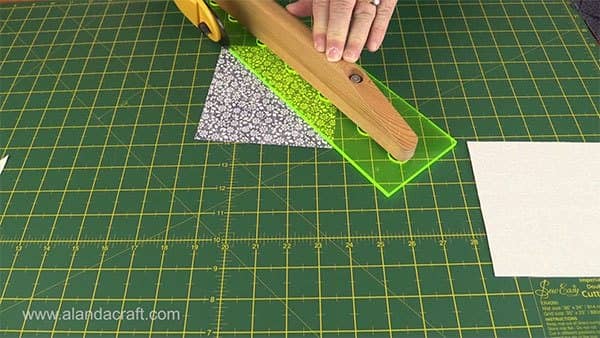
- You now have 4 triangles in both the medium and the light colours.
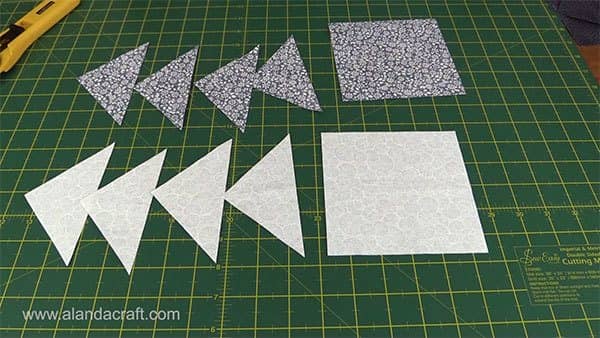
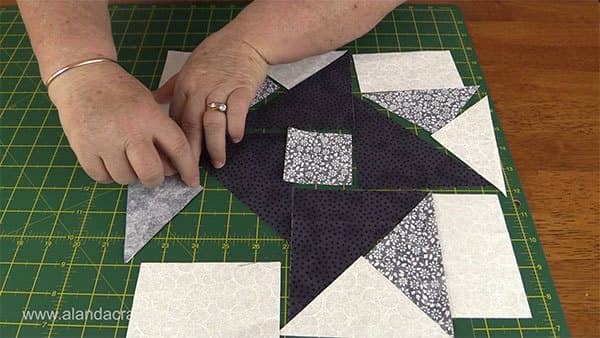
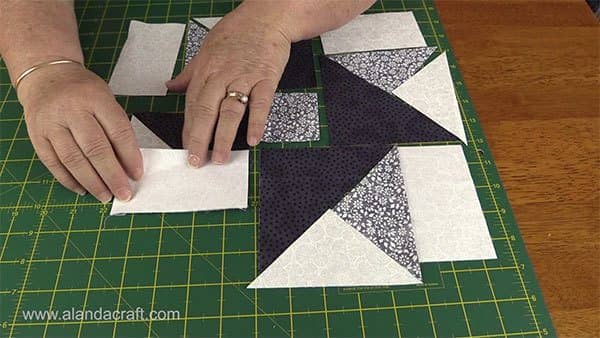
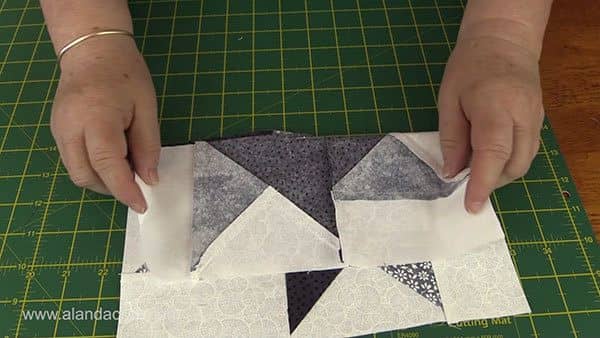
- Lay the pieces out on the mat as shown in the picture.
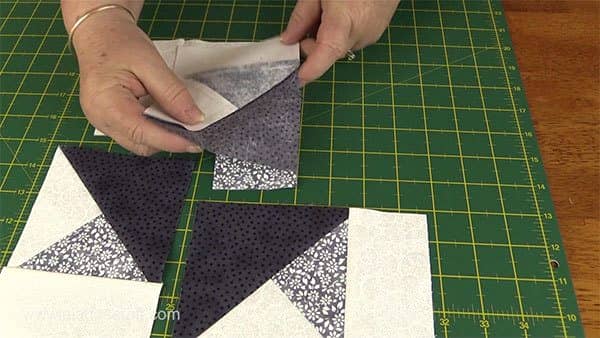
- We are going to sew the small triangles together first.
- Take one light triangle and one medium triangle and place them one on top of the other with right sides facing.
- Sew them together with a ¼” seam.
- Press the seam towards the darker fabric.
- Do this for all four sets of small triangles.
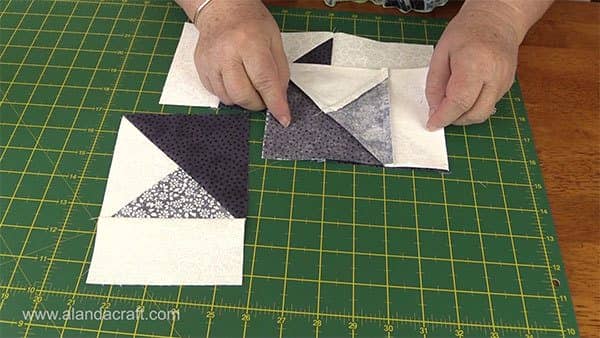
- Place them back into their position in the block.
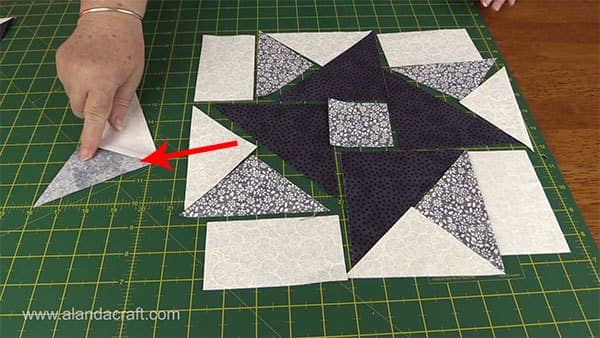
- Take the large triangle and place it, right sides together on top of the two triangles you have just sewn together.
- Sew the two pieces together with a ¼” seam.
- Press the seam to the dark side.

- Do this to create all four triangle sets.
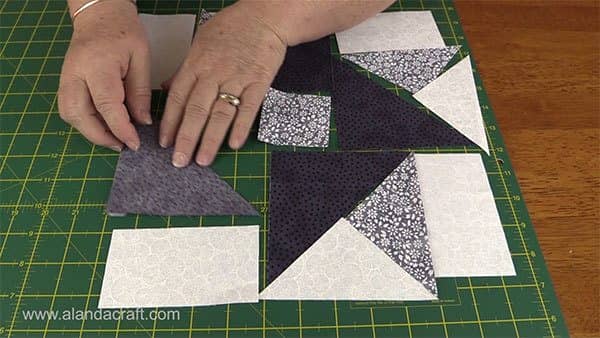
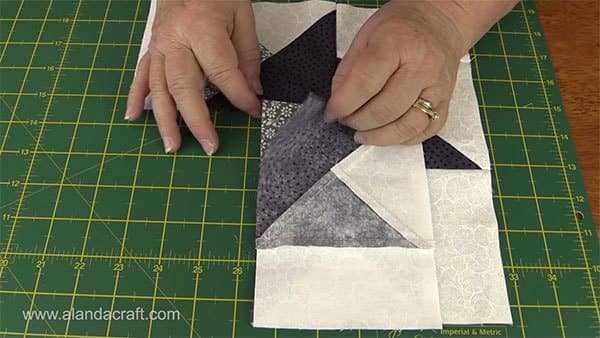
- Take one of the 2½” by 4½” strips and place it right sides together over the square you have just created.
- Sew along the edges with a ¼” seam.
- Press the seam towards the rectangle side.
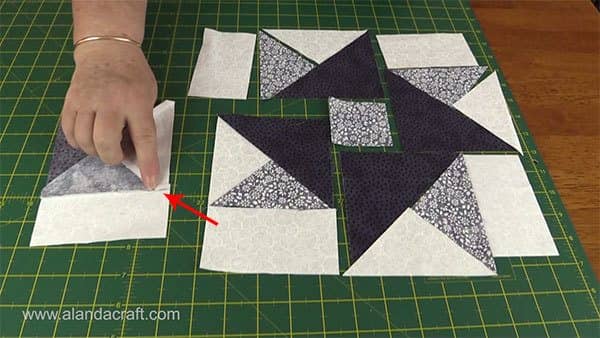
- Add the strips as shown to each of the remaining squares.
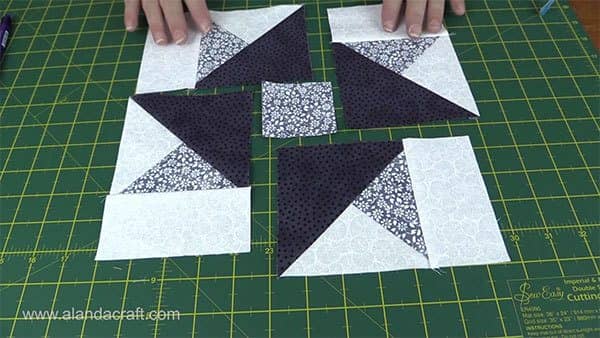
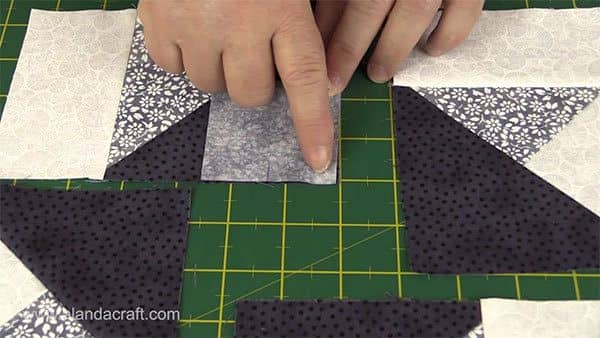
- Take the 2½” square of fabric and fold it in half.
- Finger press a crease.
- Take a Frixion pen or other fabric pen and draw a line at the half way point.
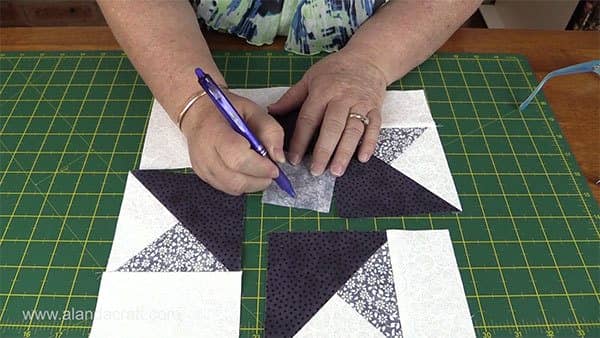
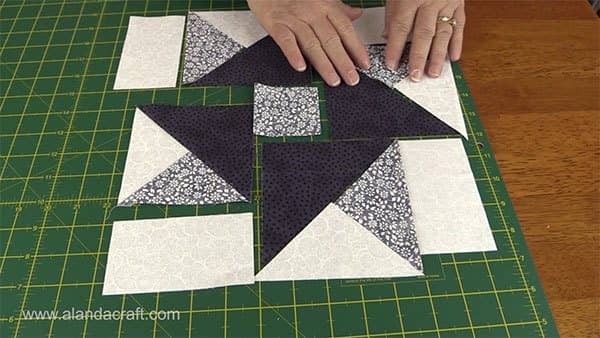
- Now its time to attach the rectangles to the middle square.
- Place the square in the corner of one of the triangles. Right sides together.
- Backstitch at the start.
- Sew along the edge until you reach the pen line. Backstitch.
- Press the seam towards the square.
- Take the next rectangle piece and line it up with the rectangle that has the square attached. Right sides together.
- Sew the two pieces together with a ¼” seam.
- Press the seam towards the square.
- Take the next rectangle piece and place it right sides together over the piece you have just sewn.
- Sew together with a ¼” seam.
- Press the seam towards the square.
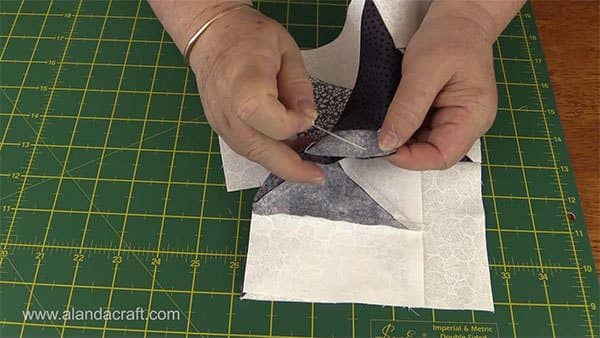
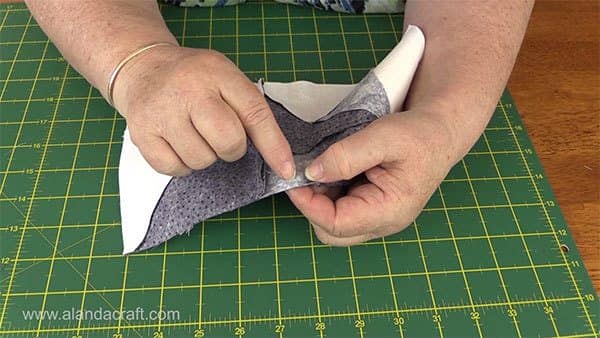
- Now we come to adding the last rectangle and this one is a little different.
- Remember how we only sewed half the square to the first block, well that was because now we need to be able to attach the last block.
- Lift the loose end of the square and flatten it out.
- Place the two edges, right sides together, and pin.
- Take your time to make sure the edges are flat.
- Sew together with a ¼” seam.
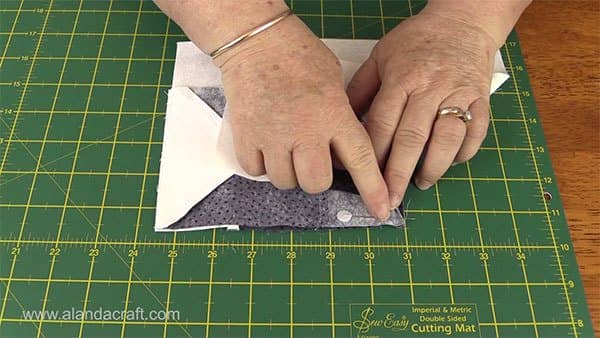
- We are now going to sew the last seam.
- Fold the bottom rectangle up.
- Line up the edges.
- We are going to start stitching from where we left off at the beginning.
- So line your needle up with the backstitching at the middle of the square.
- Backstitch – we do this because this seam won’t be sewn onto any other seam and we don’t want it to unravel.
- Sew from the centre of the square out to the edge.
And there you have it. This is a lovely block that is well worth making and once you have tried it you will find it really easy to do.
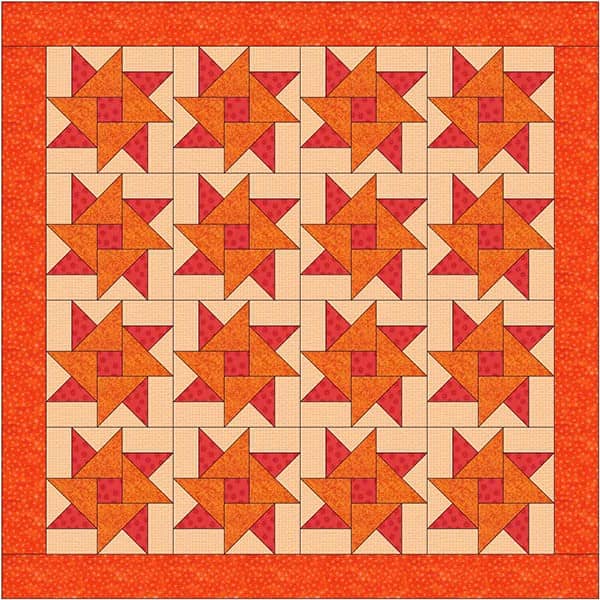
- You can put this block together using sashing between the blocks.
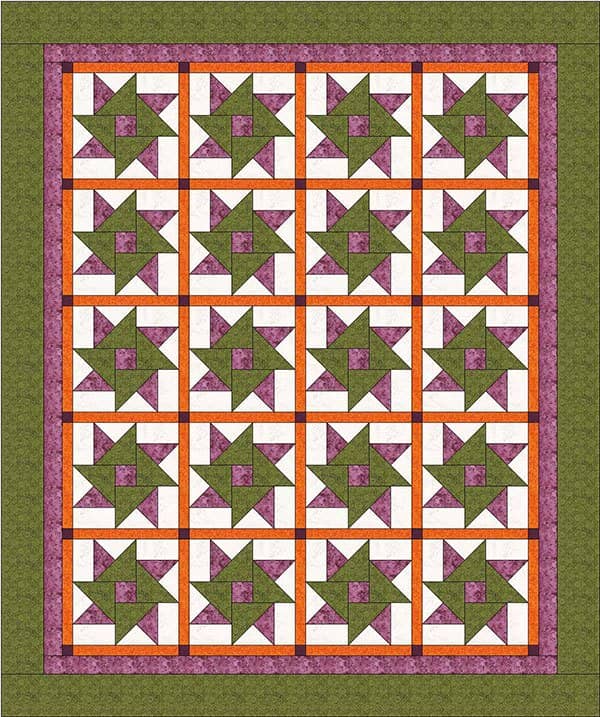
- Or you can simply sew the blocks together.


Tina says
Very pretty and easy, thank you Alanda!
Anne says
Very nice tutorial!! Clear description of something that could be confusing.
Alanda says
Thank you Anne. This is such a lovely clean looking block. It’s one of my favourites 🙂
Kate says
Thank you, thank you, thank you!…. You did a wonderful job of explaining this block.
I’ll definitely be making this! Kate
Alanda Craft says
Excellent, so good to hear Kate.