In our previous post (Part 1), we showed you our first attempt at using the xTool Screen Printer – and in that review we went through how to set it up, how to attach a screen to a frame, how to engrave a design and how to create a project using one colour. Now I am going to talk about two methods for making designs using multiple colours.
I can’t believe how easy this machine is to use. It makes screen printing an absolute breeze.
You could also take a look at xTool’s new laser the xTool S1 which is designed to work with the screen printer.
Before we get started I would once again like to thank Heidi at xTool for giving us the opportunity to have a play with the Screen Printer. And if you are looking to start a new hobby, or a new business venture or even to give someone special a wonderful gift then why give this consideration
PRODUCTS USED
- xTool Screen Printer
- xTool D1 (no longer available) but the xTool D1 Pro works with the screen printer
Designs Used
The designs we have used in these projects are from Creative Fabrica. They have so many to choose from and tons of free graphics and fonts.
Watch our xTool Screen Printer video below or scroll down for a detailed step-by-step
(Can’t see the video? You may have an adblocker installed.)
METHOD 1
For our first attempt we are just going to try and blend a few colors over our design. So nothing too onerous. For our second attempt we will layer the design. Woo-hoo, now your talking.
Okay so for the first attempt we are using 65 lb cardstock.
I won’t go through the steps of setting up the machine and getting the frames and screens ready as I have already covered that in detail in the previous video.
The first thing I’m going to do is peel off the protective plastic on the sticky mat and lay my piece of card stock down onto it. Make sure it is smoothed out, we don’t want any lumps and bumps.
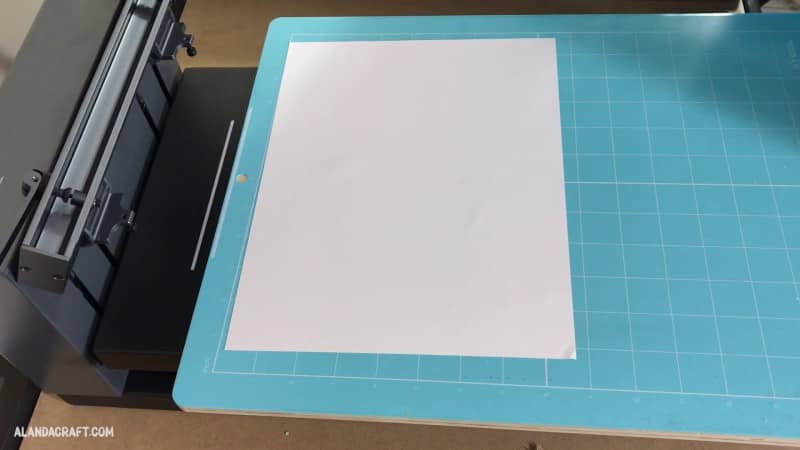
Now it’s time to place my frame onto the machine and lock it in place using the levers at the top. We are going to be using the same gnome design from Creative Fabrica, that we used in the first video but this time we are going to use multiple colors.

Push the frame down firmly and tighten it using the hand wheel on the side.

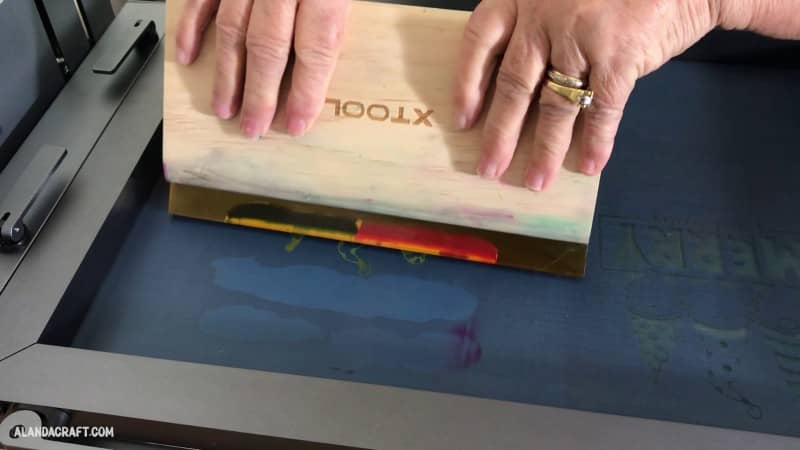
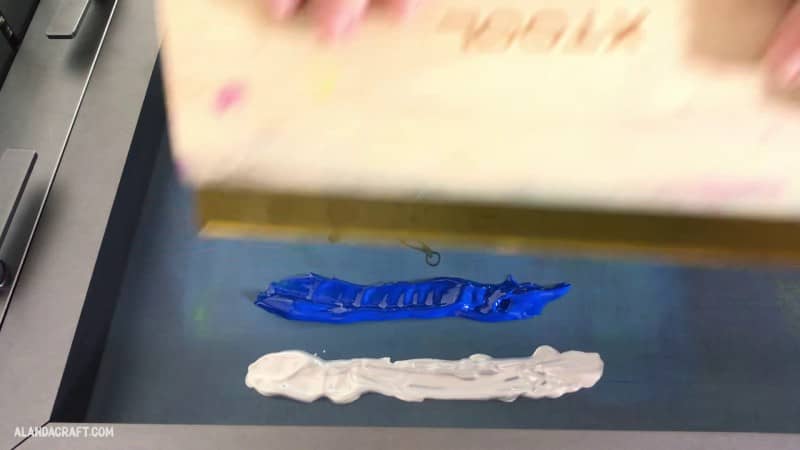
I added some ink and in this case I added way too much, but as this was our first attempt at using multiple colors, so I wasn’t too sure how much I would need.

Now it’s time to apply the ink using the squeegee, and you can see that there is a lot of excess paint. I was going to start scraping the excess into a jar for later use, but realized it would just end up being brown.
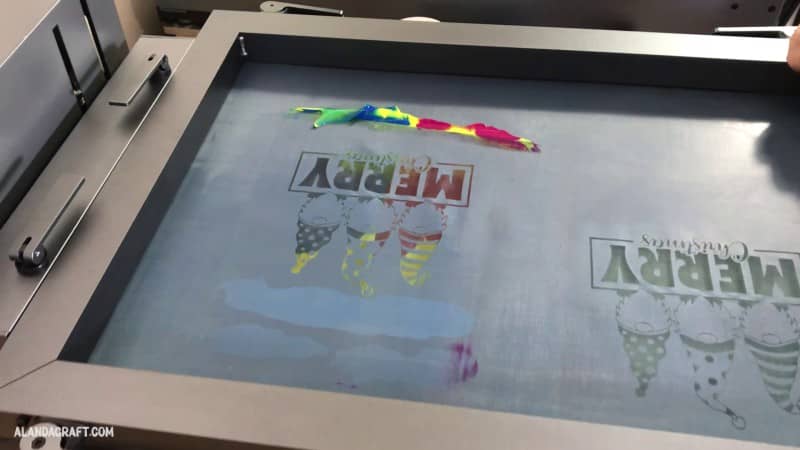
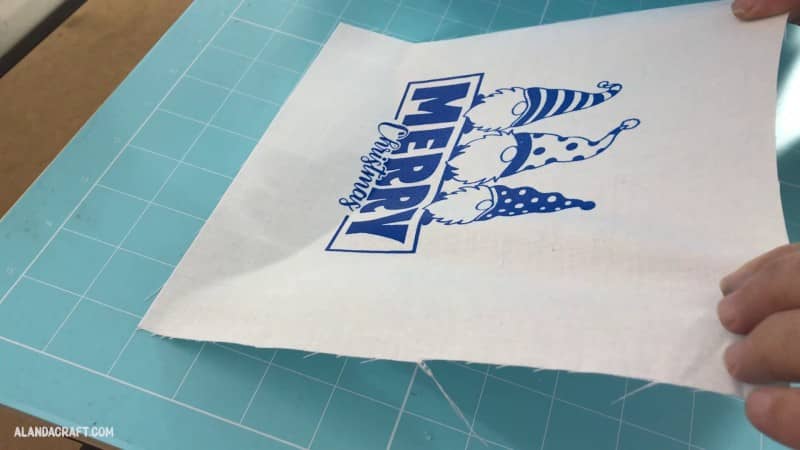
When we lifted up the screen, we didn’t really like the yellow effect so swiped back in the opposite direction and I think it came out a lot better. Not bad for the first attempt.
You need to clean the screen between color changes. We used wet wipes and let the screen dry before each attempt.
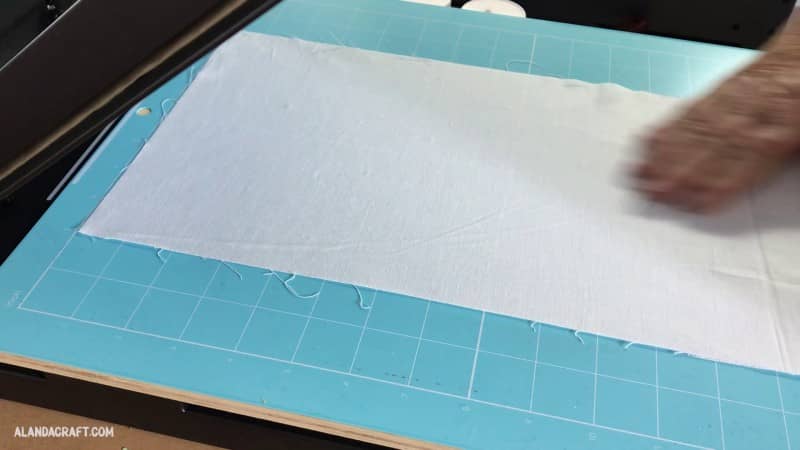
For our second attempt, we used some white cotton quilting fabric. Its actually Moda PFD so it’s ideal for printing on.
The sticky mat is great for this as you can smooth the fabric down and it will stay perfectly in place. Again make sure to remove all wrinkles, I pressed the fabric before using it so that it was nice and smooth.
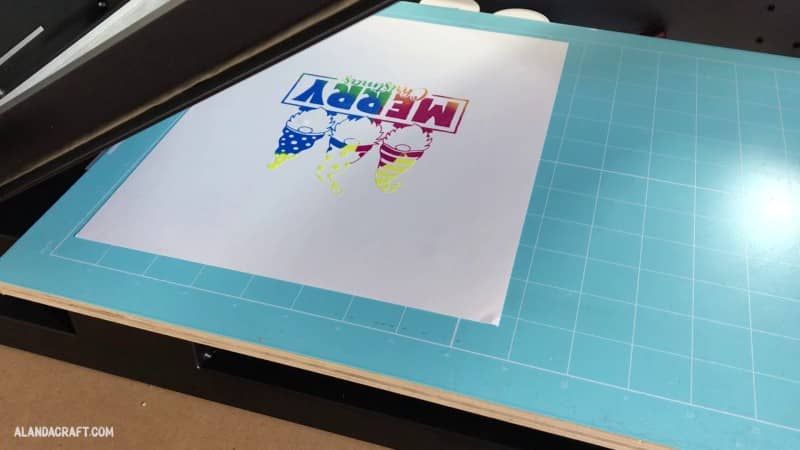
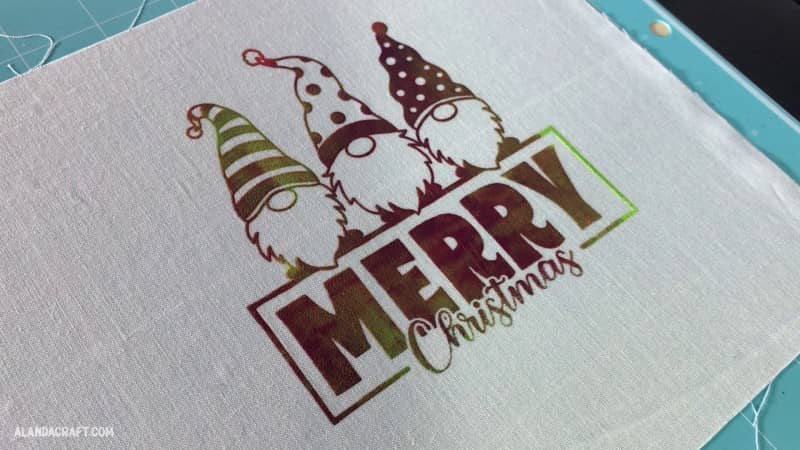
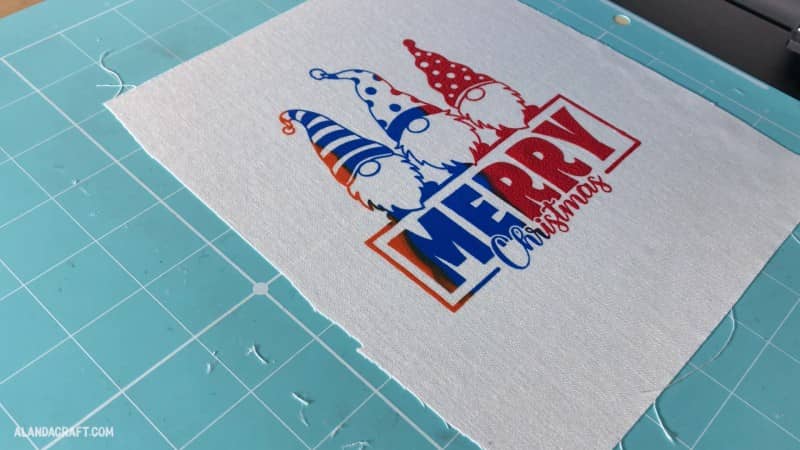
This time we wanted to try just two colors and once again I’ve applied too much paint, but we liked the result apart from the yellow at the top of the hats, so we ran the squeegee back again and it kind of spoiled the first run, and we still had the tops of the hats in yellow. So we thought we might had some other colors to the screen, but we got to a point where we should have stopped. Even so, I actually didn’t mind the final result.
Adding orange and red completely changed the look 😊
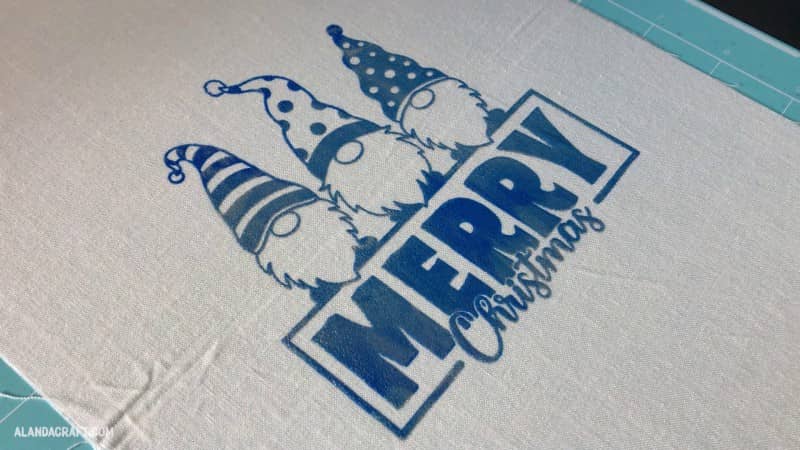
For the third attempt, we used some of the blue paint mixed with some silver glitter paint. And yet again, there is too much paint but we are getting better at this as we go.
I didn’t mind the result on this but really had a different look in mind and I wanted the blue to be mixed in more with the silver glitter. So I ran back over the design with the squeegee and I think I prefer this result. When it dried the glitter is more intense and has a nice sheen to it.
And here are some of our other attempts. We ended up adding less paint and started to move the squeegee from side to side with a little wiggle to get the paint to blend a little better. Of course the more we practice the better we’ll get at blending the colors and the our results will get a lot better. But I’m actually very happy with how it’s going.
METHOD 2
Now we come to the second method, and we are going to use 3 screens since we will be working with 3 different colors, and we don’t want them to mix. Each color needs to be well defined.
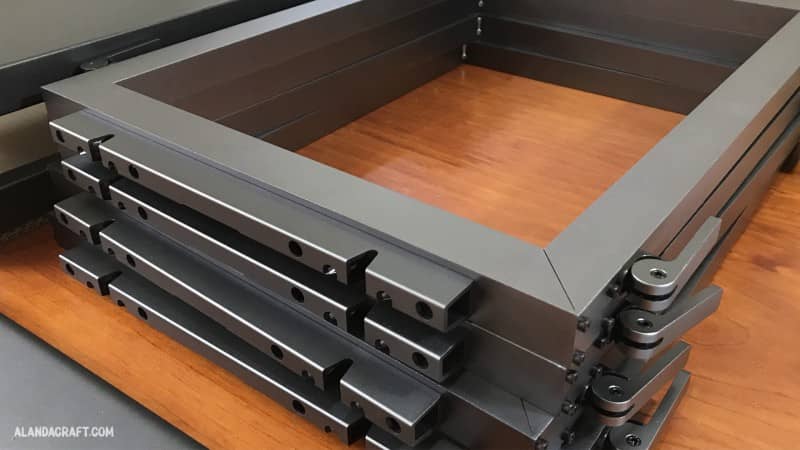
We showed you how to attach the screens to the frames in the first video.
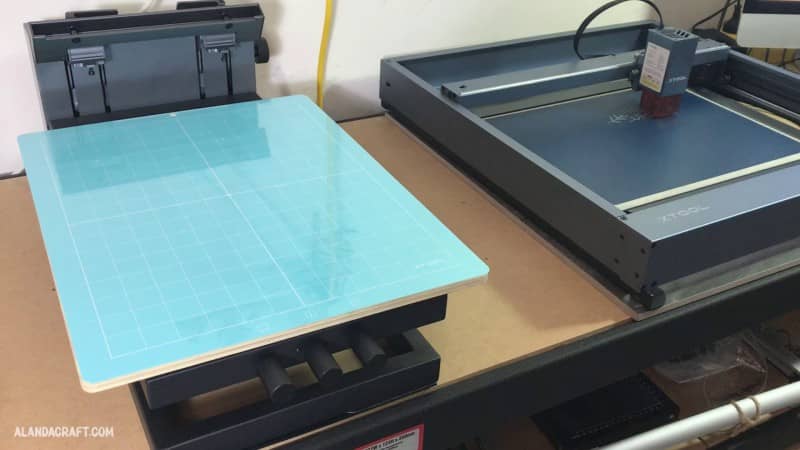
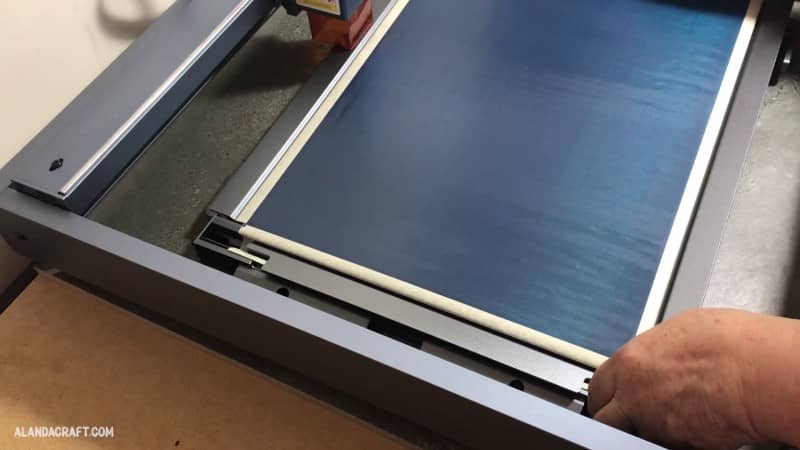
I’m taking the first screen and placing it into our laser engraver. We are using the xTool D1 and it has an adapter that came with the screen printer that ensures everything is lined up nicely when doing this type of multi-colored screen printing. Attaching the adapter is also covered in our first video.
USING LIGHTBURN
What we are going to do now is bring our image into the software. You can use xTool Creative Space for this but we are going use Lightburn as it seemed to work a little better for the older xTool D1 machine that we have.
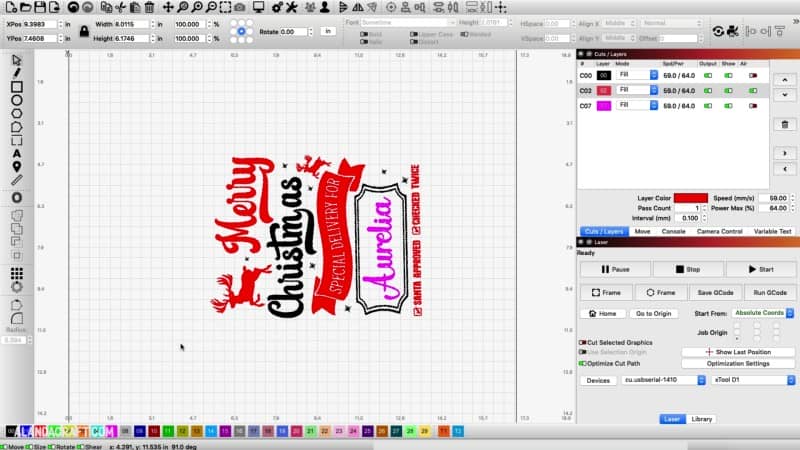
You can see here on the screen that I have imported my image and the first thing we need to do is separate the design into different layers based on what colors we are going to be using.
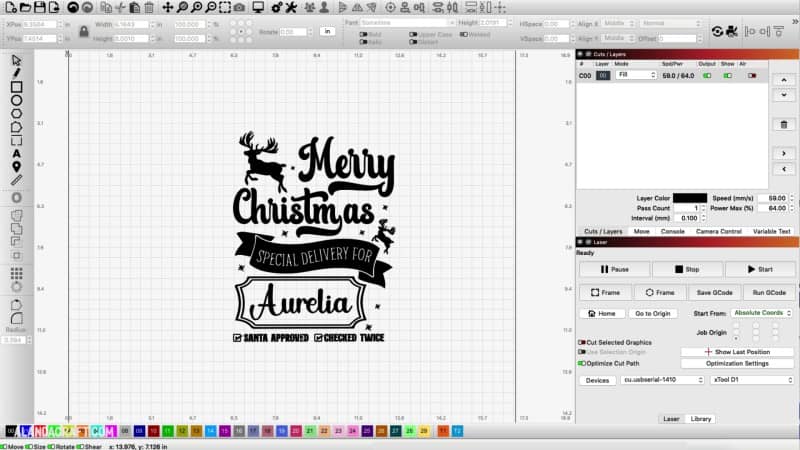
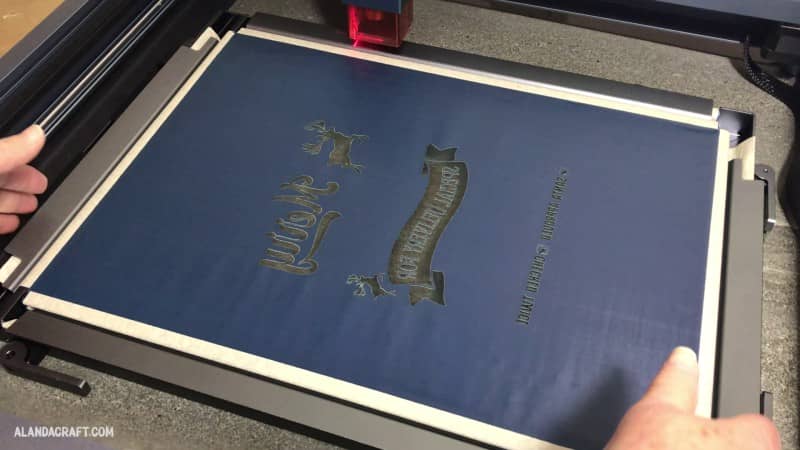
So I am holding down the SHIFT key on my keyboard and selecting the REINDEERS, the MERRY and SPECIAL DELIVERY text, and the line of wording at the bottom.
To ensure that they will all be picked up as one layer I change the color by clicking on one of the colors at the bottom of the screen. As I do that, that a new layer is created in the Layers panel.
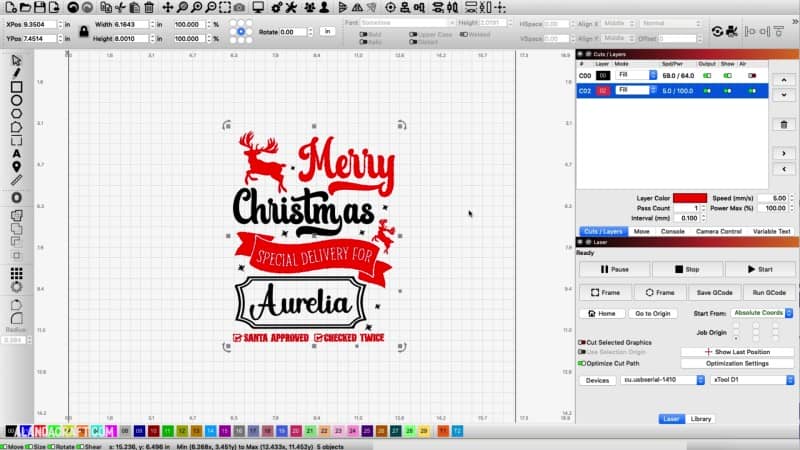
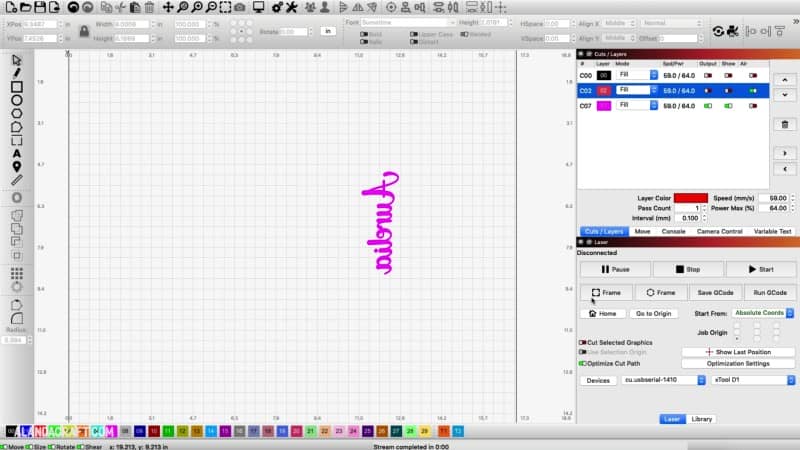
I am going to leave the word CHRISTMAS in black as well as the outline around the NAME, but I’m going to click on AURELIA and change that to a different color.
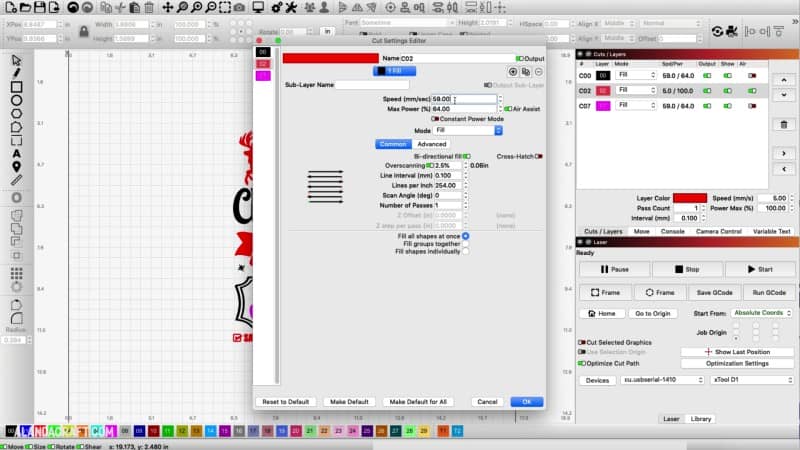
Now you can see that we have 3 different layers and they are all set to FILL and now we need to select our settings.
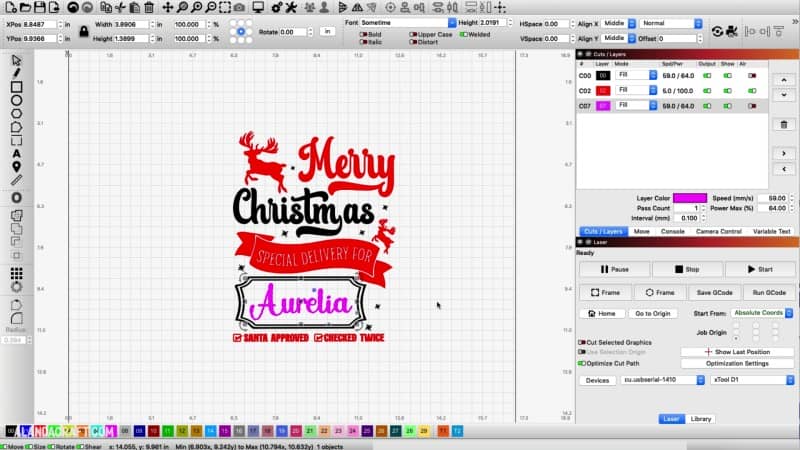
Since we are using the xTool D1, we are going to go with a SPEED of 59 MM/SEC and a POWER of 64% for each of the 3 layers.
If you are using a different machine your settings may be different so just be aware of that.
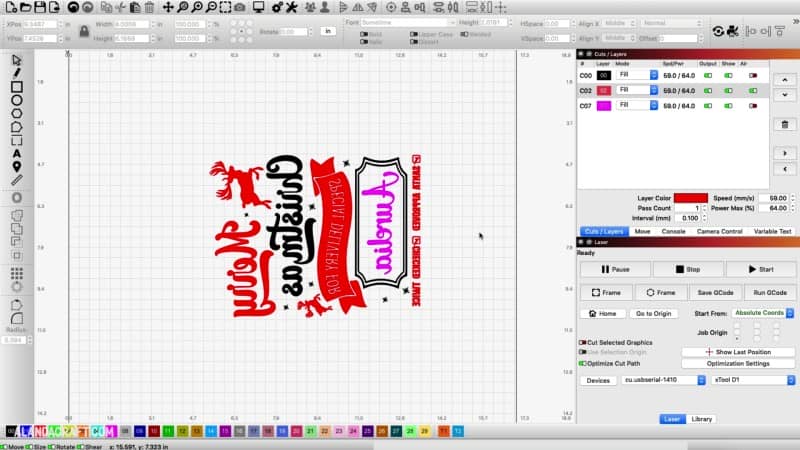
Now I am going to GROUP everything because I want to rotate this design so that it sits facing towards the top of my screen.
Also, because the image contains words I am going to come up to the ARRANGE option and select FLIP VERTICAL. If you don’t do this, the words will be in the wrong direction when you turn the screen over to do the screen printing of the design.
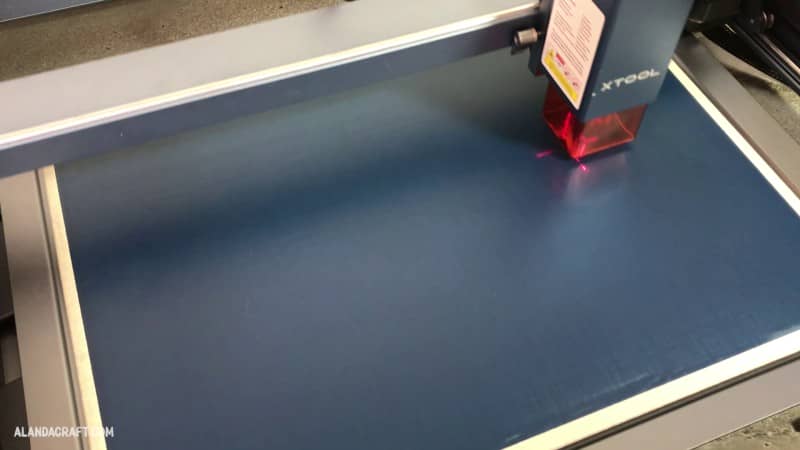
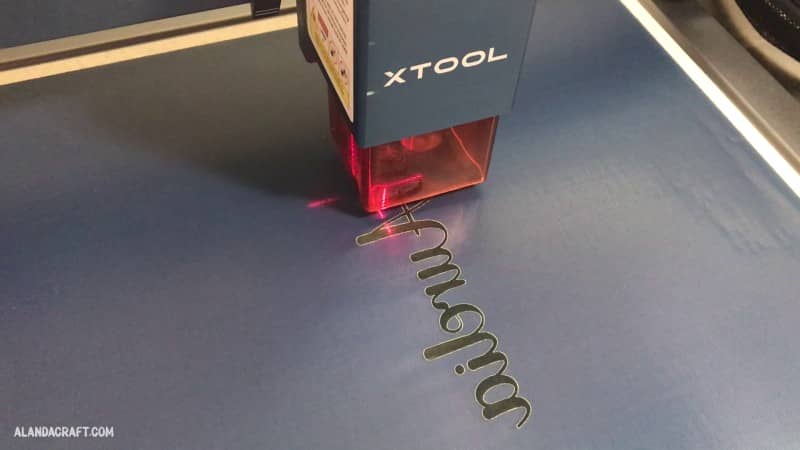
Now, we need to make sure that the design is going to engrave in the correct position on the screen so I will click on the FRAME button.
The machine will show you where the image is going to be engraved. You can move the image around in the software as often as needed and keep pressing the FRAME option until you have it sitting where you want it
START ENGRAVING
We are now ready to start engraving and because we are engraving three different colors we need to make sure we engrave each color layer onto a different screen.
So we will start with the name first which means we will need to stop the other layers from being sent to the laser and in order to do that, we click the OUTPUT option against each layer. And you can also click the SHOW option as well to stop it displaying on the screen. This makes it a little clearer to see exactly what is going to be engraved.
Now we are ready to start engraving so just click the START button and away it goes. You can see how our xTool D1 engraves the surface of the screen with out cutting through it. And it did a beautiful job.
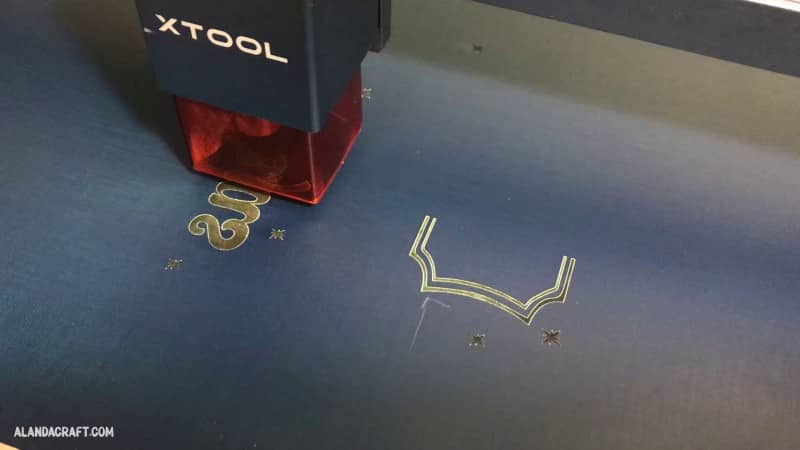
Once the first design has finished engraving, we remove the frame from the laser engraver and attach the second frame.
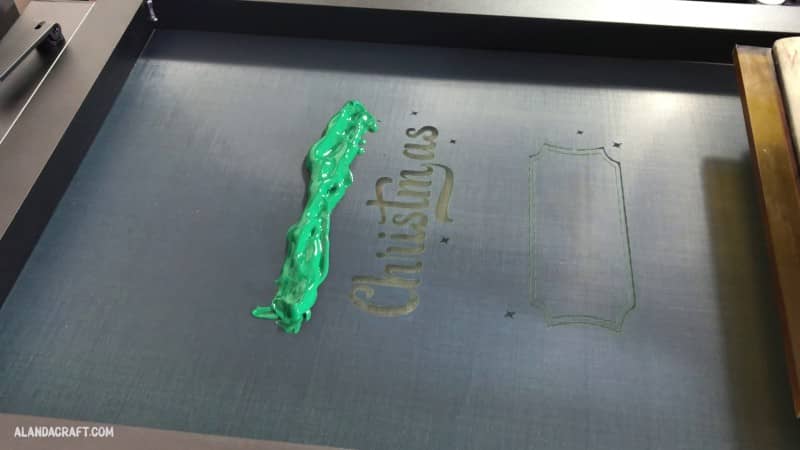
Now back in the software, we are going to hide the name that we just engraved onto one of screens and we will UNHIDE the next layer that we want to engrave. In this case, it is the word “CHRISTMAS” and the frame around the name.
Once we are happy we just click START.

So again the laser engraver goes ahead and engraves the next layer. And once it is done, we remove the screen and replace it with the next one.
Once again we repeat the process in the software. So we HIDE the layer we just engraved and UNHIDE the last layer that needs engraving and click START.
Once, we have completed the final layer we can remove it and we are ready to move onto the really fun part.
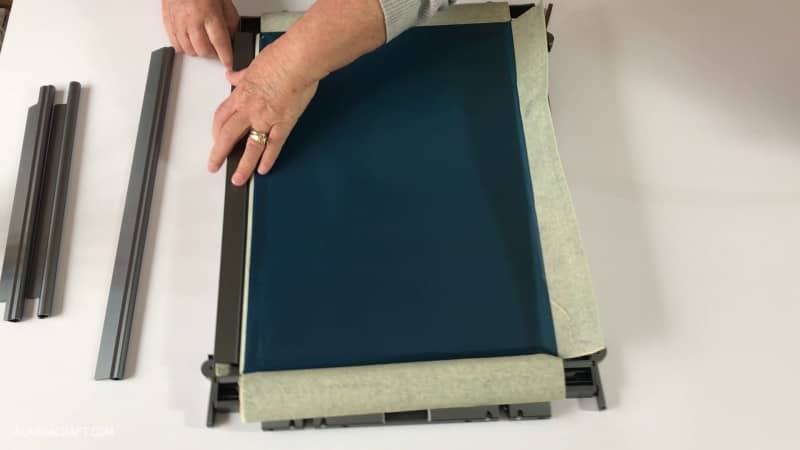
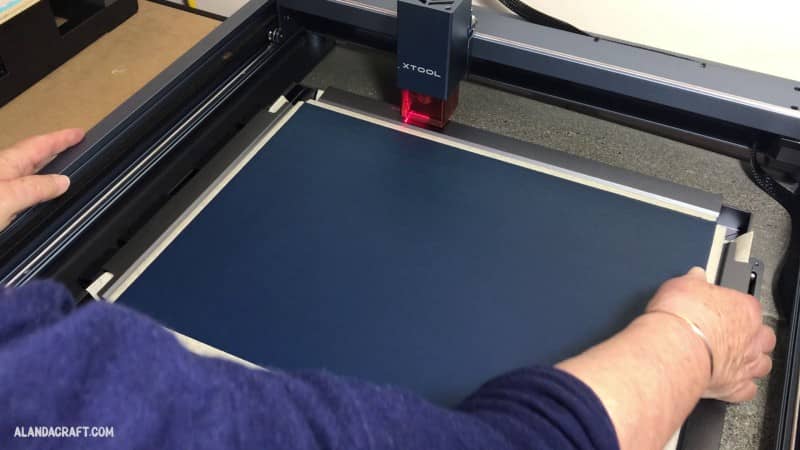
ADDING THE MATERIAL TO THE STICKY MAT & ATTACHING THE SCREEN
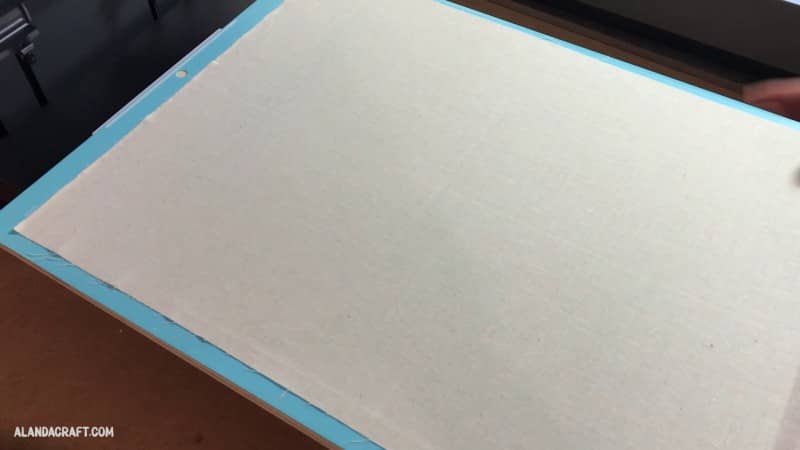
So I’ve gone ahead and added some fabric to the sticky mat and this is calico or you might know it as muslin. I have pressed this piece of fabric ahead of time to remove any wrinkles. We want our material to be nice and smooth. I’m also attaching the first screen to the Screen Printer and lowering it to sit on top of the fabric.
ADDING THE PAINT ETC
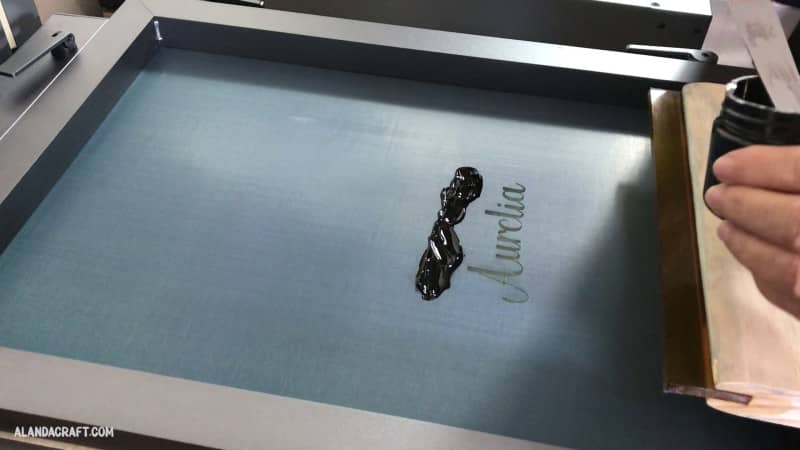
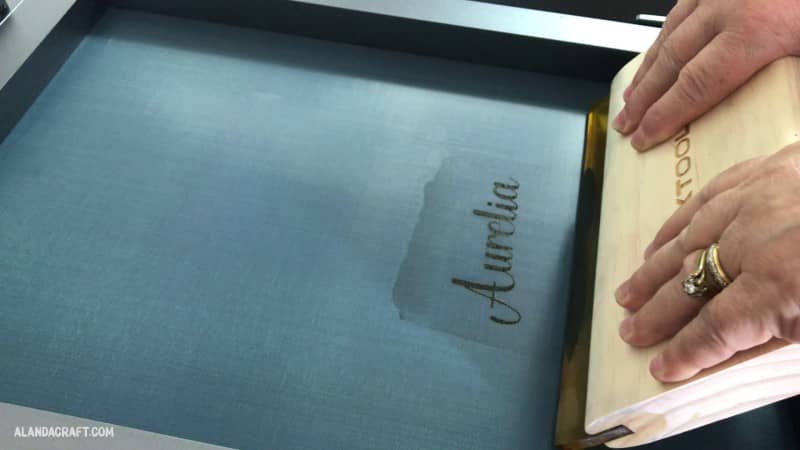
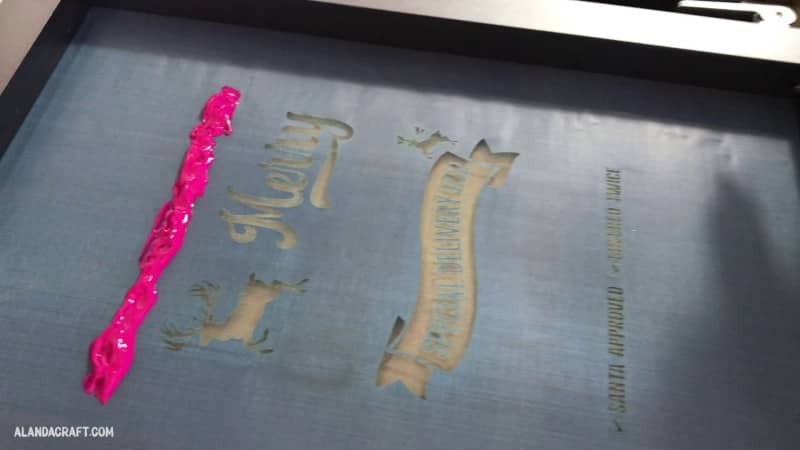
Now, I’m ready to add the paint and I am going to use black for the name. I’ve added the black onto the screen – away from the design, and now it’s time to just run the squeegee down and as you can see it came out a little patchy, so I went over it again and this time it came out great. We cleaned the screen and left it in place, attached to the screen printer until it was dry before going on to the next step. You can remove the screen and place it somewhere else to dry, but as the fabric also has to dry we just left the screen attached.
The design you have just printed also needs to be dry before adding the next color. You can use a hair dryer to speed up the drying process on the fabric, but we just fanned it with a piece of card and it was dry enough within about 15 minutes or so.
It’s also important to note here that you don’t want to remove the fabric or move it around as it needs to stay in the exact same position so that everything lines up nicely for the next two layers.
Once, the screen was dry we removed it and added the next one. We probably could have removed the screen earlier and cleaned and dried it off the machine but this worked for us.
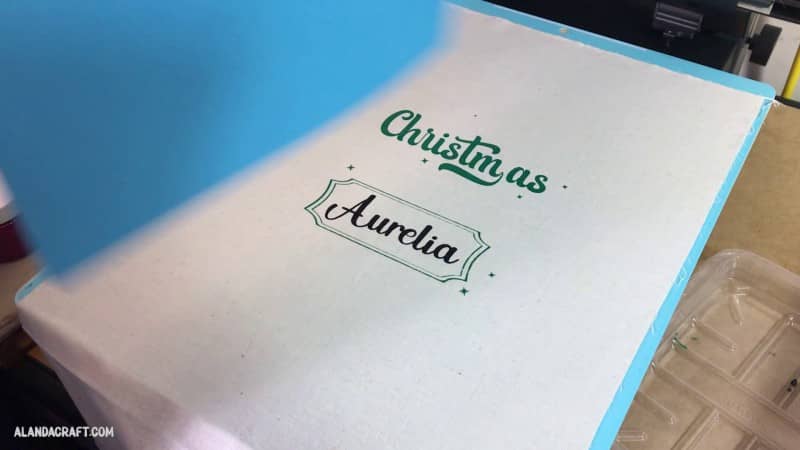
For the next layer, we are using green which we made by combining some of the blue and yellow that we received with our screen printer.
It came out a little patchy on the first swipe so I went ahead and did it a second time and that came out a lot better.
Again we dried the design by waving around a piece of card.
ADDING THE FINAL SCREEN
So now we can remove that screen and add the last one.
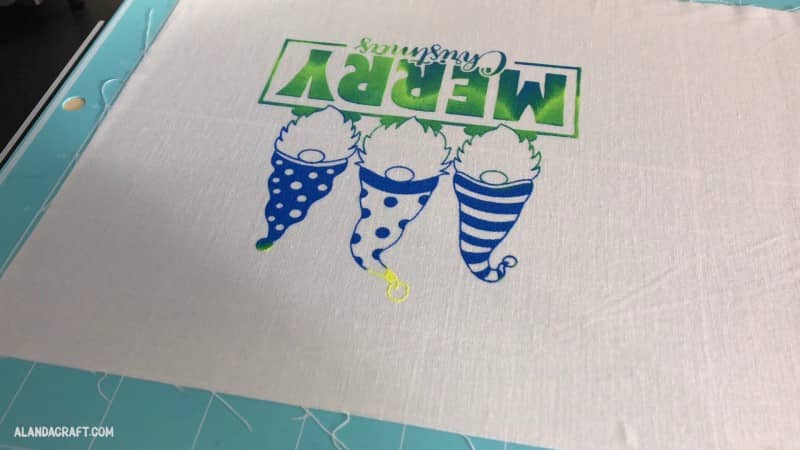
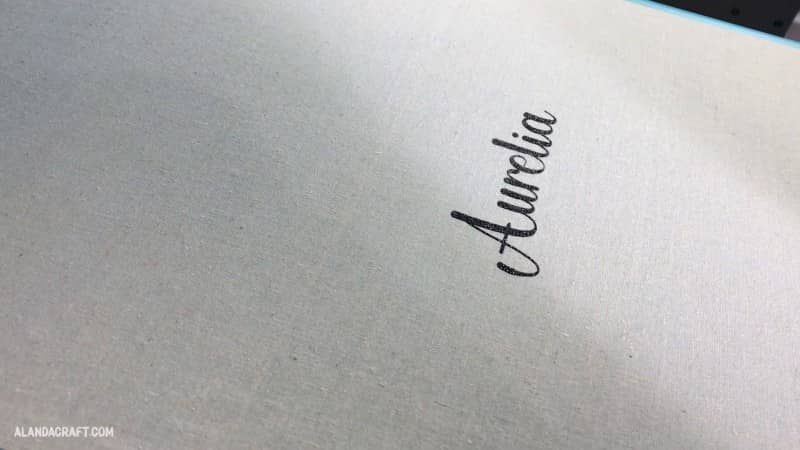
And for this layer, I am going to use red although it looks more like pink but fortunately it did dry into more of a reddish color.
And after adding too much paint every other time, this time I didn’t add enough so I added some more paint and it came out beautifully.
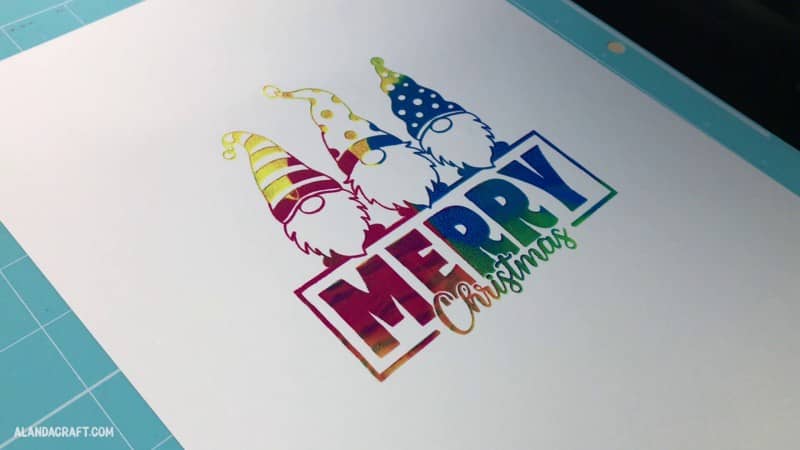
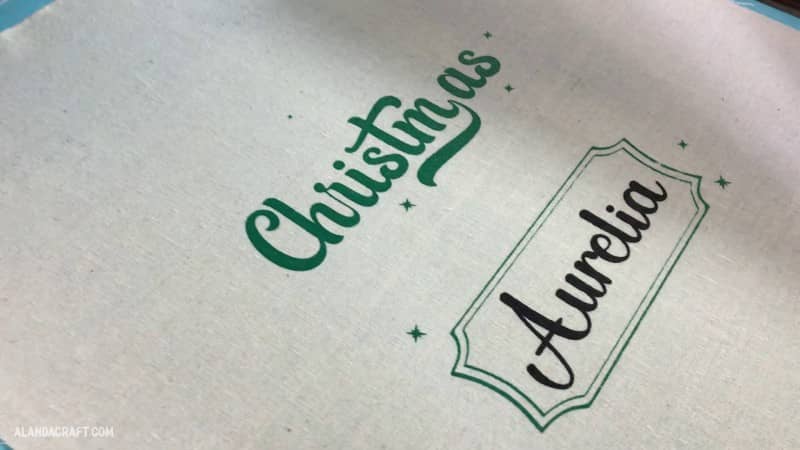
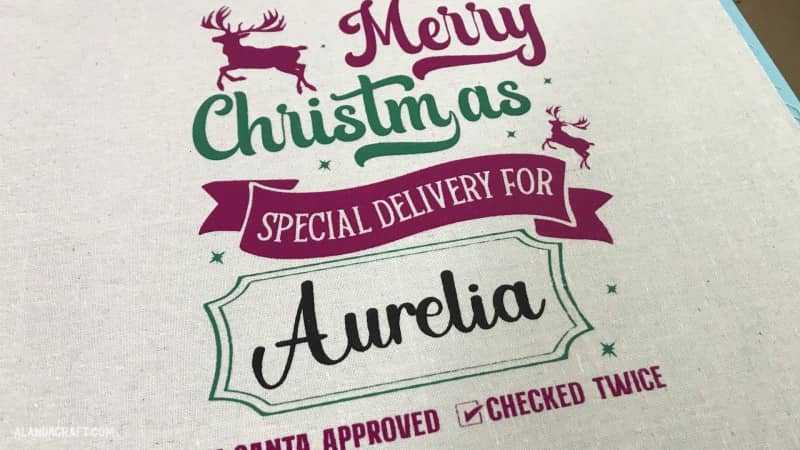
And here’s the final result.
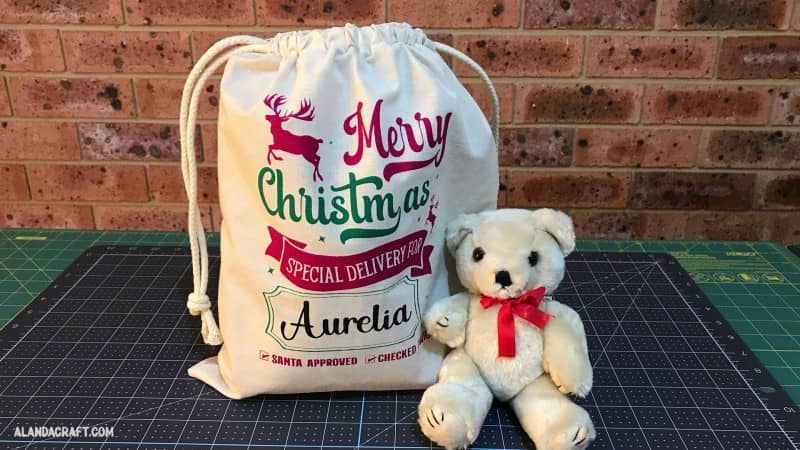
I’m super pleased with how it looks and I decided to turn it into a Santa Sack. You can see how to make the bag Here.
Well this was such a lot of fun and it was a lot easier than we thought it was going to be. This is a real game changer for anyone who has ever wanted to get into the hobby of screen printing. It would be an ideal business starter and would make a fantastic gift for someone wanting to screen print on bags, t-shirts, cushion covers etc.
I am a real fan of xTool products. We already have 3 of their lasers and each one is unique in its capabilities and always extremely well made and easy to work with.
We will be creating more tutorials for this screen printer in the future over on our Go Laser Go Laser channel.


Carol Worthington says
Hi Wanda and Paula – wow how fun was this to do!!? I love how the bag turned out..
I think you’re going to be doing a lot of screen printing this year and making lots of really great things.
Have fun!! (I’m still jealous!)
Carol W.
Alanda Craft says
Thank you Carol 😊. It really is a fun hobby. Hope you had a lovely break over Christmas and the New Year and are ready to get into more crafting this year 😊. We are back at work now after a lovely visit interstate with family. Got to meet great grandchild number 6. The first girl great grandchild. So that was just wonderful. It was sad to leave them all, but we are now back and almost in full swing once again.