As is the tradition here at Alanda Craft, we have to make a yearly Christmas table runner tutorial. So this is our contribution for 2021. If you want to see the others just click the links below. And yes, 2019 is missing – can’t even think why we didn’t do one that year but there you go!
- 2016 Christmas Table Runner Tutorial
- 2017 Christmas Table Runner Tutorial
- 2018 Christmas Table Runner Tutorial
- 2020 Christmas Table Runner Tutorial
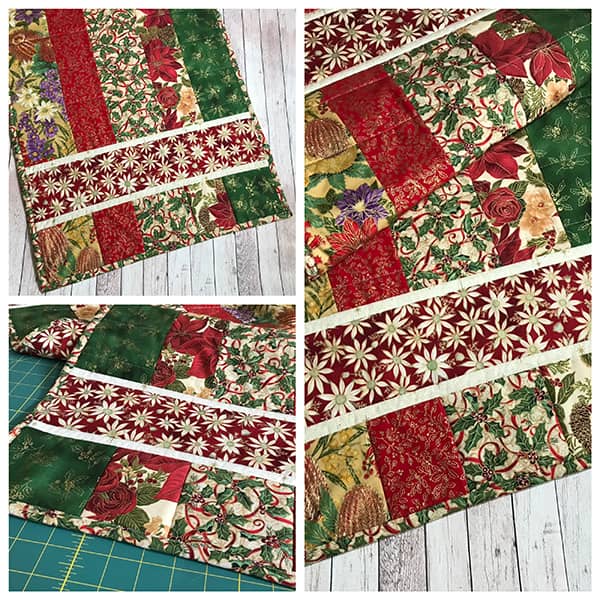
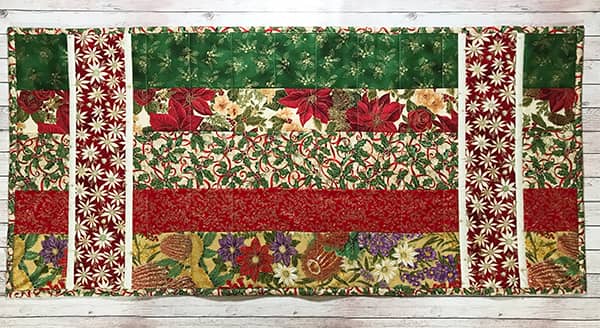
This year, as always, we wanted something quick and easy plus we had a heap of Christmas fabric scraps that we wanted to use up. So we went with a strip table runner with some feature designs on each end.
This one is pretty fast to put together and you don’t need to do any fancy free motion quilting, unless you want to of course. We just used the walking foot on the sewing machine and stitched straight lines.
Here’s what you’ll need
IMPORTANT – READ THIS FIRST —-> Note that you can cut the five main strips listed below at the exact length of 32″ but we recommend cutting an inch or two longer as we will be sewing the strips together and then trimming them to different sizes, so a bit of wiggle room will be helpful. Alternatively, you could cut the strips the full width of the fabric (WOF) – (ie. from selvedge to selvedge). If you do this, you will have enough left over to make a placemat or mini table runner.)
To make the quilt front you will need:
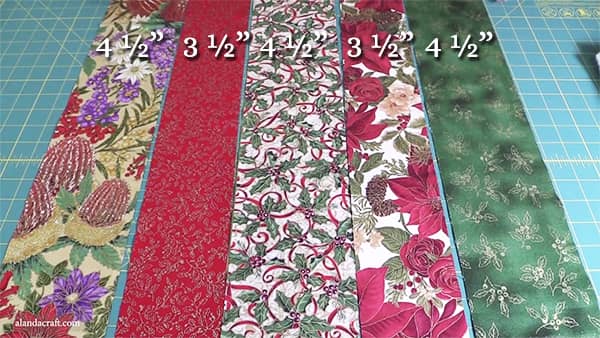
- Fabric 1: Cut 1 strip at 4½” x 32″ (or cut a WOF strip)
- Fabric 2: Cut 1 strip at 3½” x 32″ (or cut a WOF strip)
- Fabric 3: Cut 1 strip at 4½” x 32″ (or cut a WOF strip)
- Fabric 4: Cut 1 strip at 3½” x 32″ (or cut a WOF strip)
- Fabric 5: Cut 1 strip at 4½” x 32″ (or cut a WOF strip)
- Fabric 6: Cut 2 strips at 4″ x 18½”
- Fabric 7: Cut 4 strips at 1″ x 18½”
You will also need the following to finish the table runner:
- Backing fabric – Cut 1 piece at 22″ x 43″ (this allows for a couple of inches around all sides to take into account the quilting)
- Batting – Cut 1 piece at 22″ x 43″
- Binding – Cut 4 strips of fabric at 2¼” x WOF (see our binding tutorial for how to attach a binding)
Tools Used in this Tutorial
- Olfa 60mm Rotary Cutter
- Add a Quarter Plus
- 505 Adhesive Spray
- Frixion Pen
- Olfa Cutting Mat
- Guttermann Sew All Thread
- Mary Ellens Best Press
- Oliso Smart Iron
Watch the video tutorial below or scroll down for written instructions
(Can’t see the video? You may have an ad blocker installed)
Method
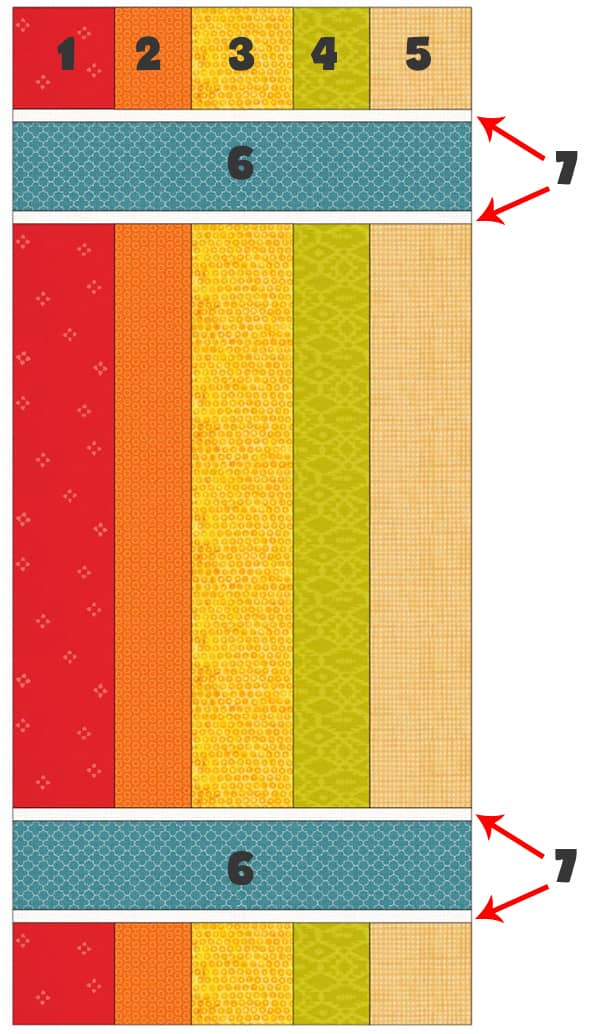
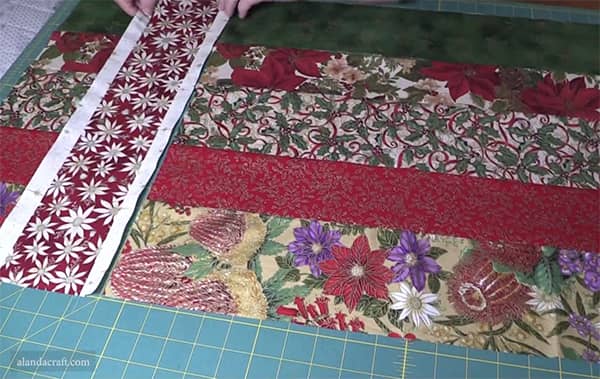
- Lay your five long strips on the mat as shown in the picture below.
- Sew the strips together with a ¼” seam.
- Once sewn together, your strips should measure 18½” in width.
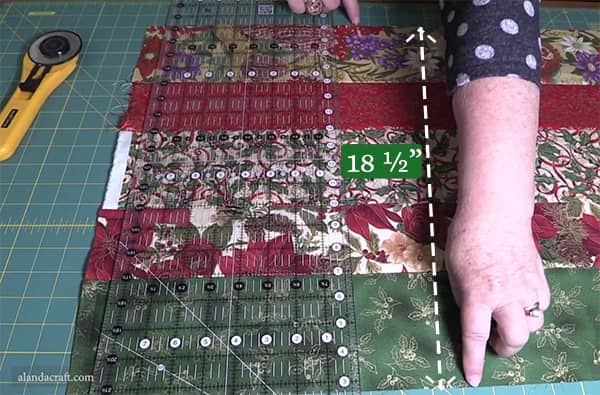
- If you cut the strips by the width of the fabric (WOF) like we did, trim off the selvage edge.
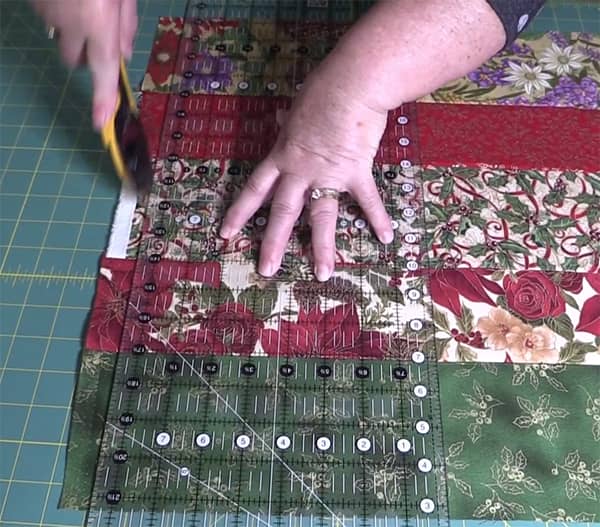
- From the sewn strips, cut two pieces measuring 4 ¼”.

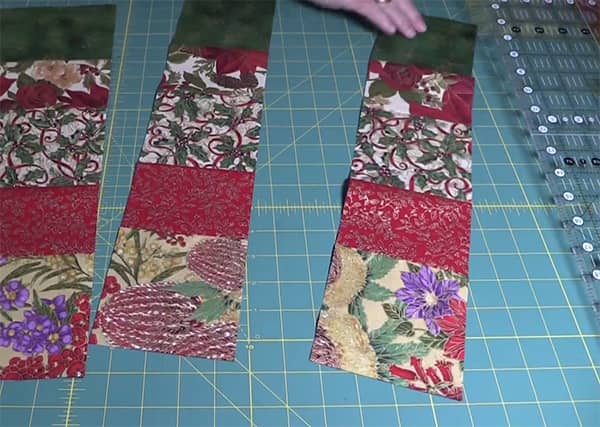
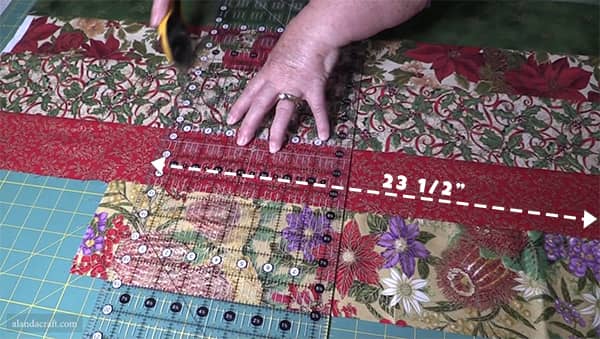
- Now cut a piece measuring 23 ½”.
- (Note: If you are wondering why we have 1 strip shorter than the others in the image below, it’s only because it was a scrap piece and all we had left of that fabric. As long as all your strips are more than 32″ in length, as ours were, it will work.
- If you have cut your fabric by the WOF, you will have extra fabric left. You could, as we did, turn that into a placemat or you could call it a mini-table runner.
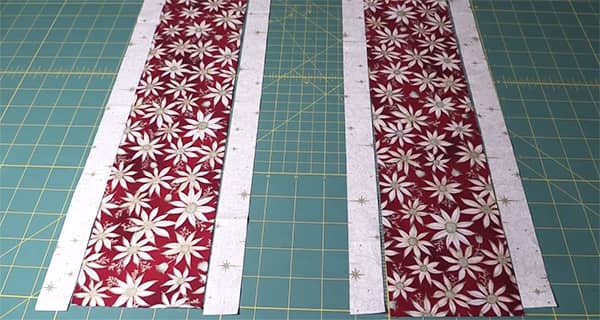
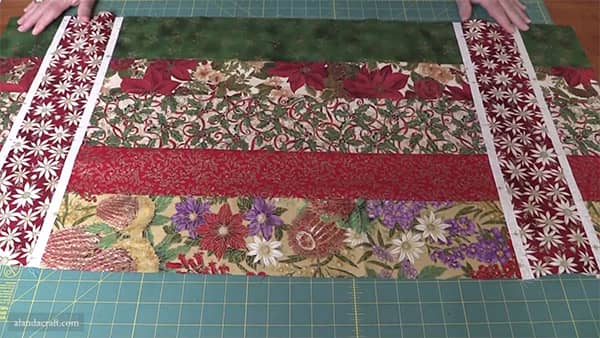
- Take your other pieces of fabric and sew a 1″ piece of sashing to either side of the fabric.
- Do this for both pieces.
- Once sewn, attach these pieces to each of the bottom edges of the table runner.
- And add the 4¼” strip to the other side of the feature piece. (see picture below)
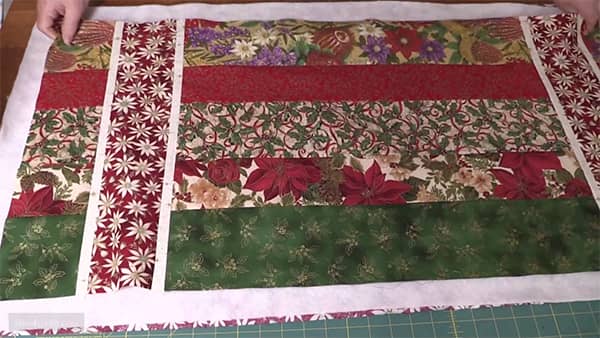
- The top of your table runner is now complete.
Finishing the Table Runner (Watch the video above for more detail on how to do this)
- Create your quilt sandwich by laying the backing piece with the right-side of the fabric face down.
- Lay the batting on top of the backing
- Spray with temporary adhesive spray
- Now lay the table runner top on top of the batting..
- We use 505 Temporary adhesive spray between each layer and smooth down the pieces so that there are no wrinkles or bubbles.
- Give the piece a press with your iron.
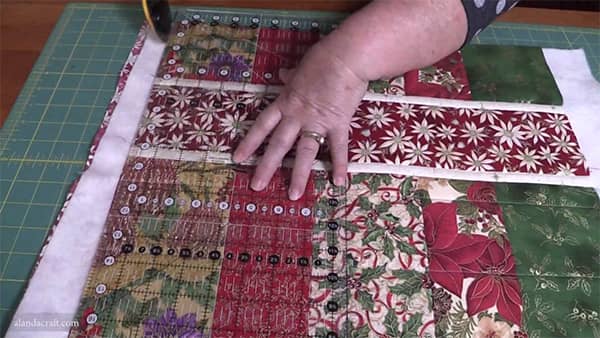
- You can also add quilting pins to help keep the layers together while you quilt.
- Quilt the table runner. (Watch the video above to see how we did ours.)
- Once quilted, trim the quilt sandwich.
- Add the binding.
- Click here for our machine binding tutorial.
Your Christmas table runner is now complete!
 And here’s one we did in alternative fabrics.

This is the place mat or mini table runner that was made from the leftover piece
- Trim the piece so that it measures 18½ z 10′,
- Add some backing, batting and binding.


Charlotte Brown says
I have never made a table runner but I may this year since I found your instructions. You make it look so easy and not complicated at all.
Tammy Joyce says
These turned out really pretty but the silver and blue is gorgeous. And placemats to match. O yeah I can see that in my future. Merry Christmas friends. And thank you.
Susan says
Thank you for a great pattern, with easy to follow instructions. I am looking forward to making a seasonal set for gifts throughout the year.
Alanda Craft says
You are most welcome Susan 😊. Thank you.