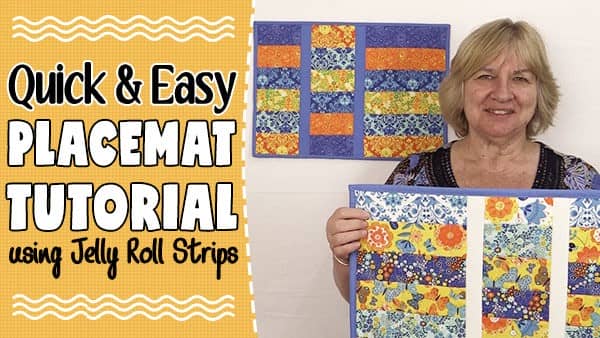
We love ‘quick and easy’ sewing projects and this one certainly fits the bill. This placemat goes together with just a few strips of fabric (you can use jelly roll strips) and some backing fabric. This is a great one to use for special holidays like Halloween or Christmas by simply changing up the fabric.
The dimensions of this placemat are approx. 17″ x 12″.
What You Will Need
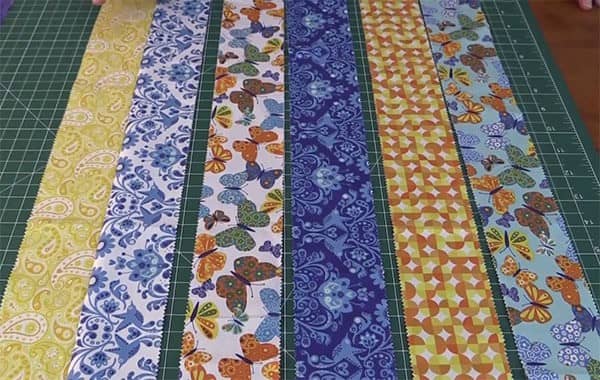
- 6 strips fabric – 2 ½” x width of fabric (we used Moda Jelly Roll strips, but you could cut your own strips.
- 2 strips for the sashing – 1 ½” x 12 ½”
- 1 piece for backing – 19″ x 14 ½”
- 1 piece of batting – 19″ x 14 ½”
- 2 strips for binding – 2 ¼” x width of fabric
TOOLS USED IN THIS TUTORIAL
You can check the latest prices at Amazon by clicking on the links below:
- Creative Grids Ruler 8½” x 24½”
- Olfa 24″ x 36″ double sided healing mat
- Olfa 60mm rotary cutter
- Oliso Iron
- Gutermann Sew All thread
Watch the video tutorial below or scroll down for the written instructions
Method
- Take your 6 strips and sew them together using a 1/4″ seam.
- Trim off the selvedges at one end.
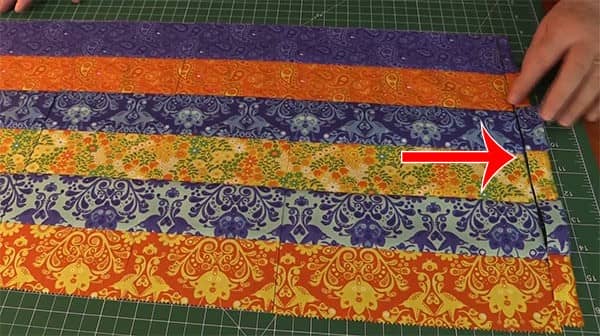
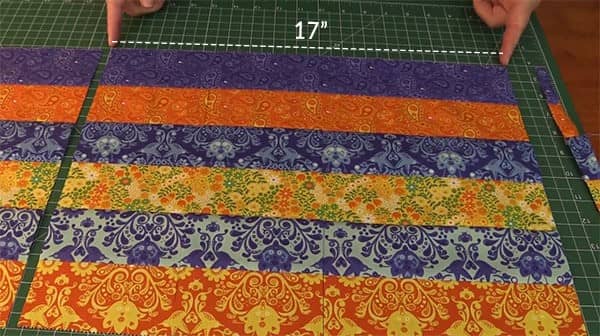
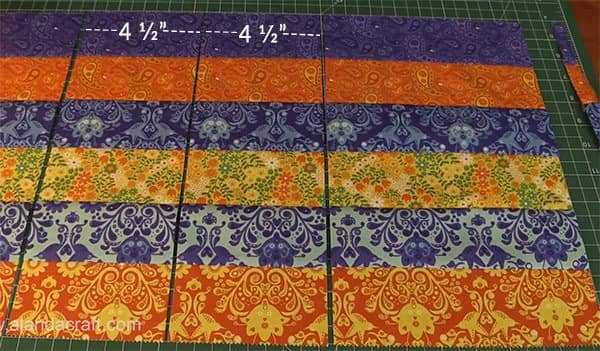
- Cut at 17″.
- You will have enough in this sewn strip to create two placements so you can cut another 17″ section from your strip.
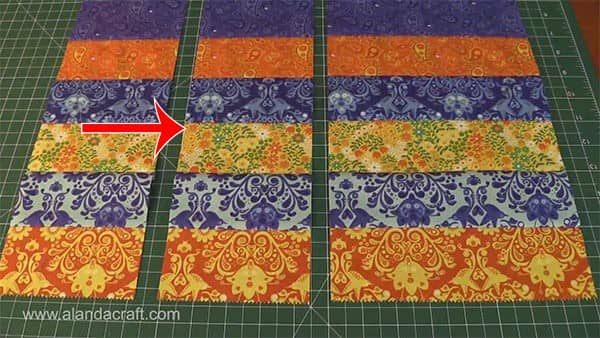
- From that 17″ piece, cut 4 ½” from one end and then another 4 ½” further from that cut.
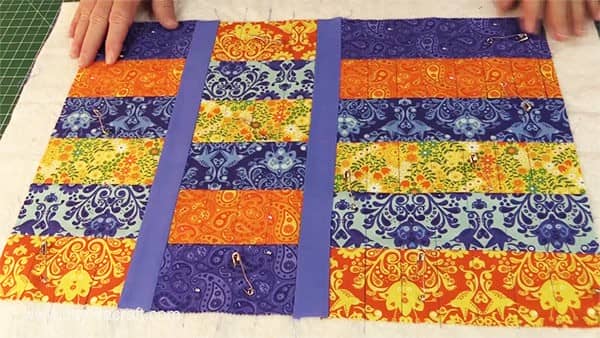
- Take the middle piece and flip it.
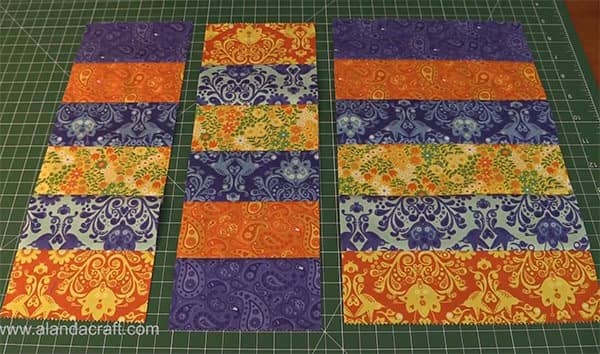
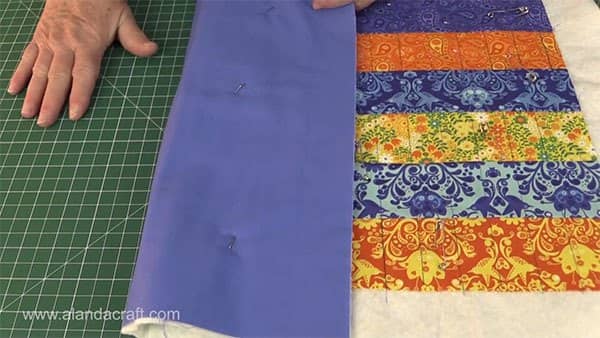
- Now it’s time to add your sashing pieces. Simply sew each piece onto the rectangular pieces with a quarter inch seam.
- Then sew all three pieces together.

- Create your quilt sandwich, pin the quilt and quilt. Place your backing fabric face down, add your batting and then your quilt top face up.
- We quilted the placemat using straight 1″ lines and we drew the sewing lines with a Frixion pen which disappears after ironing.
- Once you have finished quilting, trim the edges and attach the binding.
- You are done!


Wanda says
This looks like an interesting site. I won’t forget your names: my name is Wanda and my sister’s name is Paula! I’ve had a little difficulty learning how to use this site, but I’ve kept trying. I hope this note goes through.
Alanda says
That’s so cool. Fancy having the exact same names. Love it. You mention that you have had difficulty in using the site. Please can you let me know what the problem is so that we can look into making it more user friendly. We appreciate you letting us know about this. 🙂
Wanda McGinnis says
What is a jelly roll strip?
Alanda says
Here is a link to our post on what is a jelly roll /2016/11/12/what-is-a-jelly-roll/. Jelly Roll is a term used by Moda for their rolls of 2 1/2″ strips. We tend to refer to any 2 1/2″ strip as a jelly roll strip. Often we have strips left over from a jelly roll where we haven’t needed the whole roll for a project, and we also cut our own 2 1/12″ strips. Hope this helps. 🙂
Karen says
Add how to apply the binding please! Thank you!
Alanda Craft says
Here is a link to our How to bind a quilt post which will show you how to do it Karen. /2015/09/16/how-to-machine-bind-a-quilt/
Joyce Boucher says
I saw that someone post that she never received email for confirmation and you told her to try again. This just happen to me. I tried 3 times & it is not in my spam file either. I rely like your site but can’t get confirmed.
Joyce says
It worked from going directly on your website. Thanks!
Alanda Craft says
Glad to see it worked for you Joyce.
Angela says
What is the link to the tutorial that shows how to do the binding and backing for this project?
NancySchutz says
I think your saying the sashing is 1 /12 “ wide just not sure what WOF is. Is that the length? Thanks
Alanda Craft says
WOF is a term used for the width of the fabric from the fold to the selvedges.
Marsha says
What is the final dimensions of the placemat? Thank you
Alanda Craft says
The finished size of the placemat is approx 17″ x 12″.
Jackie says
Hi Alanda,
I love how easy this pattern is! If I wanted to make a table runner to match the placemats, would I still use the same measurements for the 4 1/2 inch cuts?
Alanda Craft says
The 4 1/2 inch cuts should still work Jackie. I would do it at both ends of the table runner. However, keep in mind that you can make the strips wider as well, cut some pieces of paper and lay them on the table runner and see how it looks, this will help you decide on the placement and width before you cut the material.
Vicki says
Hello, The Pattern states to cut a 17 in piece, 2 four and half pieces, 2 sashung strips 1.5 inch and 2.25 binding. After accounting for seam allowances on all pieces I still have a place mat much wider that 17 inches. Please correct me on what i am reading wrong…
Alanda Craft says
Hi Vicki, did you cut the 2 four and a half inch pieces from the 17″ piece as noted in the instructions, or did you cut them in addition to the 17″ piece?