
Many moons ago, we created a video on how to cut stencils with the ScanNCut. However, we never actually showed you how to create those stencils. One of our YouTube subscribers mentioned that they would like to see how to do this, so here we are with a tutorial on how to create your own stencils using Canvas Workspace..
So let’s get started…and by the way, this is pretty simple, so you could potentially end up with a ton of different types of stencils to add to your collection.
Watch the video below or scroll down for written instructions
(Can’t see the video? You may have an ad blocker installed)
Lets start by selecting the SHAPES menu from the left hand menu options.
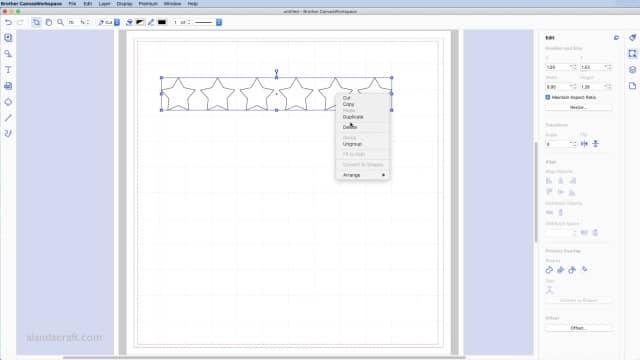
Click on the star shape.
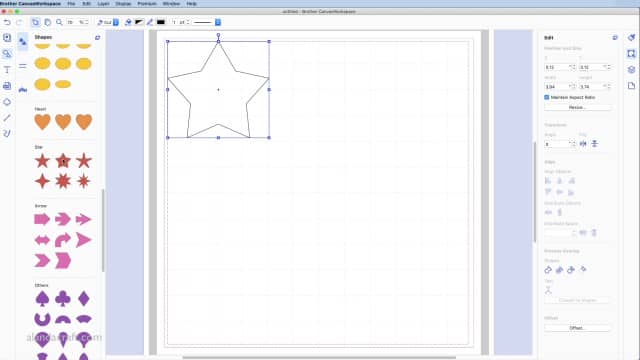
Resize the star to make it smaller by clicking and dragging from the corner of the outline around the star shape.
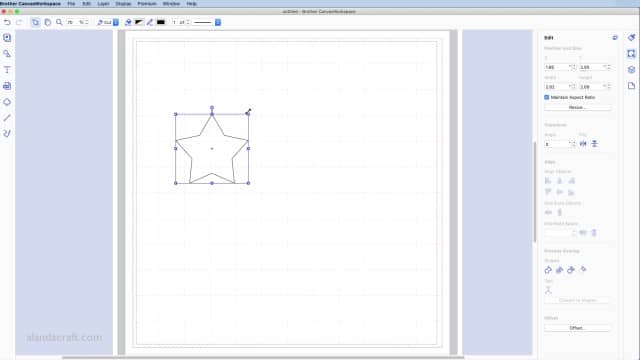
Duplicate the star 6 times by right-clicking on the star and selecting the DUPLICATE option.
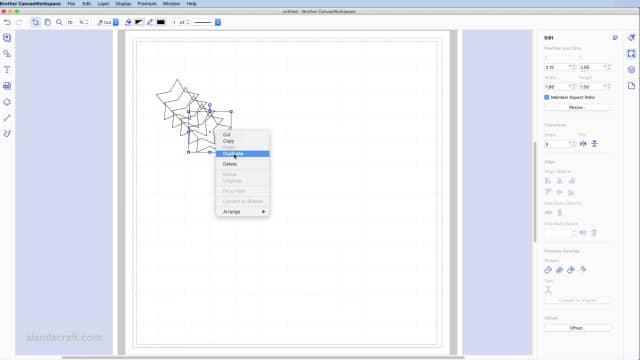
Select all of the stars by clicking and dragging with your mouse over the top of them.
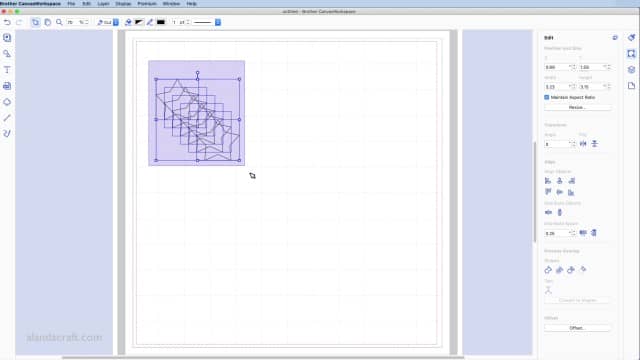
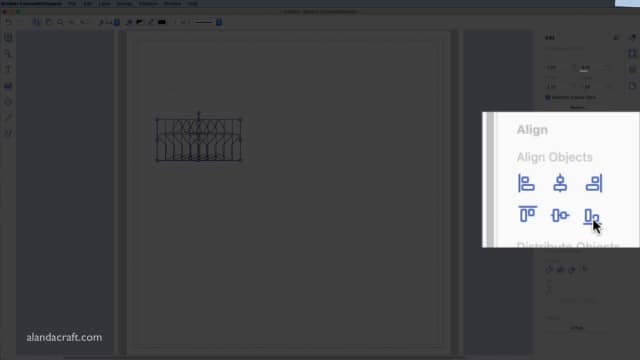
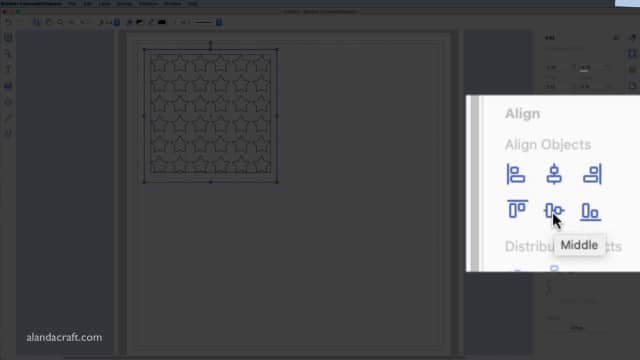
Now we want to align the stars.
While they are all still selected, click on the EDIT menu from the right-hand sidebar.
You will see the ALIGN section in that Edit menu.
Click the ALIGN BOTTOM option as shown in the image below.
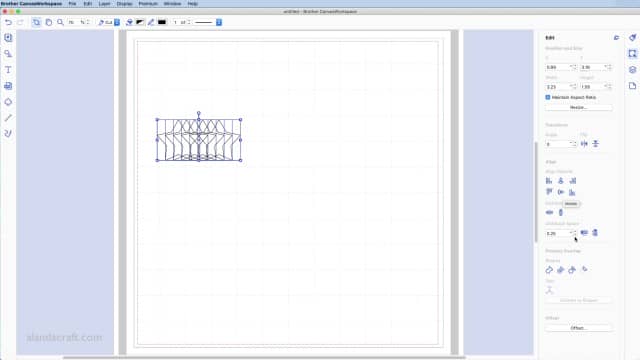
The stars are now all aligned.
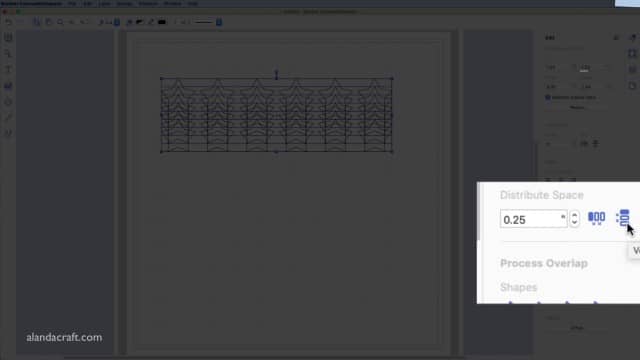
While the stars are all selected, change the size of the DISTRIBUTE SPACE section to .25 and click the HORIZONTAL option.
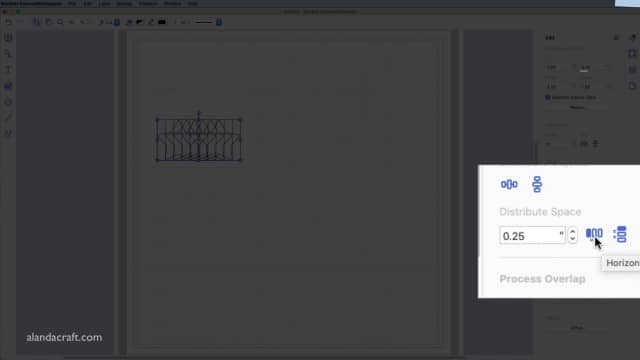
The stars are now spaced evenly.
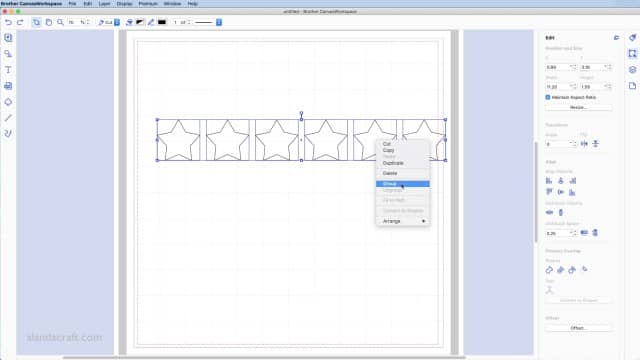
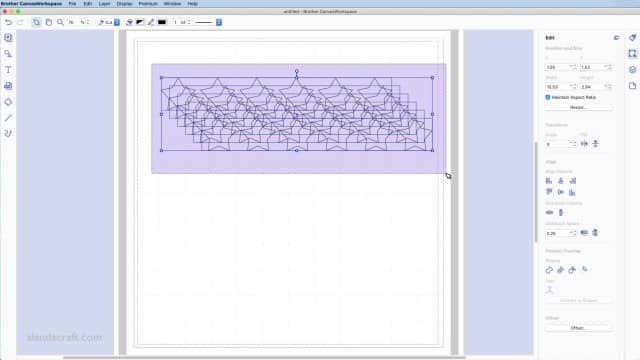
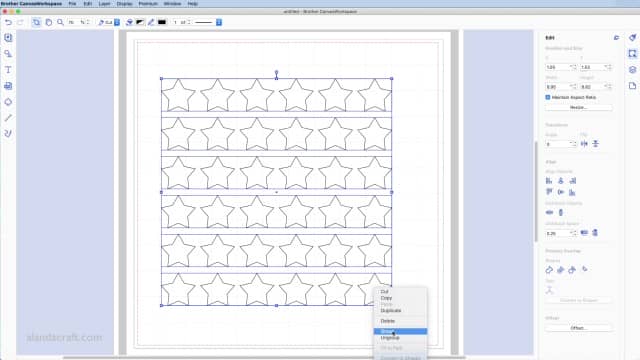
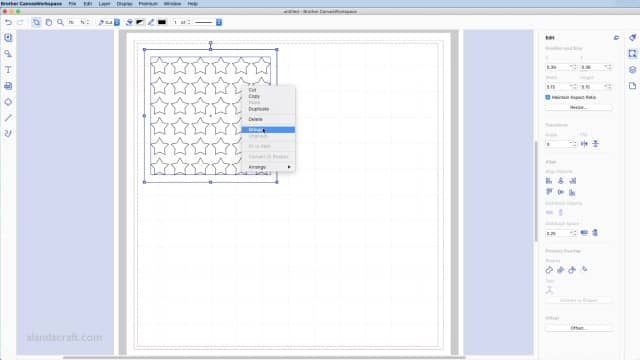
While all of the stars are selected, right-click and select GROUP.
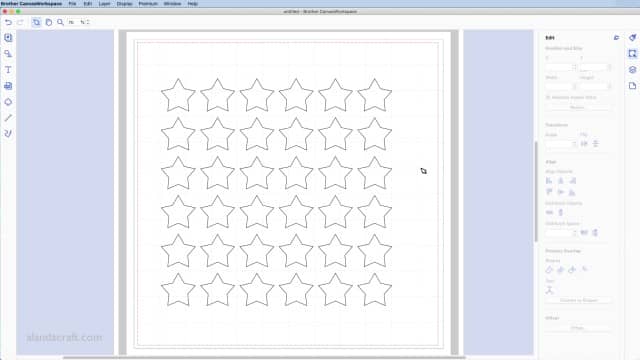
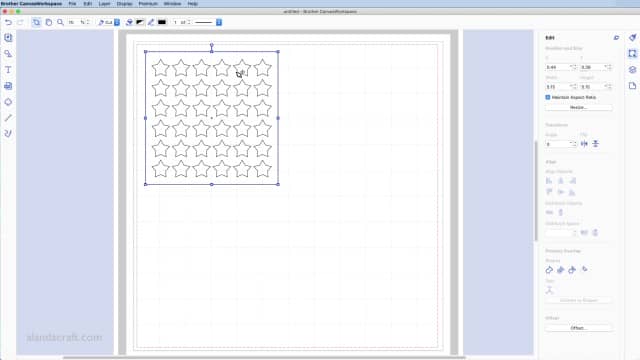
Now click on that group of stars to select it and then right-click and select DUPLICATE. Keep doing this until you end up with 6 rows of stars.
Click and drag with your mouse to select all the stars.
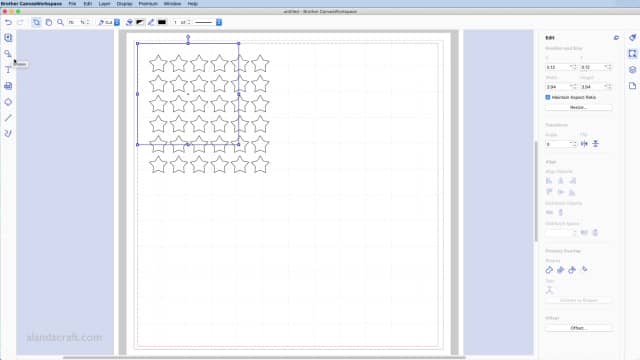
Then click on ALIGN LEFT from the Align menu.
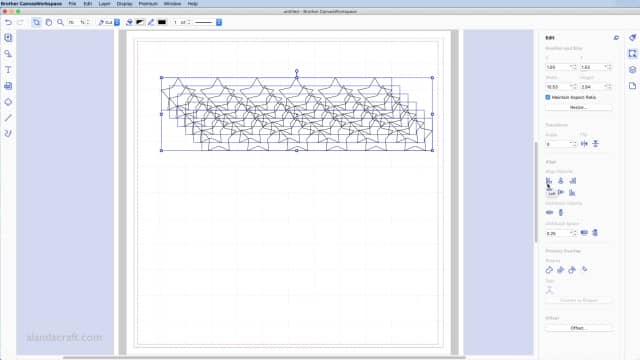
All of stars are now aligned.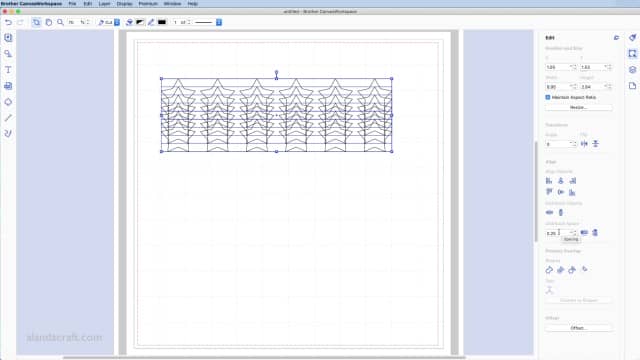
While the stars are still selected, click the Vertical option from the Distribute Space section.
The stars should now be all aligned.
Select them all and right-click and select GROUP.
You can now add a square border around the stencil. To do this, select the square shape from the SHAPES menu.
Drag the square from the corner to surround the stars.
Select both the square and the star shapes and select CENTER and then MIDDLE from the Align menu.
While both the stars and the square is selected, right-click and select GROUP.
Your stencil is now complete.
Watch the video above for another version of a stencil.


Carla Sabotta says
What is the stencil used for?
Alanda Craft says
It is used in card making, journal making, scrapbooking, mixed media to create patterned backgrounds.
Caroline Kalokerinos says
Hi Wanda&Paula
Thank so much for the Stencil tutorial. I was wandering how they were made.
You explained so well.Now I have to order some stencil sheets from Amazons.
Thank you again
Regards
Caroline
Alanda Craft says
Glad we could help Caroline.
Caroline says
Thank you for a great tutorial. I always wanted to make my own stencils. I have the SDX Disney& the SDX 1250.Do I just use the Auto Blade for the stencils? Can I print this tutorial out for myself to have nearby when ever I do a Stencil.
Thank you .
Regards
Caroline
Alanda Craft says
I would use the Auto Blade but just do a test cut first to make sure it cuts okay. And yes, you can print out the tutorial. Just click the PDF button at the bottom of this post.
Nadine says
You can also use file folders that come I. Different colours and thickness. These are available at your local stationers. Much cheaper and you can get then more readily
Kathy says
Thank you, this was so helpful. I knew how to align 2 shapes but did not know about the evenly distribute functions at all, so this will be a game changer for me. Stencils are such a versatile tool, as they can be made using thick enough material to use with texture paste, glitter paste, etc, or used in a manual cutting machine or with a stylus to emboss the design, use a glue or Versamark ink to apply embossing powder, glitter or foil/gilding flakes etc through the stencil or simply use sprays, paint, ink or pens, including with an air tool for a spray effect to colour the design, plus they are great for use with a gel plate.
One of the best things about making our own stencils, aside from the limitless design possibilities our ScanNCut’s give us, is that we can determine not only the size of our images, but also the size of our borders, allowing us to leave enough room to adequately attach tape or magnets to the stencil without interfering with our design, which is not always the case with purchased stencils.
Alanda Craft says
Glad we were able to help out Kathy. Thank you for your great comment, this information will certainly be helpful to our ScanNCut ladies. 😊
Cherine says
I am interested in making quilting stencils for free motion quilting. Do you have a video for that please?
Thank you in advance
Alanda Craft says
No, we don’t but I did find one from Brother on YouTube: https://youtu.be/upcndblUwpY
Roberta Cook says
Hi Wanda and Paula – thank you SO much for this really helpful video. I’ve been tearing my hair out trying to create a stencil containing gum leaves and could never figure out how to create the border . I couldn’t believe how easy it was when I saw your demonstration. I wonder if you could create a video showing how to incorporate ‘bridging’ , i.e. when you need to have a circle within a circle? Not having used Canvas Workspace very much, this would be another fantastic resource. Many, many thanks for so generously sharing your knowledge.
Alanda Craft says
Will add that to the list Roberta.
Lyn Butler says
Thank you for the tutorial it is most helpful and explained in easy terms
Kati says
Hola. Gracias por compartir. Qué modelo de scancut es?
Alanda Craft says
In this tutorial, we are only designing a cutting file which means it will work for any model of the ScanNCut whether it is an older CM series machine or the new DX machines.