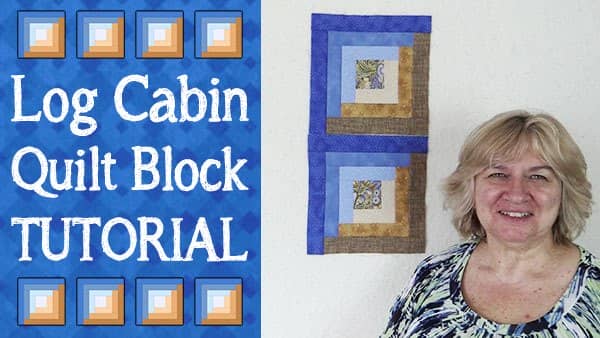
- Start with a square in the center and build out from there.
We have seen Log Cabin quilt blocks where people simply add a strip of fabric and then once sewn on, trim it back to size. Although this can work, it can result in distortion or warping of the block. If you cut your fabric so that it fits exactly then your block should come out square without any distortion.
NOTE:
Here is a downloadable PDF showing you how to cut the fabric, and how to sew the strips together: CLICK TO DOWNLOAD PDF
Watch the video tutorial below


Dianne says
Hi Alanda – thank you for your great videos. While I have been sewing for years, I have not done much in the way of quilting, so your tutorials have been very helpful. A couple of years ago I watched one of yours that featured a quilt block done in 2 different tones (1 light, 1 darker). Your starting squares were about 10 inches and
then you used the lighter tone to make a sashing for the darker square and the darker tone to make a sashing for the lighter square. (Think it was around 14″ square with sashing added). I have not been able to find this video again as I wanted to share it with a friend who was intrigued by the pattern. if you know what video I am referring to please let me know if it may still be available for viewing and how to find it. Thank you
Alanda Craft says
It sounds like the Magic Quilt Block Dianne. Here is the link /2016/10/25/quilt-block-the-magic-quilt-block-tutorial/. If this isn’t the one you are after please let me know. Cheers Wanda