
When the Magic Quilt Block is made from a light and a dark fabric, it gives the illusion of being 3D. I really like the effect and it is so quick and easy to make. You will have a quilt done in no time at all.
Watch the video below or scroll down for the step-by-step written instructions
What Size is the Magic Quilt Block:
- The quilt block we have created measures 14″ unfinished.
What You Need
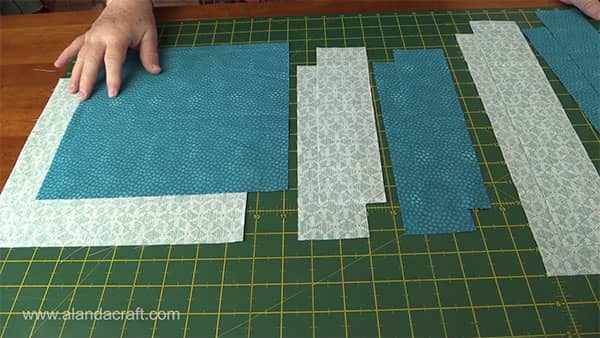
From the dark fabric. cut:
- 1 – 10″ square
- 2 – 10″x 2½” strips
- 2 – 14″x 2½” strips – dark
From the light fabric, cut:
- 1 – 10″ square
- 2 – 10″x 2½” strips
- 2 – 14″x 2½” strips
You can also use a layer cake and jelly roll strips. However, you won’t get quite the same effect as layer cakes are generally patterned and different colours. But it will still look totally awesome.
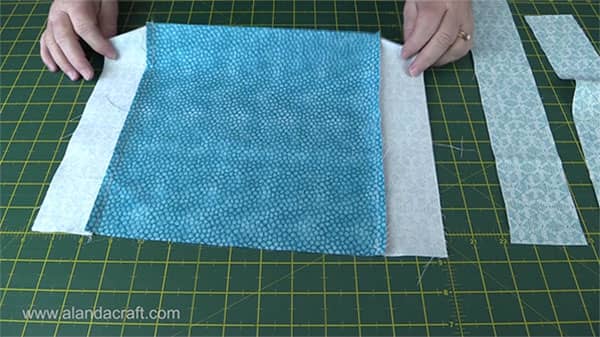
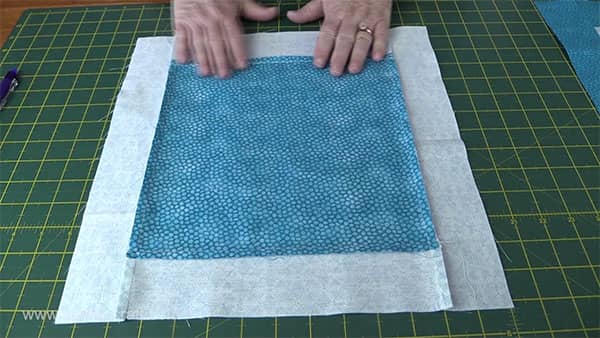
- Take the 10″ square of dark fabric and the 2 10″ strips of light fabric.
- Sew on strip to each side of the dark square with a ¼” seam.
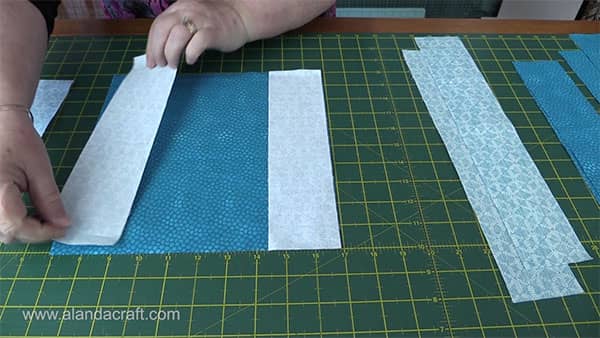
- Press the seams towards the outside edge.
- Take the 14″ light strips and lay them right sides together.
- Sew them to the edges with a ¼” seam .
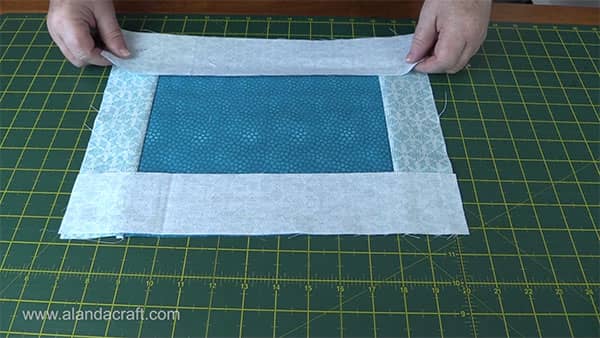
- Press the seams towards the outside edge.
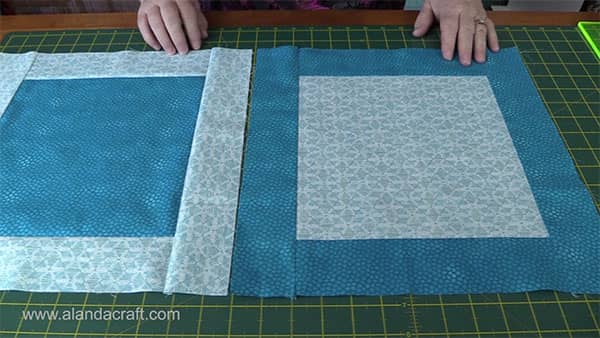
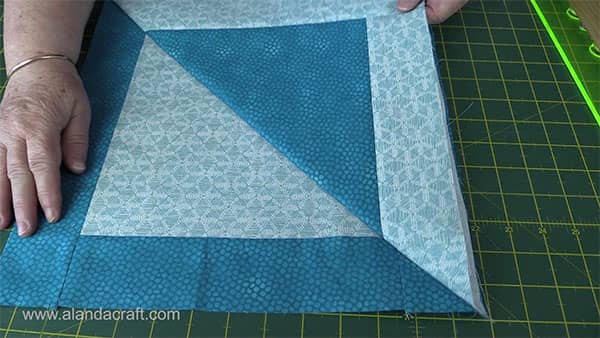
- Take the light square and add the dark strips to the edges in the same manner as you have added the light strips to the dark square.
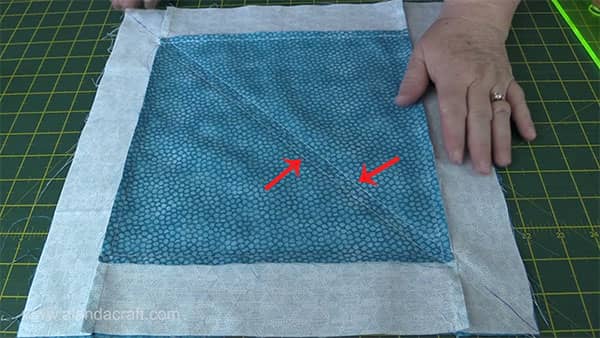
- Take one block and on the wrong side, draw a line from one corner to the other.
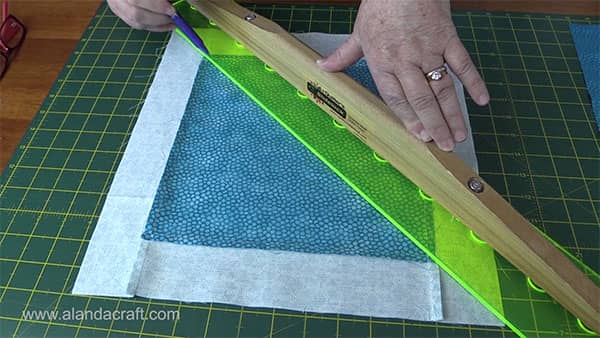
- Place the two blocks one on top of the other, right sides together. Make sure the edges all line up.
- Have the block with the line drawn on it, on the top.
- Sew a seam line ¼” on either side of the line you just drew.
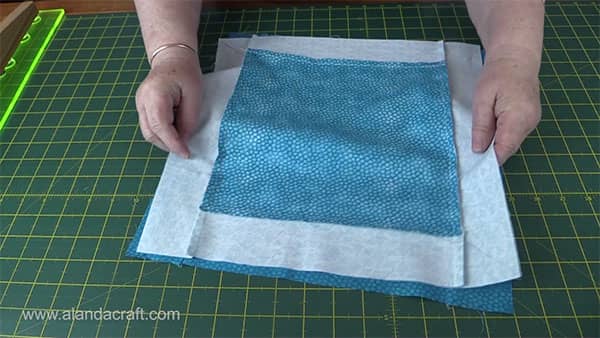
- Lift the top block to check that your points meet nicely.
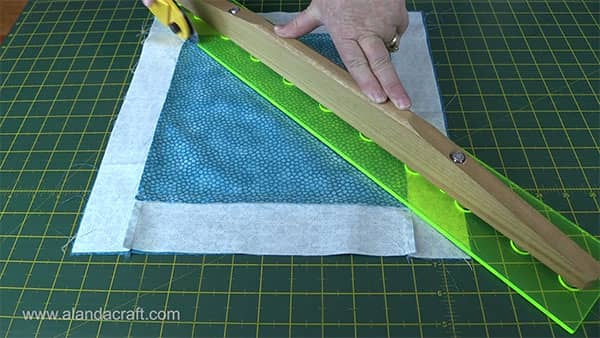
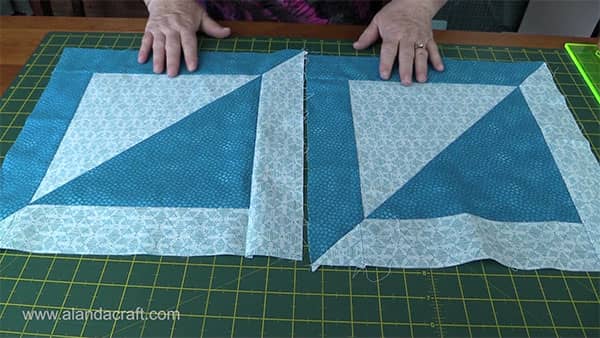
- Cut along the drawn line, in between the two seam lines.
- Press the centre line open.
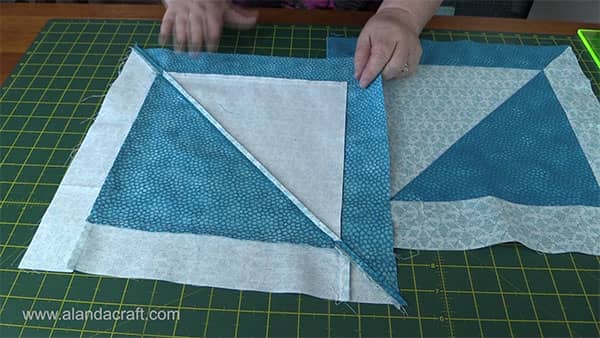
- You now have two blocks already made. How quick and easy it this!


Carolyn Baner says
Thank you for sharing. Good, clear instructions accompanied by video – so helpful! I love simpler-looking blocks/quilts. I’m sure my corners won’t look straight like yours but I’m going to try a few blocks to see how it goes.
Alanda says
Thank you for your nice feedback Carolyn. Its all about making sure the 1/4″ seams are the same. I find that as long as I get that right, the blocks all go together nice and neat. Also you can just lift the corners before you cut your half square triangles to make sure they are meeting. 🙂
Dianne says
A very good tutorial – so clear and well presented. I have a back to do on a quilt and
may try out this technique as I only have pieces left to work with. Thank you
Helen Johnston says
Good Tutorial.
Easy to follow and seems quick to do.
Thank you so much for sharing
Helen Johnston
Alanda says
Thanks Helen. It looks even better in realit, the photos don’t quite do it justice. 🙂
Ruth Caisse says
Thank you Alanna! Very nice tutorial. My quilt guild is celebrating our 40th anniversary in 2020 and have issued a challenge to members…….
Make a 2 color quilt in red and white since it’s the “Ruby” anniversary and I think I may just make this block! Thank you again,
Ruthie Caisse
Alanda says
You are most welcome Ruthie. Red and white will look amazing. Congratulations to your quilt guild on their 40th anniversary. I imagine they have helped a lot of quilters in that time. 🙂
MaryLou says
how much fabric did you need for a quilt of what size ???
Alanda says
Sorry Nancy I don’t have the material requirements for a full quilt. This is a tutorial on how to create the block, it’s not a pattern for a quilt. There are so many things that come into play when working out the fabric requirements to make a quilt, such as are there going to be borders, how big is the quilt going to be etc. This tutorial gives the amount of material that is used to make one block.
L White says
Hi! I would love to make one smaller, maybe with 5″ squares. What size side pieces would you recommend? I’m sure that the 2 1/2 strip would be a little too wide and look wrong.
Any other calculations for other sizes would be greatfully appreciated.
Tks
Pam Taylor says
I would say that if you are adjusting the 10″ block down to a 5″ (HALF the size of original)…then you would adjust the strips from 2.5″ down to 1.25″ (also HALF the size or original). You will just need to be very careful sewing the seams straight and accurately in the same manner. With smaller blocks the accuracy is twice as important! Good luck.
Pamela says
I am a novice quilter and your clear directions and videos are wonderful for me. Thank you so very much!
Yvonne Maxwell says
Very easy to follow instructions, planning to make this up.
Rhoda Verbaan says
You did well, spoke clearly and it was easy to follow.
Alanda Craft says
Great to hear Rhoda!! Thank you!
Susana Lopez says
Thank U so much for the very clear demo. Love it
Alanda Craft says
You’re welcome Susana. Glad it helped.
Patty says
I so love any 3d quilt projects. Your instructions and hints are so clear. I can hardly wait to get started!
Alanda Craft says
Glad we are able to help Patty. I would love to do more 3d type quilts. I think the next one will be a tumbling blocks tutorial.
Yolande James says
Hi
I have used this pattern in a king size quilt for my son. I used it as a row with other rows. I am now using it in a queen size quilt for our bed.
Would you like to see my son’s finished quilt? I have a photo on my phone, but I can’t find it on my computer.
Regards
Yolande
Alanda Craft says
We did receive the photo of your quilt through your email, and it is really lovely Yolande 😊. You should be able to submit the photo from your phone to the Submit Your Project page /submit-your-project/. You have done an excellent job and I know our readers would love to see it. Please Let me no if you have any problems.