This is such an easy project with beautiful results. The Magic Pillowcase is made with a unique process that results in a professional looking finish with no seams showing, especially if you follow along with us as we sew it together using a french seam.
What You Will Need
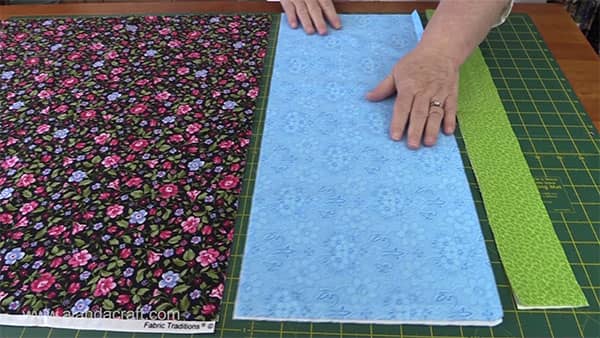
- Main fabric – 1 piece at 27″ by the width of fabric
- Cuff fabric – 1 piece at 9″ by the width of fabric
- Trim fabric – 1 piece at 2 ½” by the width of fabric (you can adjust the trim size to suit you)
Note: This pillowcase measures 29″ when finished so there is an overhang if you are using a standard pillowcase which measures 26″. The amount of overhang will depend on the plumpness of your pillow. A queen-sized pillowcase generally measures 30″ so you would probably want to cut your main fabric a couple of inches bigger by the width of the fabric.
Tools We Used
You can check the latest prices at Amazon by clicking on the links below:
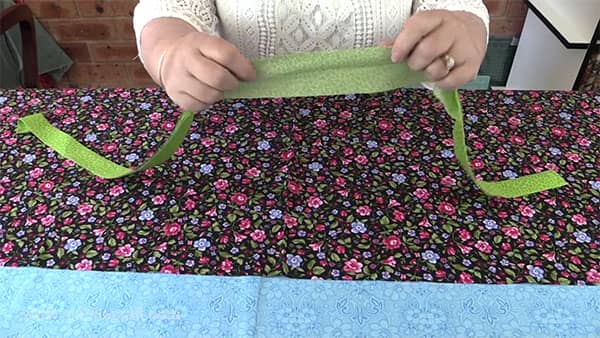
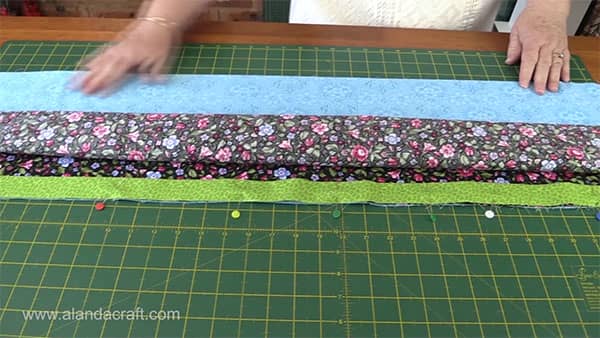
- Start by folding the trim piece in half lengthwise and iron to form a crease.
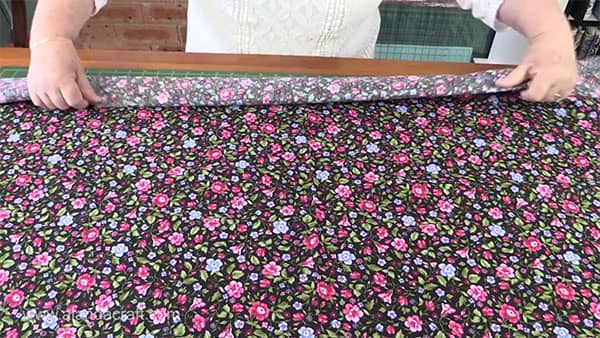
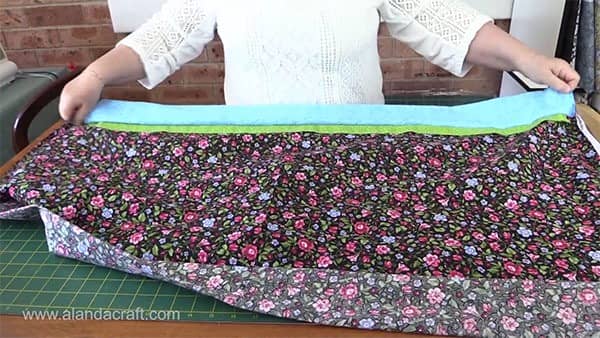
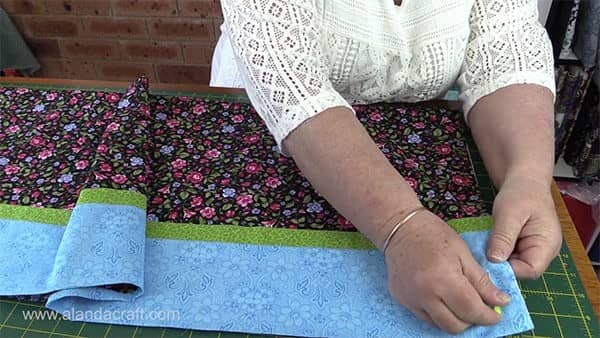
- Open up each fabric to the full length and lay on a table.
- Place the cuff piece on the bottom with the pattern side facing up.
- Place the main piece face up on top of the cuff piece.
- Place the trim piece on top of the main piece.
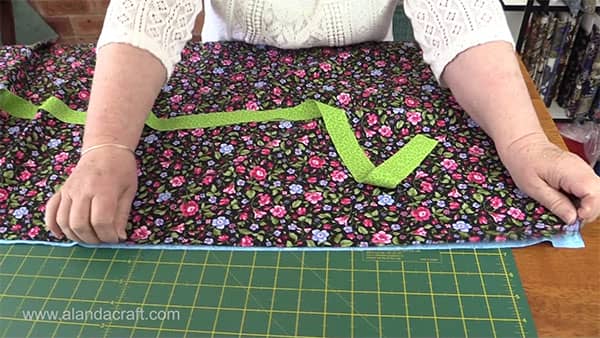
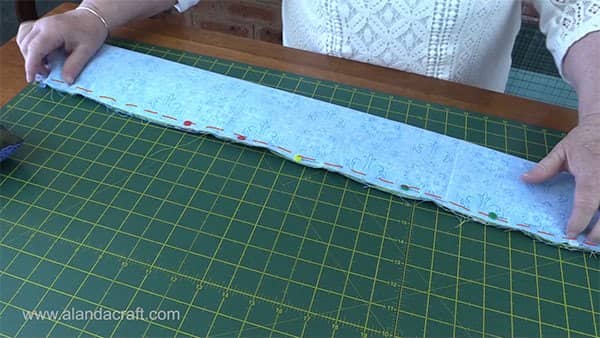
- Pin all three pieces together. Pin from the top as this will make it easier in the following steps.
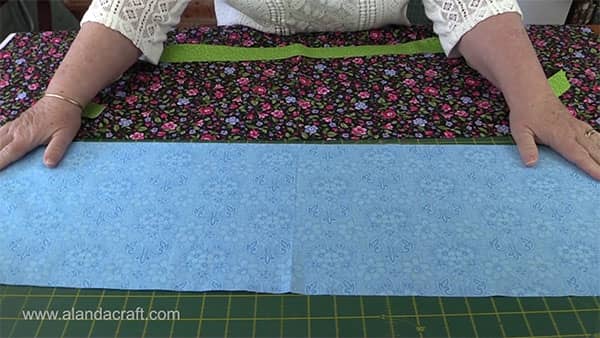
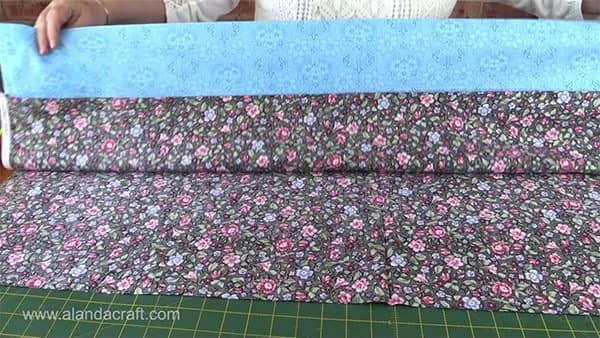
- Now roll up the main fabric from the bottom.
- Keep rolling until you get close to the trim. Don’t go over the trim though, we don’t want the main piece to get caught up in our seam later.
- You should see your cuff piece appear.
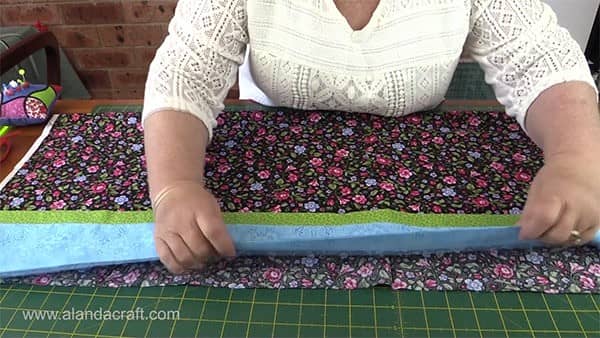
- Lift the cuff piece and bring it up and over the rolled fabric until it meets the top of the trim piece.
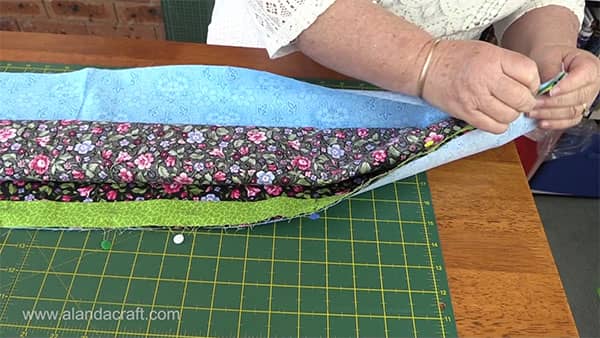
- Remove each pin and repin to take into account the cuff piece.
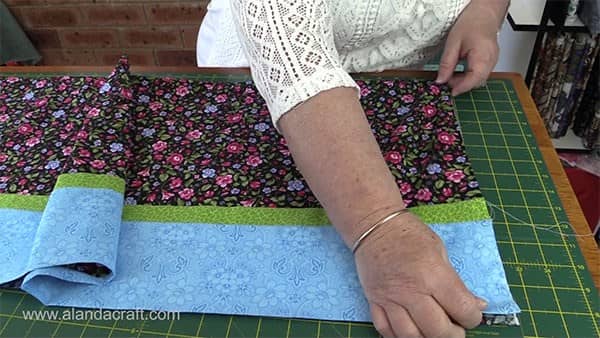
- All the layers should now be pinned together.
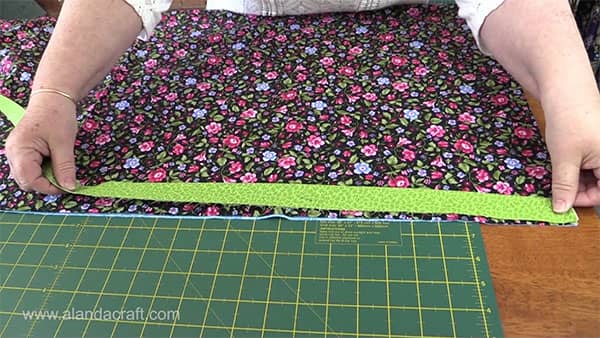
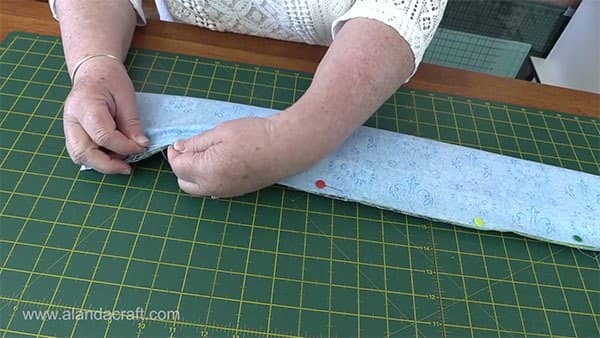
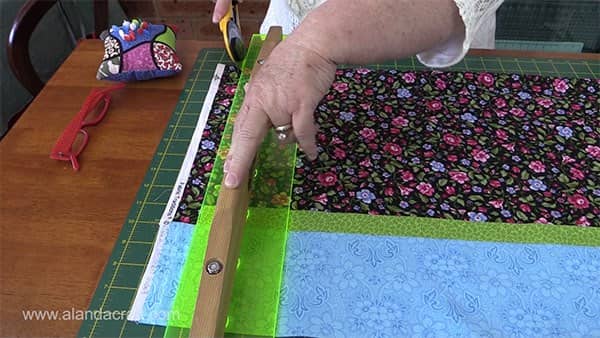
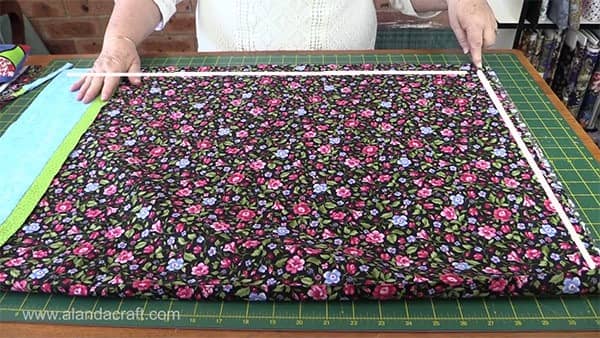
- Now you need to sew down the sandwiched fabrics with a ¼” seam (as per the red marks in the image below)
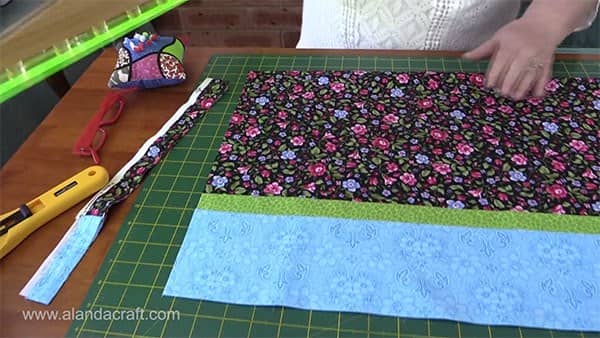
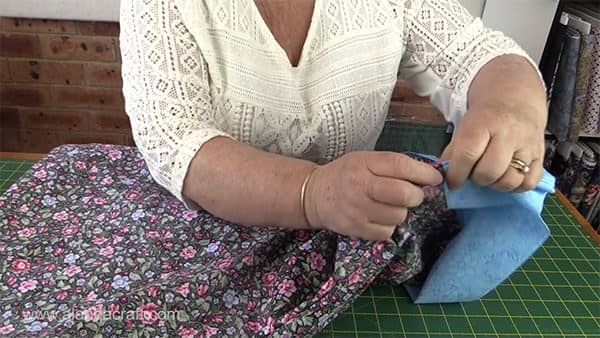
- Once sewn, grab the main fabric from the middle of the tube and start pulling it through.
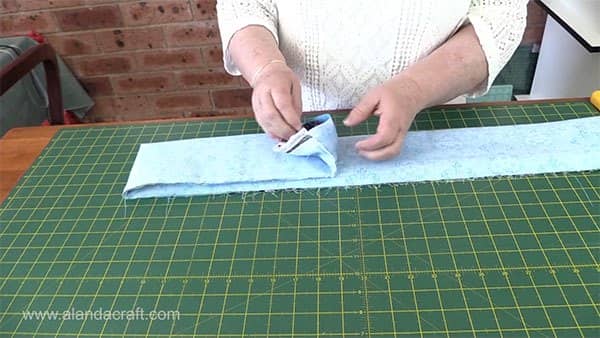
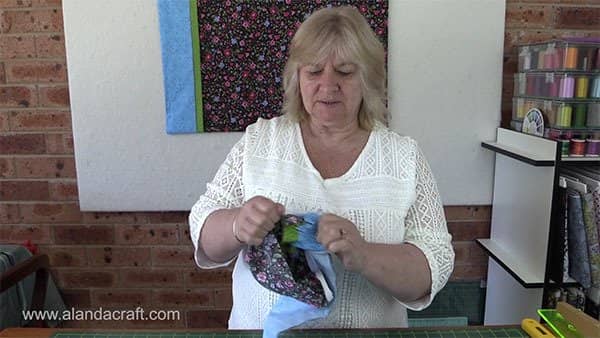
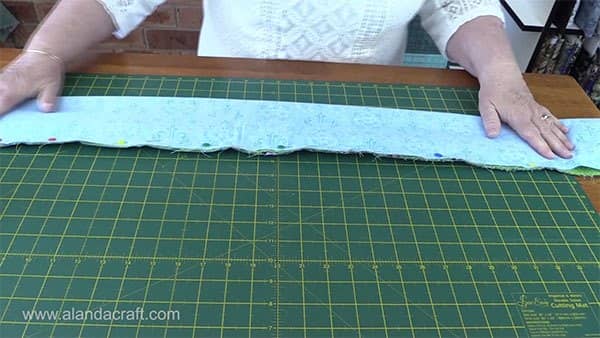
- It should open out into one single piece with the trim and cuff sewn in.
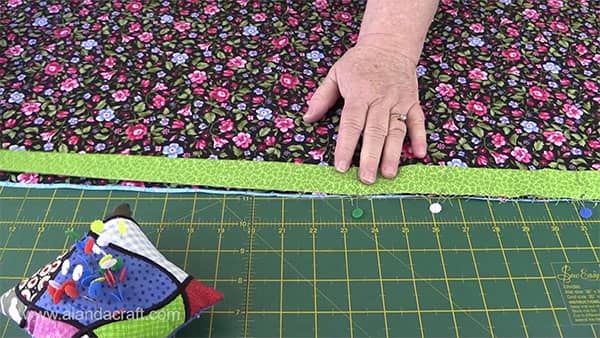
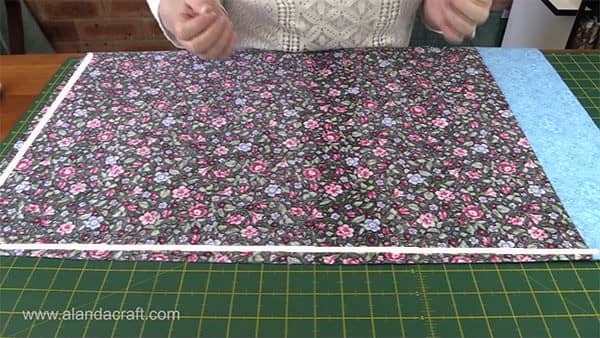
- Iron this to form a nice crease along the cuff.
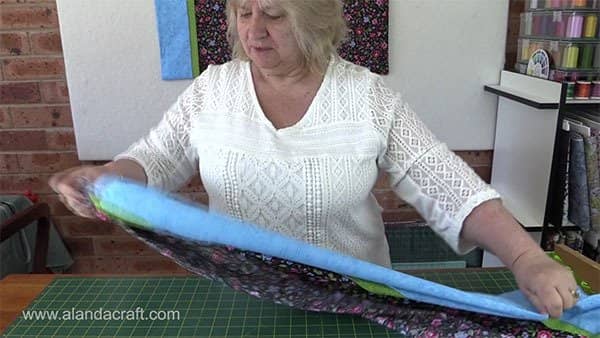
- Fold the fabric in half lengthwise.
- At one end, line up all of the selvages and pin to keep in place. We will be trimming this side eventually but not just yet. Just pin it for the moment.
- At the other end, trim the excess to ensure that all three fabrics line up.
- Return to the other end, and trim that as well. You will only need to trim enough to remove the selvages.
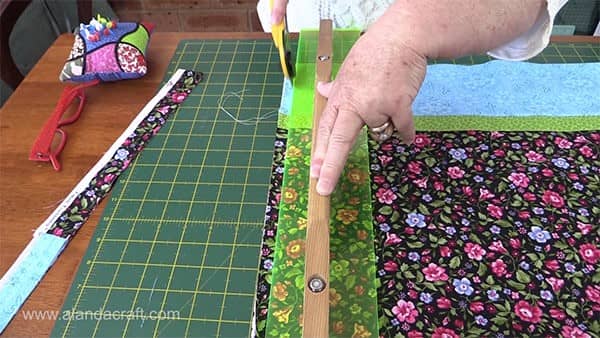
- Now that both sides are trimmed we can sew up the sides.
- You have a number of options here. You can:
- sew with a regular 1/4″ seam and zigzag around the edge to prevent fraying
- use your serger/overlocker to create a serged edge around the pillow
- sew using a french seam – that’s what we will be doing with ours
- To create a french seam, fold the pillow over with the pattern side facing outwards.
- Sew along the seam line with a 1/4″ seam as shown by the white lines in the image below. You don’t need to sew all the way around the pillowcase – just the one side and the bottom.
- Once you have sewn the edges, it’s a good idea to trim them a little. This will help with the next step as it will ensure when you sew the next 1/4″ seam, that this seam is encased in the outer seam. Okay, that may not make sense now, but it will when you get to the next step.
- So trim down the seams that you just created using about a 1/16″, or maybe a little more. You need to do that for both the bottom and side seam.

- Turn the pillowcase inside out.
- You should be able to feel the seams on the inside of the pillow case.
- Roll those seams with your fingers so that they are smooth and iron down around the entire edge of the pillow.
- Now you need to sew around the side and bottom edge of the pillow. This will encase the seam that is still showing on the outside of the pillow case.
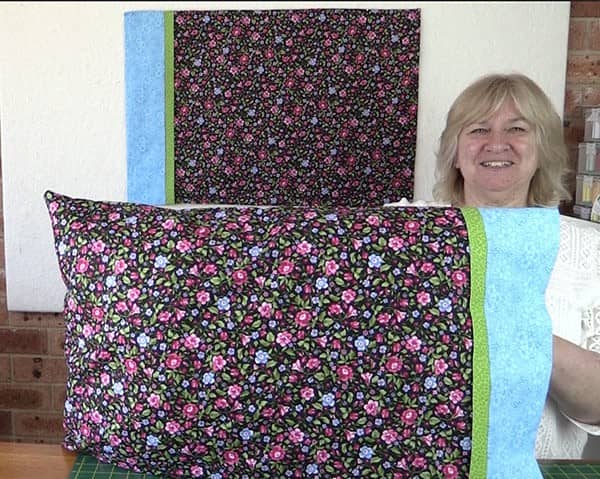
- Turn the pillowcase through and you are done!


Tina says
I first make a 8 Inch turn for tucking the pillow in, then proceed to use your method so when I put the pillow in nothing shows on the side but the pretty fabric, only took one minute more to turn over, sew and turn again and proceed with your method! Thank you for the precise video, made my heart sing!!
Alanda says
What an excellent idea Tina. I didn’t think of that at the time. And thank you for your lovely comment.
Gayle says
Do you need more fabric to do this 8” turn?
Kay says
What part do you turn 8 inches? If I fold down the main fabric 8 inches, I will not have enough fabric for the pillowcase. I would love to know how you made a tuck for the pillow. Thank you!
Kay says
I have been trying to figure out how to sew the pillowcase to tuck the pillow in without needing more fabric. Is that really possible. Please let me know. Thanks!
Montana Guardipee says
The “English Pillowcase Tutorial” has a flap that tucks inside if that is what you are asking how to make.
mary collins says
this is my first time joining on line and i don’t know how to print off the directions to the burritto pillowcases please help.
Alanda says
We don’t have a downloadable pdf for the instructions. You will need to select File and Print, or you could do a screen shot and print it. Hope that helps Mary.
BarbG says
When I need to print directions on a page I use printfriendly.com. you can remove the areas you do not want to print saving your ink, just insert the page you want to print then click on Preview. I always leave the writer’s info and page link so I can go back to it later if I need to.
Alanda Craft says
Nice tip Barb. Thank you for letting us know.
Lauri says
TY very much
Sarah says
Great job with the tutorial. Thanks for making it easy to understand.
Zelma Woodson says
Thank you for your detailed instructions. I was able to whip two pillow cases together in less than an hour and a half from start to finish. I had never heard of the French stitch to sew the seams, but I love the look. Thanks again for sharing this great gift idea.
Alanda says
Glad we could help Zelma.
rose HELSTAD says
I am making pillow cases out of fleece. should I use a single layer for the cuff and accent trim? I will be using a serger for the seams..
Alanda Craft says
I haven’t ever made one from fleece, Rose. We don’t use felt very often for our projects, so I’m not sure if you will get away with one layer. I was thinking a double layer may be too thick, it’s really going to be a case of just trying it out. Sorry I can’t be of more help, hopefully one of our readers will be able provide some assistance.
Kristen says
Definitely use the same method here with the fold lever.it just looks so much cleaner. Fleece likes to stretch so you don’t want it to continue to grow either over time. Use a million pins instead of just a few too. The first one I made with fleece still doesn’t lie completely flat after redoing it a few times to get it right. There’s so much stretch!
Barb Gruhl says
Thank you for all you do! I love your site and all your tips!
Alanda Craft says
Thank you Barb. We really appreciate your comments.
Donna says
I really like the main construction of this pillowcase, but it does not have the flap that stops the pillow from sliding out easily. Is there any way you could incorporate the flap please?
Alanda Craft says
I haven’t done one of these pillow cases with the flap Donna, however, one of our readers has. Just check out Tina’s comment on this page to see what she did. Hopefully that will help.
P.A. Jaroma says
I’ve made two pillowcases but would like a wider accent showing. Having a senior moment – how would I do that?
Alanda Craft says
The accent we have is cut at two and a half inches, so just cut that to the size you want the trim to be. Keep in mind that the trim is folded in half.
MJ Riley says
Hi, can you please tell me what the width of the fabric should be? Thanks, these look really fun for Christmas gifts.
Alanda Craft says
The measurement is 27″ by the width of fabric. The width of fabric is the measurement from the folded edge to the selvedges. You are cutting across the whole width of the fabric.
Linda says
If you start with 40″ in width you will end up with a standard size pillowcase that is 19″ wide when it is finished.
Skyla says
Tina I don’t quite understand your 8 inch turn comment. From the English pillowcases I have seen they have the turn in the back but only the decorative is on the front. When you say proceed as instructed that means you have an 8 inch flap plus the decorative edge is all around the pillowcase edge?