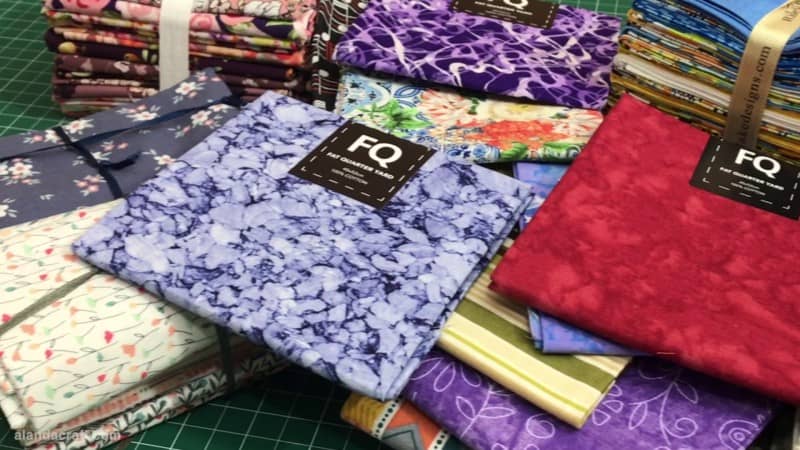
If you are anything like me and have fat quarters piling up, just waiting for the perfect project, well, today’s the day to take stock, because I am going to show you how to make a quick and easy quilt using Fat Quarters.
This is the perfect project to use up 12 of your favourite fat quarters.
For some, that may not seem like many but this is a perfect way to start reducing your stash and once you’ve made one you’ll definitely want to make more.
So let’s dive into this fun and creative project together.
What is a Fat Quarter?
For those of you who may be new to quilting, you will hear the term Fat Quarters used a lot, and you may even have seen fat quarter packs of fabric at your local fabric store. So what is a fat quarter, and how do you use fat quarters to make a quilt?
A fat quarter is a piece of fabric that generally measures 18 inches by 22 inches. The reason it’s called a “fat” quarter is because it’s a quarter-yard of fabric, but instead of being cut in a long strip (9 inches by 44 inches), it’s cut to provide a more square-shaped piece. This makes fat quarters incredibly versatile for quilting and sewing projects where you don’t require the full width of the fabric, which is generally 40-44 inches wide.
How Many Fat Quarters do You Need to Make a Quilt?
The number of fat quarters you need for a quilt will depend on the size of the quilt you are making. For instance a lap quilt may take around 12 -20 fat quarters whereas a larger quilt will require more. When you buy a pack of fat quarters you usually get a variety of complimentary colors and patterns in the pack. This allows you to be really creative when putting the pieces together.
I generally look at simple shapes when using fat quarters to make a quilt. Simple patterns such as squares, rectangles and half square triangles are easy patterns for beginners, and having a fat quarter bundle allows you to mix and match the colorways.
You can cut your own fat quarters from fabric that you have on hand, and if you would like to do that, we have a video showing you how to do that here.
Mrs Quilty Pack
The fabric I am using to make this quilt came in our latest monthly pack that was sent to us from Mrs Quilty. The box includes:
- 16 fat quarters plus some extra goodies. There are two fat quarters of each pattern, and the colors co-ordinate nicely. The fabric has a nice feel and is a reasonable quality. It’s not that heavy Moda quality but as we saw in our previous months video, the fabric sews nicely and it doesn’t fray.

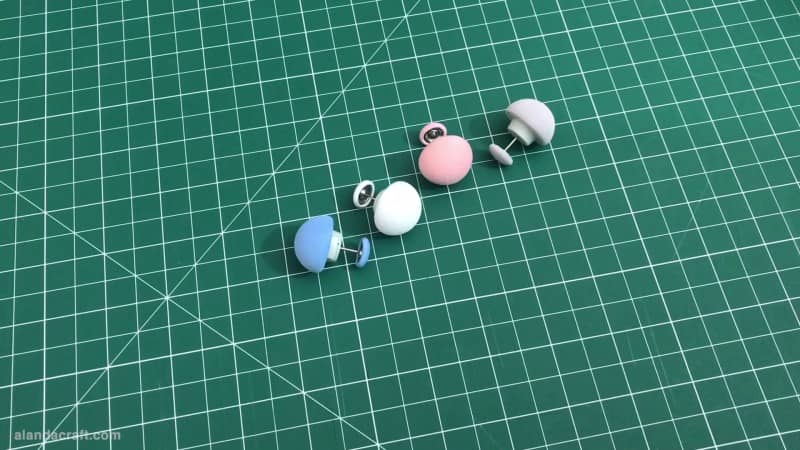
- Some quilt fixing clips, which I haven’t used before so I’m looking forward to trying these out.
- Some strap webbing – for one of the projects in the magazine
- A bag of polyfill stuffing – for one of the projects in the magazine.
The Magazine Includes:
- some hints and tips on selecting batting.
- information about the fabric that you have received and some suggested projects that you can make with the fabric.
- the magazine has 5 projects with cutting instructions, assembly instructions and all the information needed to make each project. NOTE: Some projects may need extra material that isn’t included in the pack but this information is included in the project instructions if required.
- and in the back is how to brew a nice cup of tea to go with those tasty Oatmeal cookies that were in last months issue.

Mrs Quilty is a monthly subscription service, making it a convenient way to receive fabric and project ideas, delivered right to your home.
Quilt size: approx 57″ x 64″
What You Need
Fabric
- 12 Fat Quarters
I’ve picked out the 12 fat quarters that I want to use for this quilt and I will just put the other 4 pieces that came in the pack aside for now. I will be able to use those in another project or maybe the border.
Now I have 2 of each pattern but you could use all different patterns if you like.
Tools Used in This Tutorial
Just to be transparent We do receive a small commission on items you may purchase from the links below. This is at no extra cost to you and any purchase you make does help us to keep bringing you free tutorials.
- Rotary cutter – Olfa 60mm
- Ruler – Creative Grid Basic
- Ruler – Creative Grids The Big Easy
- Oliso Iron
- Thread – We generally use Gutermann Thread
Watch the video tutorial below or scroll down for written instructions
(Can’t see the video? You may have an ad blocker installed. Click here to watch on our YouTube channel.
Cutting Instructions
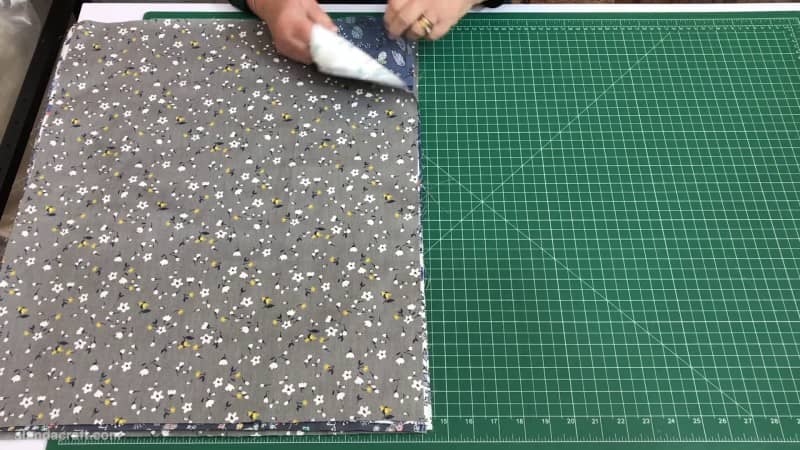
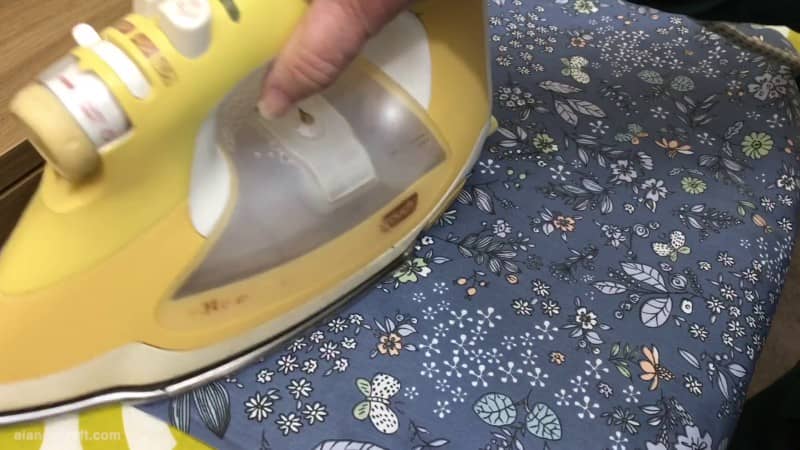
- Press the fat quarters.
- Separate them into 2 piles with 6 fat quarters in each pile – you need to do this step even if you are using all different patterns so just randomly place 6 in one pile and 6 in another. The reason we are separating them out is because we will be cutting the fat quarters in each pile differently.
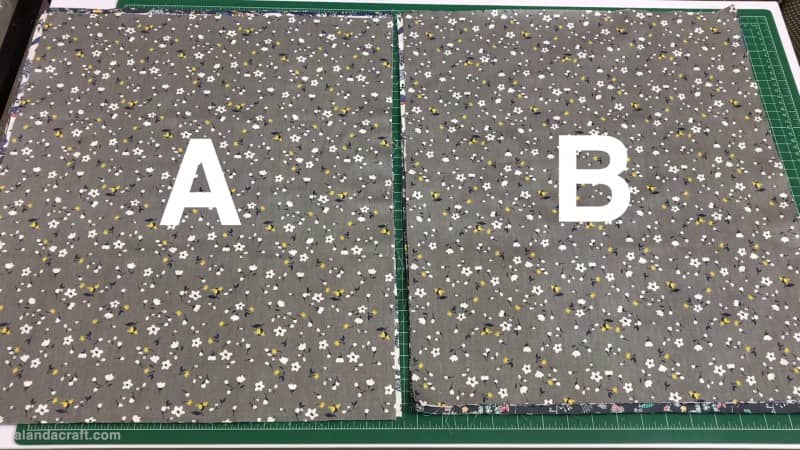
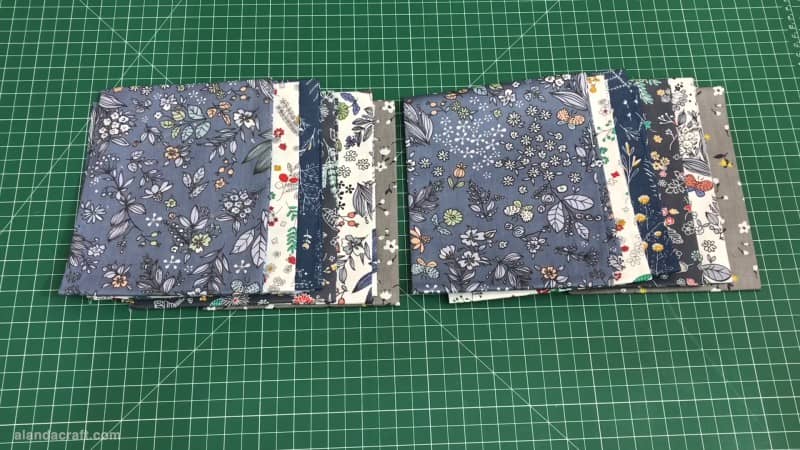
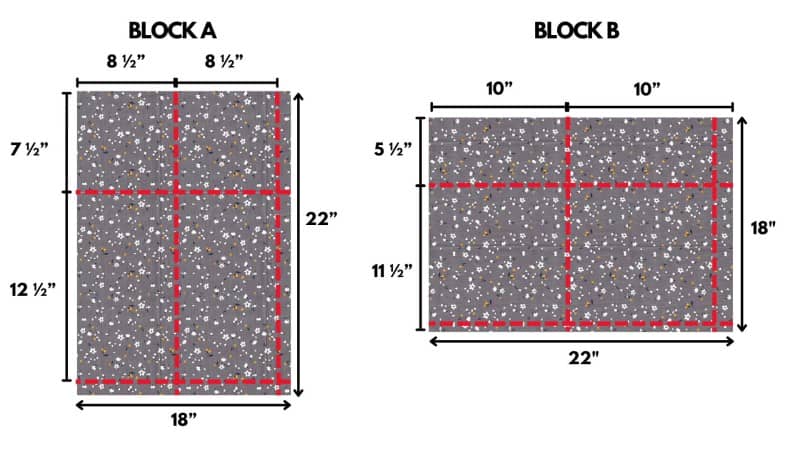
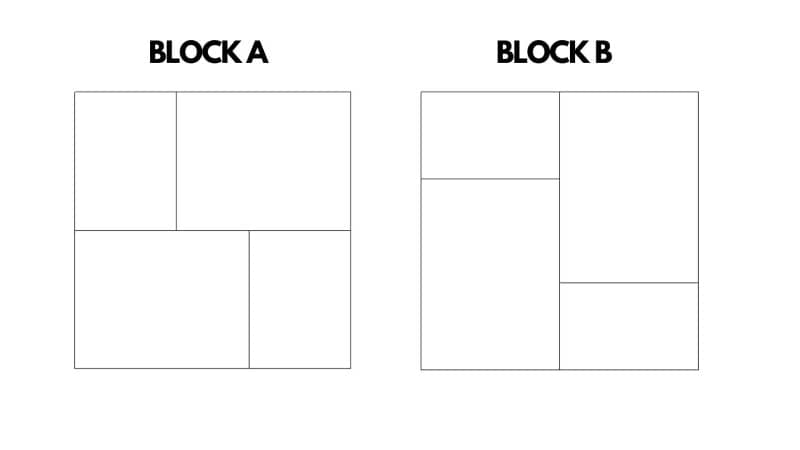
You will be cutting these fat quarters as per the images below. The 6 fat quarters in pile A will be cut as per Block A and the 6 fat quarters in pile B will be cut as per Block B.
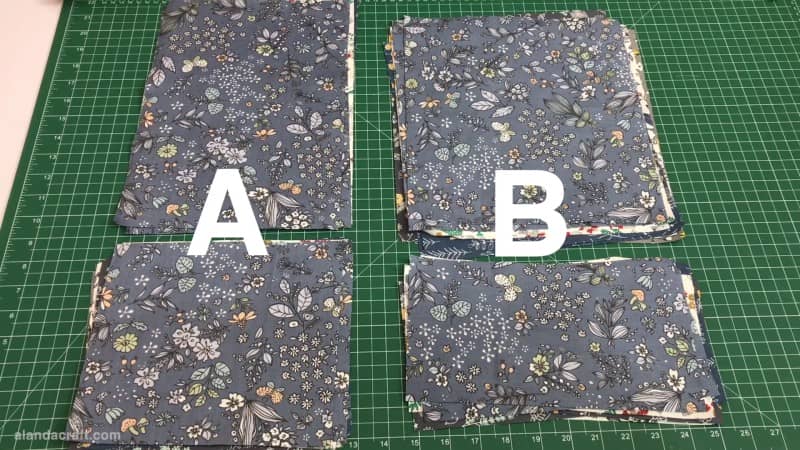
Here are the piles of fabric for each block after I have finished cutting.
How to Assemble the Quilt
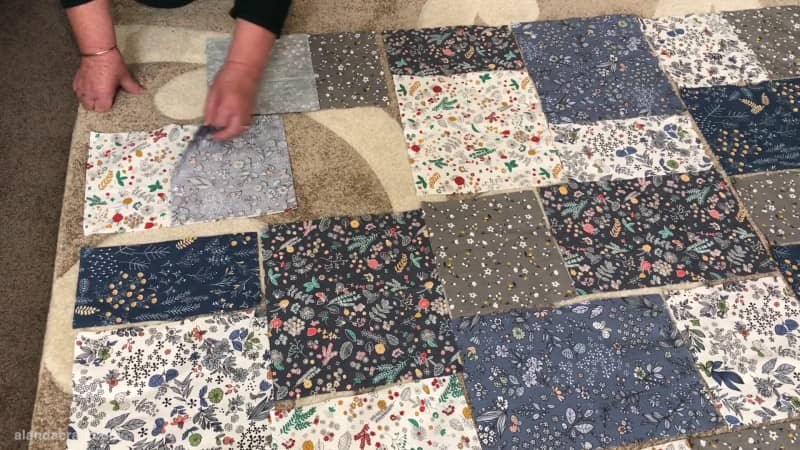
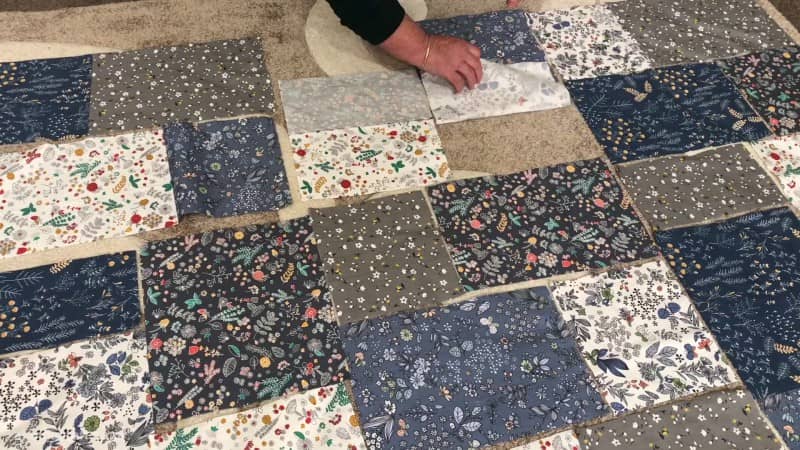
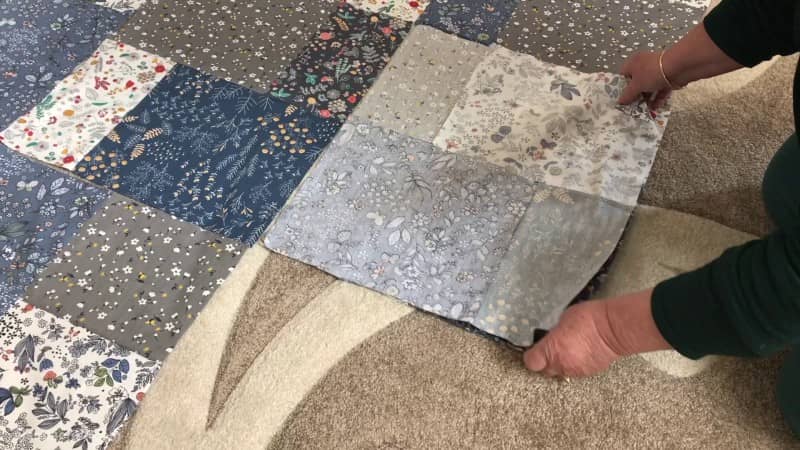
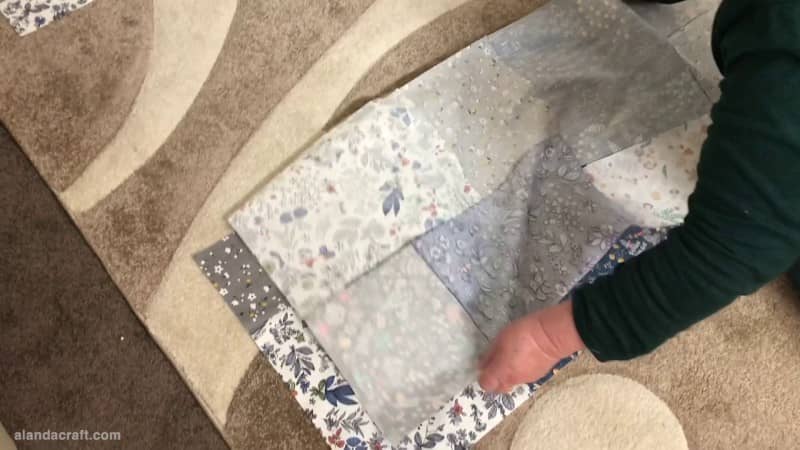
Now before we start sewing these pieces together into blocks, I highly suggest laying the pieces out first in the configuration that you want your completed quilt to look like. This is to ensure that you don’t have same or similar patterns and colors next to each other.
Now it’s time to spend an hour or two sorting (just joking) the bits around until I am satisfied with how they look. Remember that when you move a piece of fabric make sure that you are swapping it with a piece of fabric from the same style of block. Don’t move an A piece into a B block.
So I now have them in the order I like and now it’s time to sew the blocks together. So I will start with block A.
- In the top row, lay one piece on top of one of the other, right sides together, and sew them along the edge with a ¼” seam.
- Do the same with the pieces underneath.
- Sew the two sets together
- You now have a completed block A.
Now we move along to the next block which is block B.
- In the top row, lay one piece on top of one of the other, right sides together, and sew them along the edge with a ¼” seam.
- Do the same with the pieces underneath.
- Sew the two sets together
- You now have a completed block B
- Continue to make all the blocks.
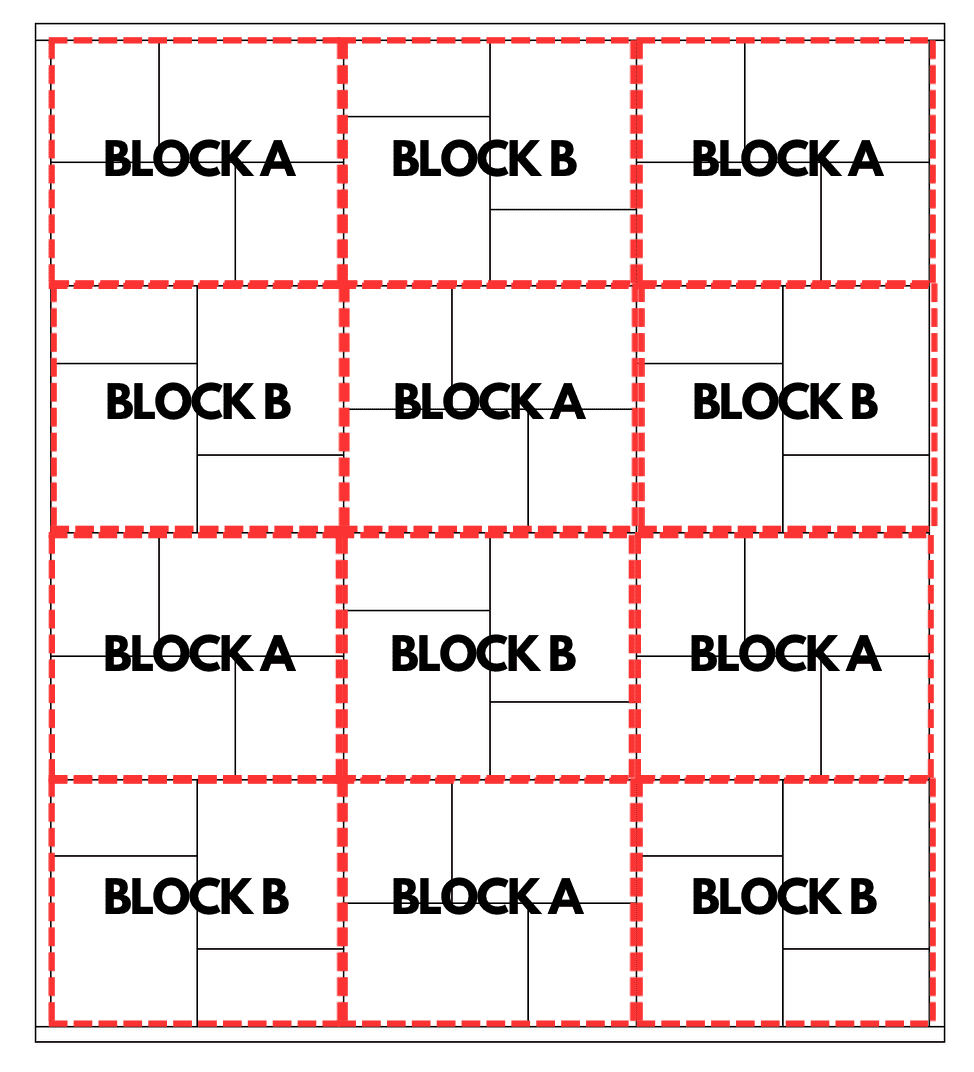
Now that the blocks are made it’s time to sew them together to form the rows.
- Lay the first block (block A) over the second block (block B) and sew them together with a ¼” seam.
- Add the third block (block A) to the second block ( block B).
- You now have the first row done.
Now complete the second row.
- This time you will lay the first block (block B) over the middle block (block A) and sew them together with a ¼” seam.
- Add the third block (block B) to the second block ( block A).
- You now have the second row done.
Continue in this manner, alternating the blocks until you have all the blocks sewn into rows.
Now it’s time to join the rows together.
Place the first row on top of the second row and just check that you match any adjoining seams. Sew the rows together with ¼” seam.
Continue to join the rows until you have the top completed.
And that’s it, our quilt top is finished. You could add sashing between the blocks and that would look really nice, but I just decided to keep it simple and sew the blocks together.

You can add borders, batting and backing or you can finish the quilt as we have for the Easiest Quilt Ever.
Here is another fat quarter quilt you may like to try.
Now that you have finished this one you might like to make this one:
And if you need to know how to cut fat quarters from yardage – here is a link to our tutorial


Elizabeth V K says
Thank you for sharing. I look forward to making one for a quick charity comfort quilt.
Alanda Craft says
I’m happy to hear you Like this quilt Elizabeth. It certainly is quick and easy to make and your charity group will certainly appreciate it 😊.