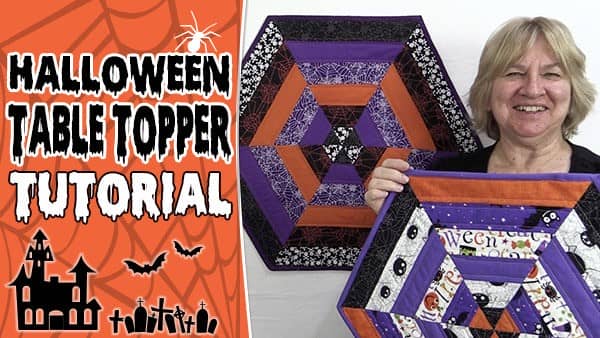
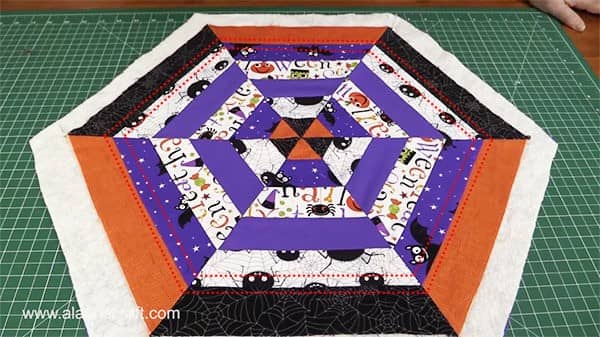
In this tutorial, I am going to show you how to make this awesome Halloween Table topper.
In Australia, we don’t really celebrate Halloween. Even so, I always make sure I have a bowl of treats to give away, but we very seldom get anyone out trick or treating. And because we don’t celebrate Halloween, it makes it a bit of an issue when buying fabric, we just don’t have the selection that our US counterparts have.
But that doesn’t mean we should be lax when it comes to creating Halloween decoration tutorials for all our lovely US followers. So with that in mind, we always add one or two Halloween tutorials to our YouTube channel. This year we have gone with a Halloween Table Topper. It’s quite easy to make and looks amazing, plus we will show you how to bind a hexagonal design. So let’s get started.
We have two sizes that you can make. The large table topper measures approximately 26½” from point to point and the small measures approximately 20½” from point to point.
Watch the video tutorial below or scroll down for the written instructions
Quilting Supplies That You Need
Small Halloween Table Topper
- 6 strips measuring 2″ x width of fabric (for the quilt front)
- 3/4 yard fabric (for the backing)
- 3/4 yard of quilting batting
- 2 strips measuring 2¼” x width of fabric (for the binding)
Large Halloween Table Topper
- 12 strips measuring 2½” x width of fabric (for the quilt front) – Note: You will need two strips for each colour.
- 1 yard fabric (for the backing)
- 1 yard of quilting batting
- 3 strips measuring 2¼” x width of fabric (for the binding)
NOTE: When making the Large Table Topper you need to sew two sets of strips is because each strip is wider ( notice that they are cut at 2½” for the large table topper and only 2″ for the small table topper). So when it comes to cutting the triangles you will need to move your triangle ruler further up the strip to take this into account. This means you will have less fabric in the first strip set to make the 6 triangles. And this is why you need the second set of strips.
Once you have cut the triangles you construct the large table runner in the same manner as the smaller one.
TOOLS USED IN THIS TUTORIAL
You can check the latest prices at Amazon by clicking on the links below:
How to make the Halloween Table Topper
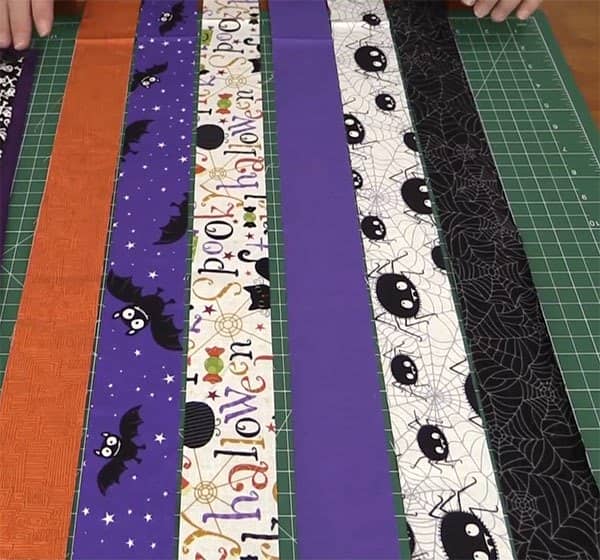
- Start by laying out your strips in the order you would like them to appear. Watch the video below for tips on best layout options.
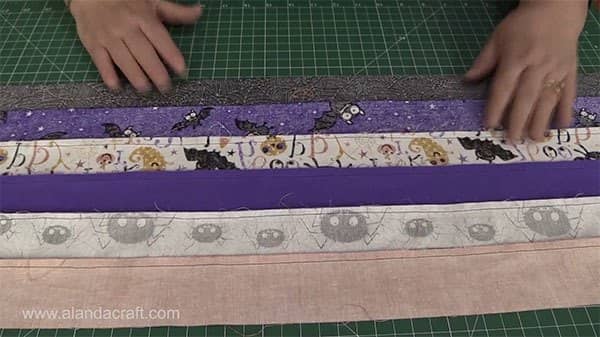
- Sew the 6 strips together using a quarter inch seam. (If you are creating the large table topper, you will need to do this twice. So you will end up with two lots of strips sewn together. They should be identical so ensure that you sew the 6 strips in the same way for each.)
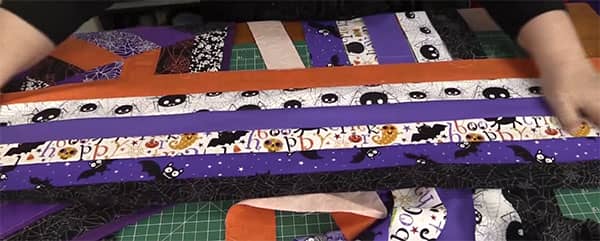
- Iron the seams all in one direction.
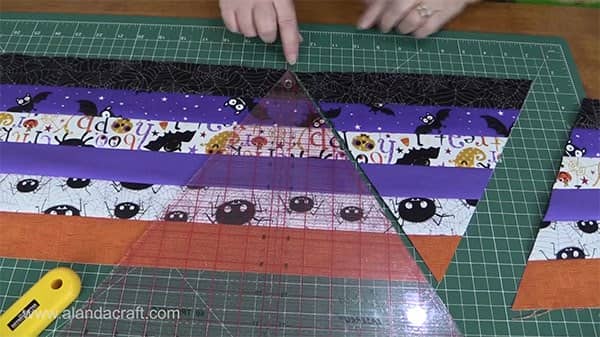
- Cut your strips into triangles using a 60° triangle ruler or your quilting ruler. (Click here for a tutorial on cutting 60° triangles.)
- You should end up with 6 triangles.
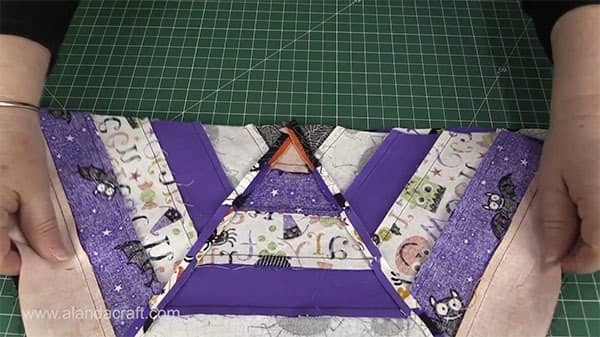
- Lay out the triangles in the pattern you desire.

- Sew together in lots of three using a quarter inch seam.

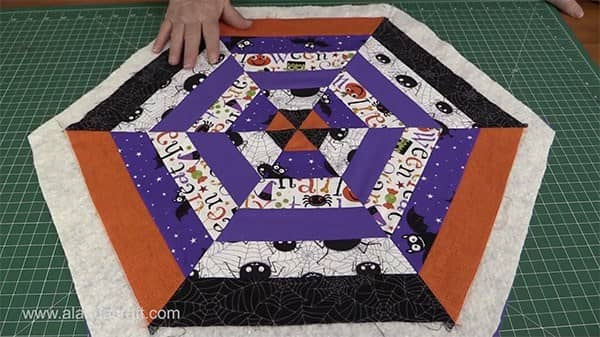
- Now sew the two pieces together with a quarter inch seam to form your quilt top.
- Use your quilt front to cut a template from the backing fabric and batting. Leave about an inch or two around all sides to allow for quilting.

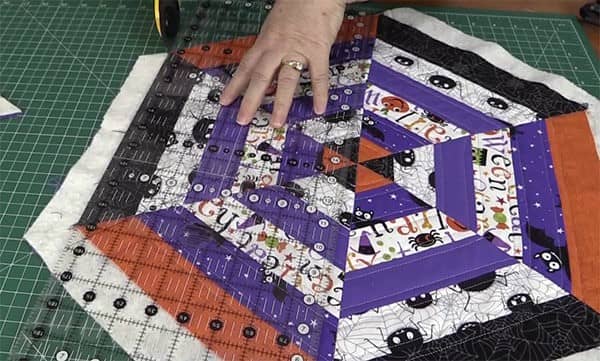
- You can quilt this in any way you like but to start with, we stitched in the ditch along the long seams (as shown by the red lines in the image below).
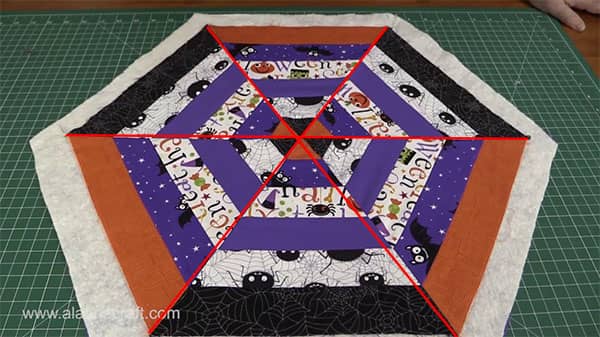
- Then we stitched on either side of the seams running around the quilt. I’ve only illustrated on one of the seams in the image below as shown by the dotted red line, but we stitched around all of the seams.
- Trim your quilt on all sides.
- Now you need to add your binding. Watch the video below for tips on adding a binding to a hexagon-shaped quilt.
If you need help with binding head over to our binding tutorial here.


Evelyn Lee says
The first thing I ever made was your handbag last year. I have never sewed before or owned a sewing machine until last year. I have sewed nearly every day since and am addicted ! I recently made the Christmas table runner , my first attempt at quilting. I am thrilled with it. {she said modestly] Thank you so much. I am going to make the cushion covers with the 10inch middles when I buy the definitive material . When I get good at posting photo’s I will send you the results .
Alanda says
Welcome to the world of sewing and quilting Evelyn.You certainly have joined the ranks of the addicted :). Quilting is really so much fun (interspersed with a little frustration at times). We look forward to seeing photos of your projects and reading about your quilting journey, on the website.
violet manning says
how do you finish the tail ends of the table topper?
Vi
Alanda Craft says
Just follow the instructions in our ‘How to Bind a Quilt’ tutorial Violet. We bind all our quilts the same way. Here is the link /2015/09/16/how-to-machine-bind-a-quilt/
Claudia Schroeder says
How long do the 2″ strips need to be for the small topper? I don’t want to waste too much fabric and I am using leftover pieces from other projects. Also, how long should the binding strips be? Thanks!
Alanda Craft says
The strips for both need to be the width of the fabric which is generally around 44″.
Pat says
I have started on my second one. I absolutely love this pattern. The instructions were very easy to follow. Thank you.
Alanda Craft says
So glad to hear Pat. Halloween seems so far away but with the way the world is going right now, it will be here before you know it.
P.S. If you’d like to share the results of your project with others on this site, you can do so here: /submit-your-project/
Bonnie G. says
Thank you for sharing your table topper quilt pattern! It can be made for almost any occasion.
I especially appreciate your great video tutorial, plus the detailed still pictures.
So easy and enjoyable to follow. Wish I knew about your site before, but will certainly follow now.
Alanda Craft says
Thank you for your lovely comment Bonnie.
Sharyn says
I really want to take this idea and make it bigger. I want to do a tree skirt. Should i make the syrips wider, or just sew more rows of jelly strips?
Alanda Craft says
You could potentially go with either option although I personally would just add more strips. However, it’s difficult to tell how it would come out without a bit of trial and error.
Denice Ornelaz-Perez says
What are the finished measurements of each topper please?
Alanda Craft says
Hi Denice, the measurements are in the post and I have now added a heading so they are easier to see. The large topper measures approx 26-1/2″ from point to point and the small one measures approx 20-1/2″” from point to point.
Lisa says
When I sewed together my two halves, my topper is not laying flat, it is popping in the center. Any suggestions please 🙂
Alanda Craft says
That can happen since a lot of the fabric is coming together in the one spot. You will need to iron it really well in that centre section to make sure everything is laying as flat as possible and make sure the seams are open.
Debbie says
When making the large topper, you instruct to make two sets of the strip set. What are the next steps to make the actual table topper larger? Obviously, I’m a bit confused 🙂
Alanda Craft says
The reason you have two strip sets for the larger table topper is because the strips are wider. (Notice that they are cut at 2 1/2″ for the large table topper and only 2″ for the small table topper.) So when it comes to cutting the triangles, you need to move your triangle ruler up to take this into account. This means that you will have less fabric in the first strip set to make the 6 triangles, hence why you need the second set of strips.
Barb says
What is the finished measurements for the small 6 strip topper?
I made 4 from your instructions about 3 years ago.
Amazing topper
Thank you so much for sharing.
Only thing I didn’t make one for myself. I gifted them.
Again thank you so much