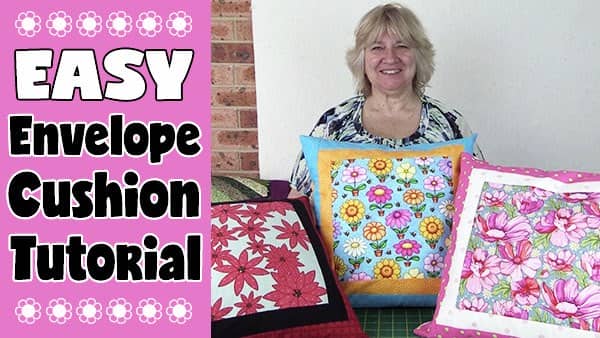
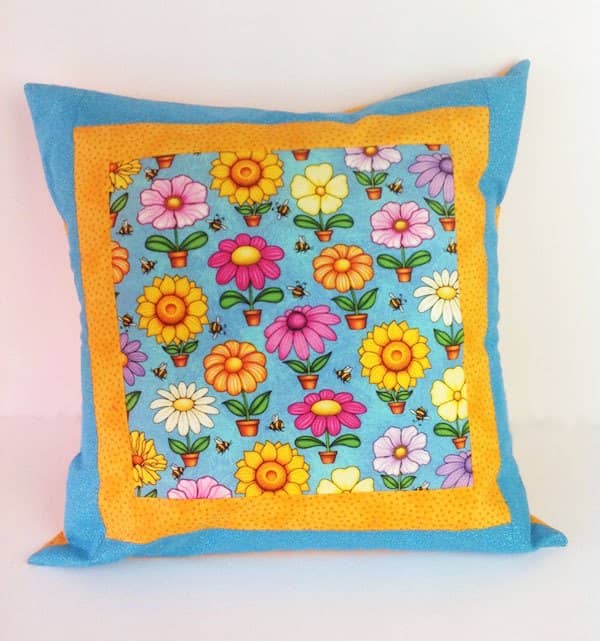
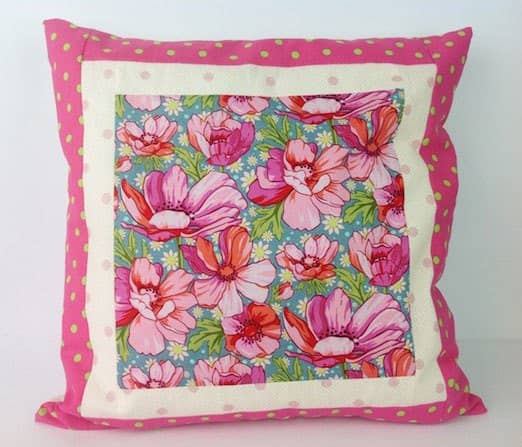
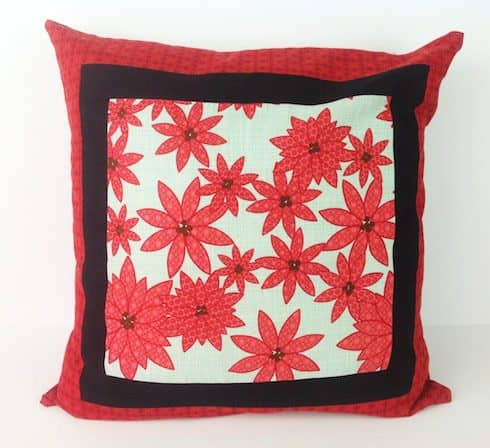
We made these cushions using a leftover layer cake square for one of them, and for the others, we cut fabric from our scrap stash.
They look lovely when they are finished and they take hardly any time at all to make.
Watch the video tutorial below or scroll down for the written instructions
Size
The measurements are for a 16″ finished cushion cover.
What You Need:
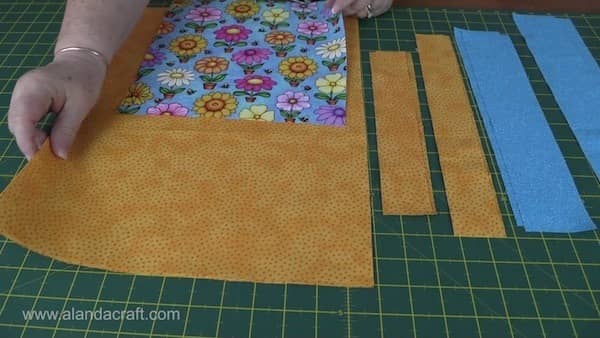
- 1 @ 10″ square for the centre piece.
- 2 strips @ 10″ x 1¾” (for the top and bottom sashing)
- 2 strips @ 12½”x 1¾” ( for the side sashing)
Border:
- 2 strips @ 12½” x 2½” (for the top and bottom border)
- 2 strips @ 16½” x 2½” ( for the side borders)
Cushion Cover Back:
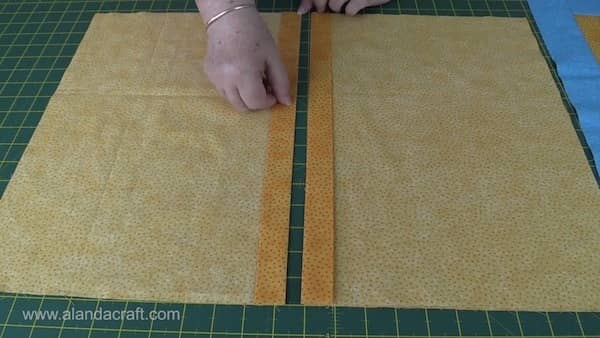
- 2 pcs @ 13″ x 16½”
TOOLS USED IN THIS TUTORIAL
You can check the latest prices at Amazon by clicking on the links below:
- Creative Grids Ruler 8½” x 24½”
- Olfa 24″ x 36″ double-sided healing mat
- Olfa 60mm rotary cutter
- Oliso Iron
- Gutermann Sew-All thread
Method
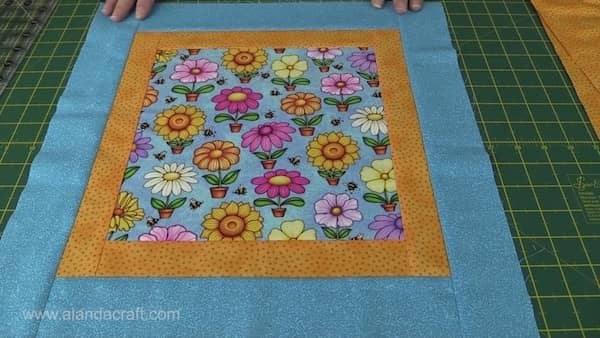
Cushion Cover Front:
- Sew the two short side sashing strips, one to the top and one to the bottom of the center piece.
- Press the seams to the outside edge.
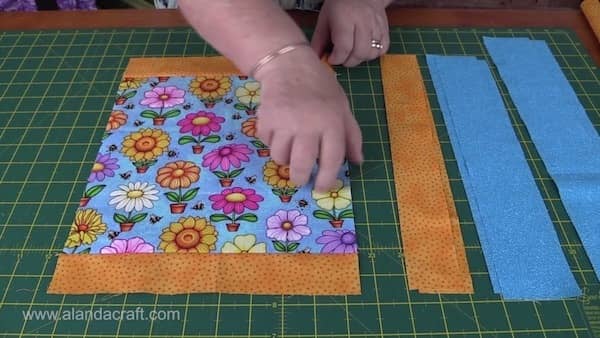
- Sew the long sashing strips, one on each side of the center piece.
- Press the seams to the outside edge.

- Sew the small border pieces to the top and bottom of the center piece.
- Press the seams to the outside edge.
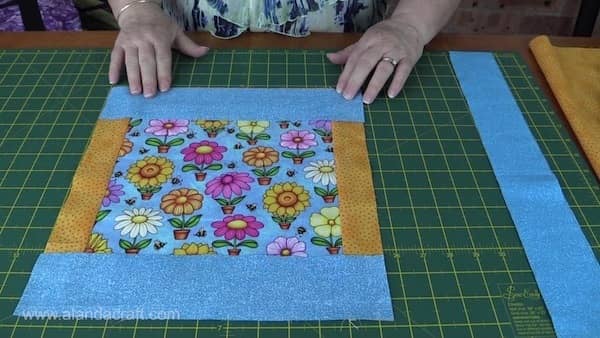
- Sew the long border pieces to the sides of the centre piece.
- Press to the outside edge.
Cushion Cover Back:
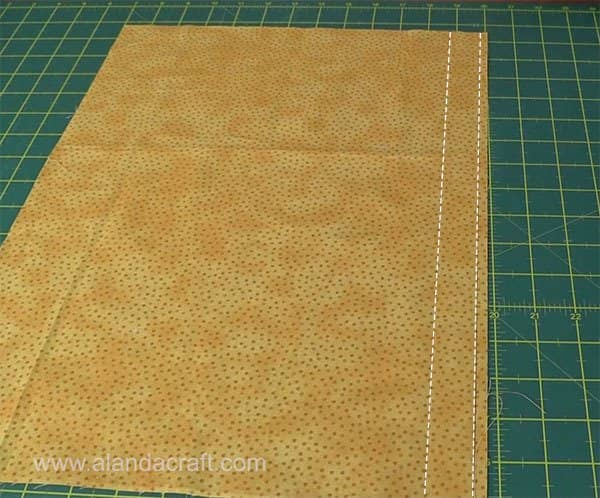
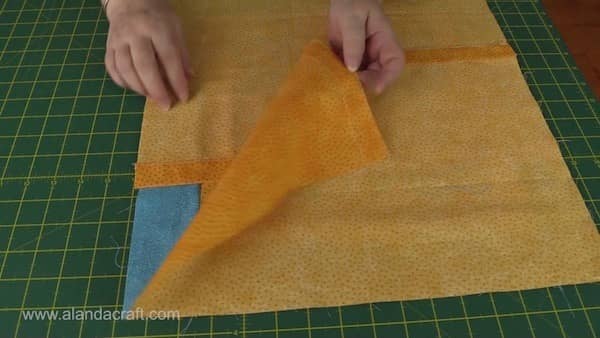
- This is how to give the top of the envelope pieces a nice, neat finish.

- Draw a line a ¼” along the long edge.
- Fold along the line.
- Press.
- Draw a line 1″ from the pressed edge as shown in the image below.
- Fold along the line.
- Press.
- Topstitch approx 1/16″ in from the 1″ fold line.
- Topstitch approx 1/16″ along the edge of the 1″ folded edge as shown below.
- Repeat with the other backing piece.
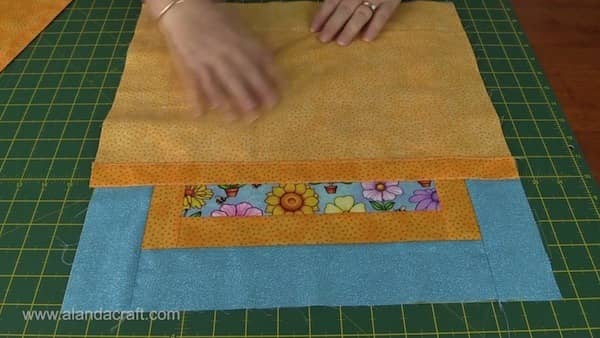
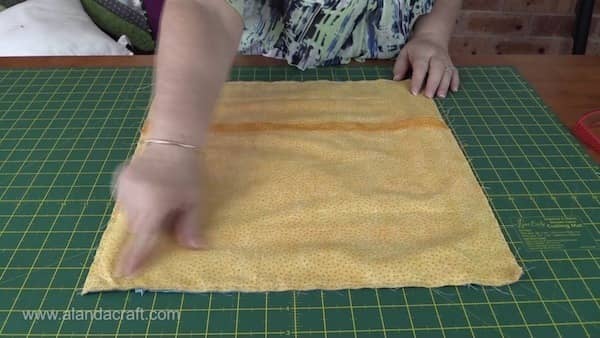
- Lay the front of your cushion cover, right side up, on your workspace.
- Lay one of the back cover pieces, right sides down, on top of the front piece
- Lay the other back cover piece so that it overlaps the first back cover piece.
- Pin around the edge taking particular care when pinning the overlapped pieces. You want to make sure that the underneath piece doesn’t move while you are sewing, so pin it well.
- Sew around the edge with a ¼” seam.
- Clip the corners taking care not to cut your stitching.
- Turn through and press.
- If you like a full, poofy look then insert a 16″ cushion insert. If you prefer a not so full look then use a 14″ or 15″ cushion insert.
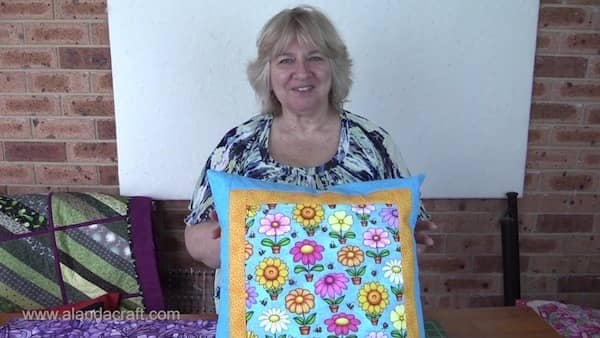
These cushion covers are so quick and easy to make.
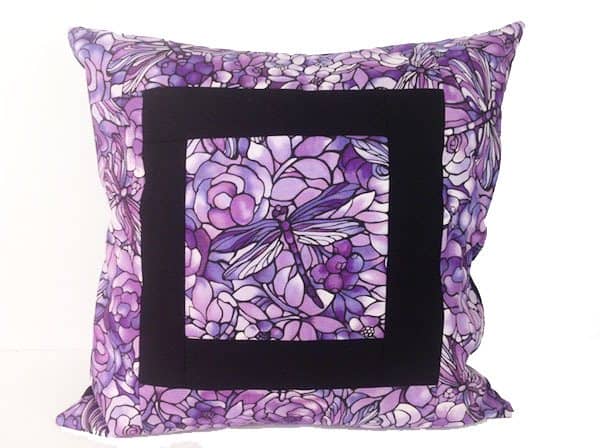
- You can also change the look of the front as you can see in the purple and black cushion cover.
- Here I have made the centerpiece section smaller and increased the size of the sashing and border.


Marcia says
I really like this…thank you. For an 18″ insert form would I use 14 or 15″ x 18 1/2″ pieces for the back part. You used 13×16 1/2″. Thank you.
Alanda says
I would cut the back pieces at 14″. What I did was divide the cushion size 16½” by 2 = 8 1/4″, I ignored the 1/4″ and added 5″. So 8″+5″ = 13″.
In your case divide 18½” by 2 = 9 1/4″, ignore the 1/4″, and add 5″ to the 9″ = 14″.
You could go with 15″ but 14″ should be fine.Hope this helps.
Marcia says
Thank you very much.
charlotte gildea says
What’s the measurements for 12 x 12 pillow
Alanda says
Hi Charlotte, I have just added the measurements for various sized cushion covers to our envelope cushion blog post tutorial. I have not tested the 12″ cover but the formula should work the same. You can see that tutorial here: /envelope-cushion-cover-from-one-piece-of-fabric/
Marion Fitzsimmons says
Your fabrics on the pillow covers are fabulous !M
Alanda says
Thank you Marion. Some of them were leftovers from other projects and some were fat quarters. The beauty of these cushion covers is you can use up your fabric scraps. Why you could even make a crumb quilt piece for the centre. Or do as one of our ladies did, she used an embroidered block she had made. So there is so much you can do with this one.
betty L lewis says
I would like the size for 14 inch pillow love your stuff made small baby quilt from watching you Thank you
Alanda Craft says
Unfortunately, we only have the sizing for a 16″ for this tutorial. But we do have another envelope cushion tutorial in different sizes. Click here to view.
Hira says
Hi Alanda,
Your fabrics are beautiful and easy tutorials.
I am new to sewing. If I need to make 4 cushions for the same size which is 16″. Can you please suggest how much fabric for each part would I need? Thanks
Carol says
hi Alanda love your pillowa would like measurements for a 20″ cushion with wirh an inset picture
can u please advise me on the measurementsthanks Carol
June says
Thank you for your tutorial “How to Make an Envelope Cushion.” As a beginner to sewing, watching the process makes it much easier to follow your instructions. I look forward to watching more and building my sewing skills. Thank you.
June
Alanda Craft says
Thank you June 😊. I am very happy to hear that you enjoyed the tutorial. Most of our projects are aimed at helping those new to sewing and quilting. Have fun exploring the site and finding more easy projects to make.