
If you read our previous post, you would have already seen the selection of new accessories from Zoom Precision – the makers of the Zoom Precision Engraving Tool. This is a tool that allows you to engrave with your ScanNCut, Cricut or Silhouette machines. (Note that you have to buy a different tool for each machine as each machine is set up differently.)
One of the new accessories that we wrote about was the Ultimate Bracelet Making Kit. This kit includes a number of different bracelet blanks and a tool that helps you curve the bracelet into the correct shape.
I must admit when it arrived I was a little intimidated by it since I have never made a bracelet in my life so I had no idea how it all worked. It turned out to be easier than I thought although I did have to look up how to use the bending bar since I had never used one before. Other than that, I was extremely pleased with the final result.
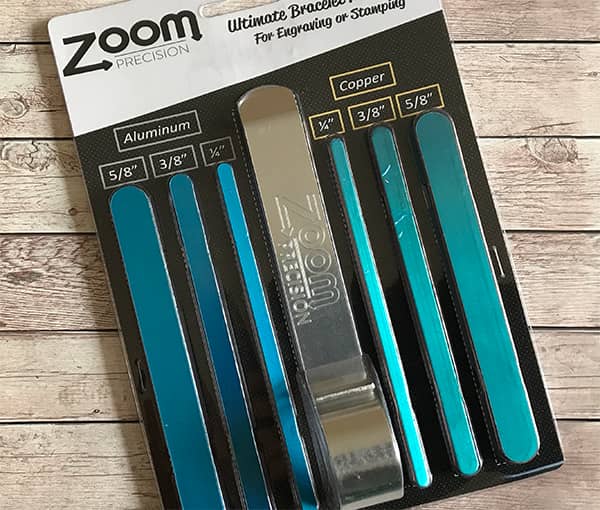
Here’s what’s included in detail:
- 3 aluminum bracelet blanks measuring 5/8″
- 3 aluminum bracelet blanks measuring 3/8″
- 3 aluminum bracelet blanks measuring 1/4″
- 3 copper bracelet blanks measuring 5/8″
- 3 copper bracelet blanks measuring 3/8″
- 3 copper bracelet blanks measuring 1/4″
- 1 bracelet bending bar
Watch the video below to see how I created the bracelets using the ScanNCut 2 or scroll down for the written tutorial
(Can’t see the video? You may have an ad blocker installed)
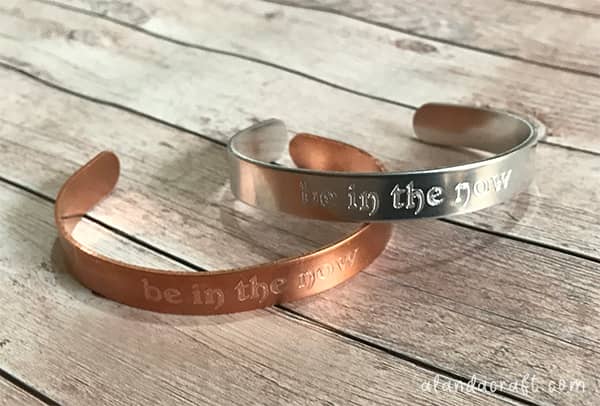
You can watch the video above to see it all in action but for my first attempt, I used just the outline of text and because it didn’t stand out enough for my liking, I did a few passes with the machine.
This didn’t go too well as you can see in the image below. For one thing, it still didn’t stand out too well and for another, it obviously moved with each pass so the text didn’t align properly.
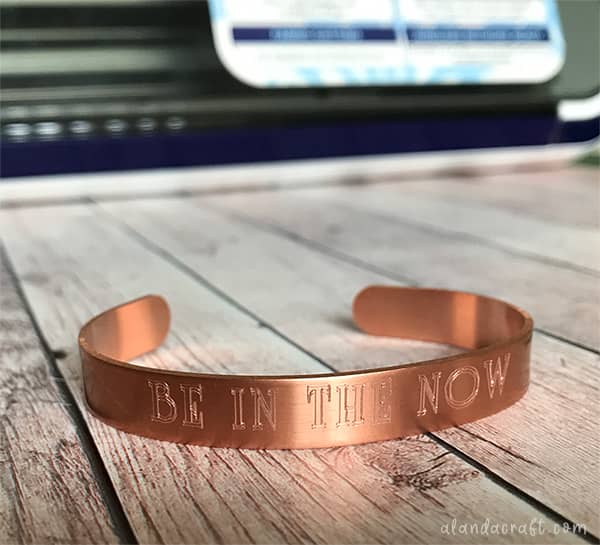
It wasn’t until I used the FILL tool that I got a better result. I didn’t need to do multiple passes as it came out perfectly on the first try.
Here’s how I did it…
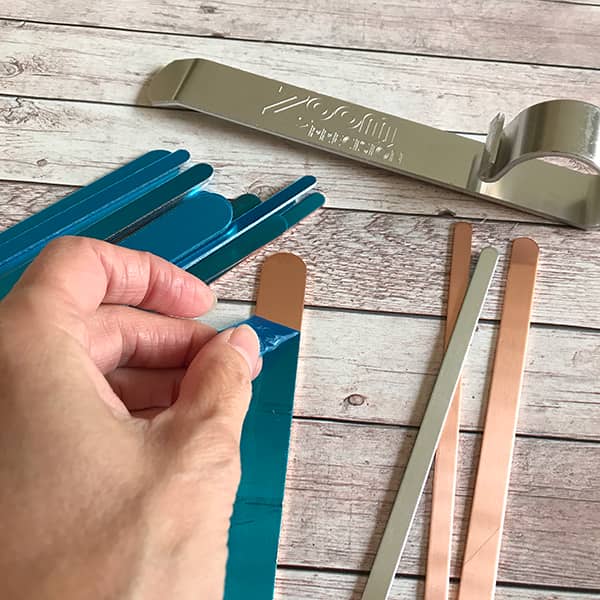
Step 1: Remove the plastic coating
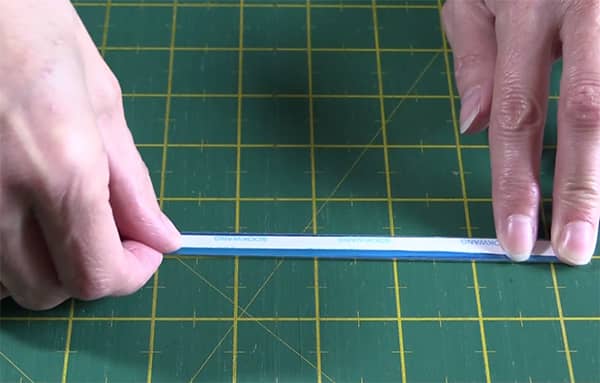
Choose a bracelet blank and remove the blue plastic coating from one side of the blank. Leave the blue plastic coating on the other side as it will help with the next step.
Step 2: Add two-sided adhesive
Get some two-sided adhesive and adhere it to the blue plastic side of the blank. I place it on the blue plastic as it is easier to remove and doesn’t leave any adhesive residue on the bracelet itself.
The adhesive I used is Scor Tape which you can get from Amazon here. I find that this holds the blank really well to the mat.
Step 3: Place the bracelet blank on a mat
You can use any of your mats for this including a mat that has completely lost all of its stickiness as the two-sided adhesive will hold it in place.
Peel the tape coating from the two-sided adhesive and then place the blank on the mat. Line up the blank on one of the dotted lines to ensure that it is perfectly straight.
Load the mat into the machine
Step 3: Create your text or image
In the video, I used text that I had already created in Canvas Workspace, but you could use the text in the machine. You could also use a shape from the machine itself or bring in one that you have saved that will fit the blank.
Step 4: Scan the mat
Once you have your text (or image) ready to go, you will need to scan the mat through the machine. This will allow you to easily move and resize the text to fit the blank.
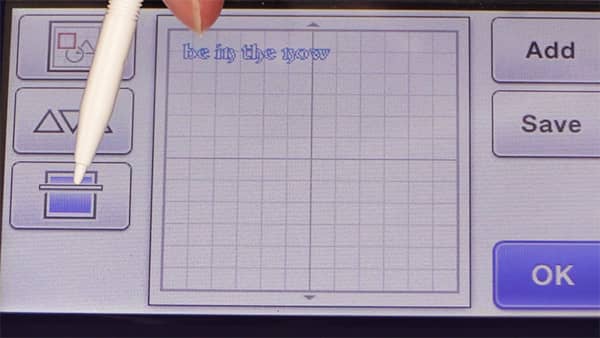
To scan the mat, tap the Scan icon (as shown in the image below).
Step 5: Adjust the size and placement
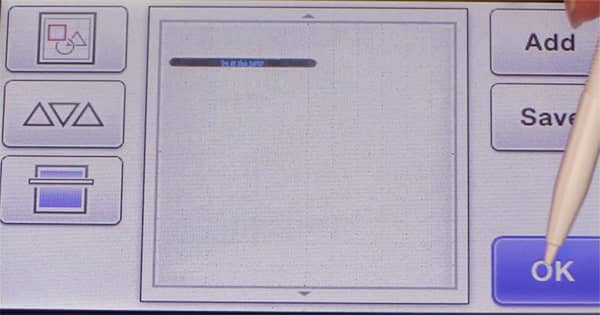
Once the scan is complete, you should be able to see the scanned image of the bracelet blank on your screen. Now you can move the text to the correct position on your bracelet blank.
If you need to resize the text, click the Edit icon and make your changes. (Watch the video above to see how I made changes to mine.)

Once you have the size right and have lined up your text in the right position on the bracelet blank, you are ready to go.
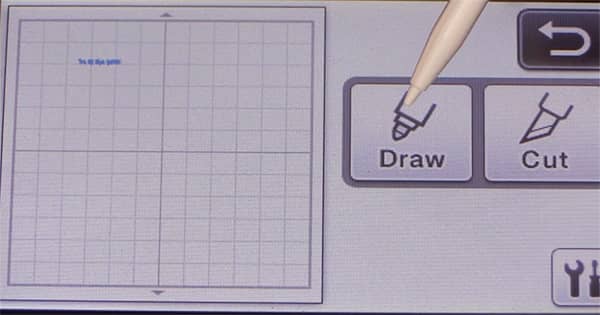
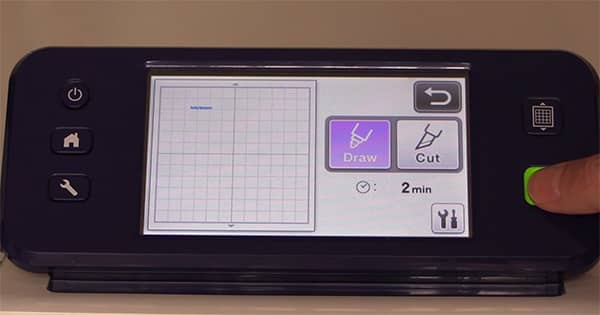
Keep pressing OK until you get to the DRAW/CUT selection screen.
Select DRAW.
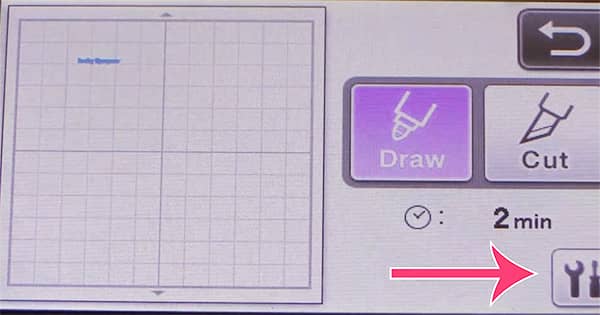
Step 6: Select Settings
Before you begin to etch your bracelet, you need to change the settings.
Click on the SETTINGS icon as shown in the image below.
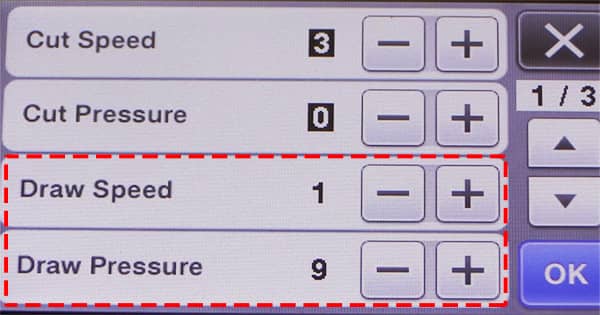
The settings below are what worked for me.
Click OK once you have made your changes.
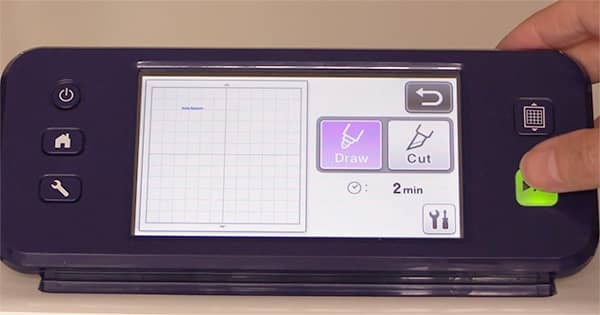
Step 7: Get ready to etch!
Now you are ready to go. Click the START button on your machine.
If you see the following message appear just click OK.
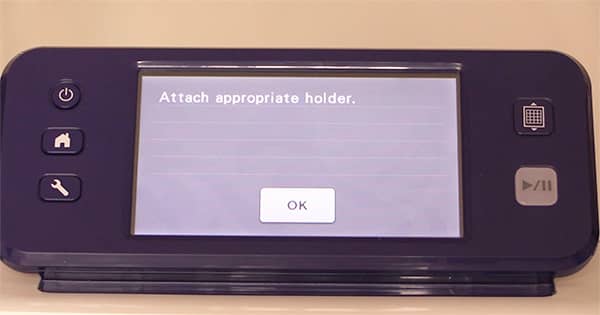
And then click on the START button again.
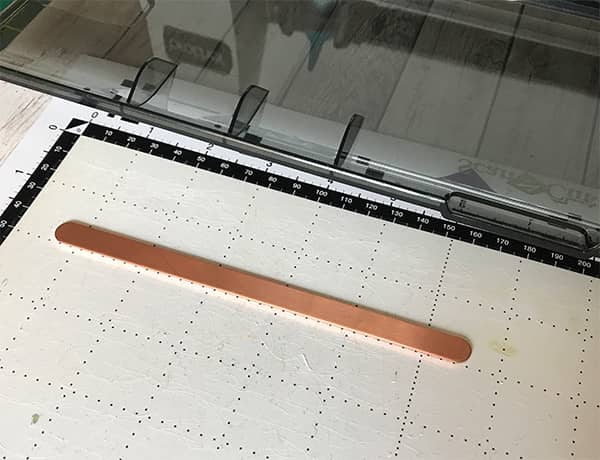
The machine will begin to etch your bracelet.
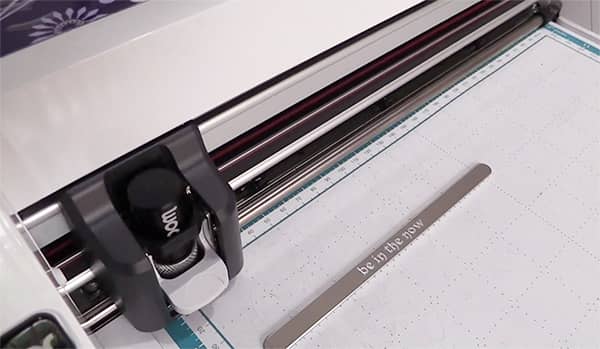
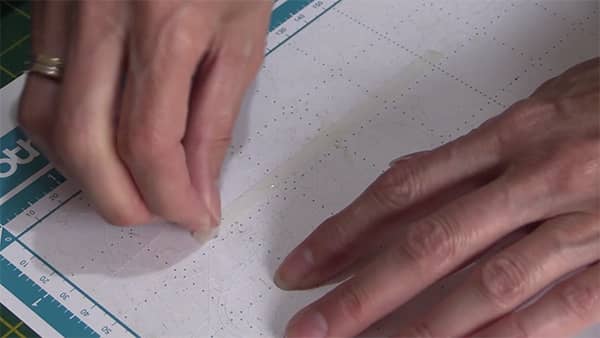
You can now remove the bracelet from the mat.

The adhesive tape may remain on the mat. If so, it is pretty easy to peel off. If instead, it is stuck on the bracelet, you can peel off the blue strip at this point.
Step 8: Shape the Bracelet
Note: It’s worth watching the video above at this point, as it will make more sense.
Take the bracelet shape tool and insert one end of the bracelet into the tool.
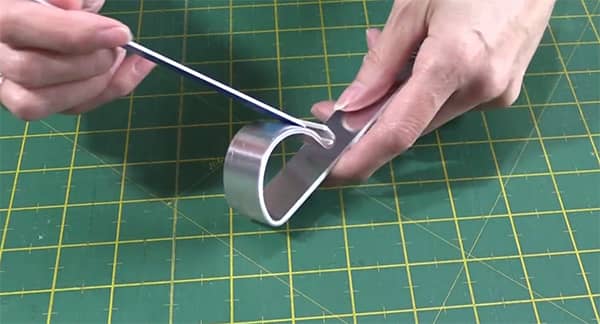
Bend the other end around the tool but not all the way around.
I’m going to reiterate the importance of watching the video above at this point because it will make more sense.
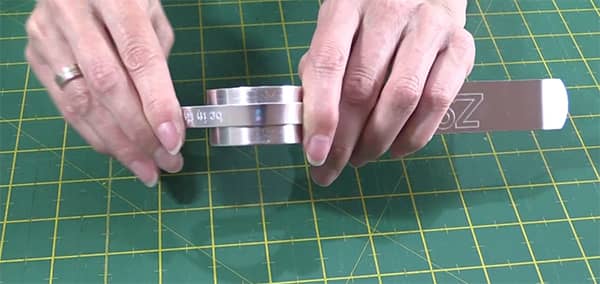
Now take the other end of the bracelet and do the same thing.
You can see the result in the image below. Note that this was only the second time I had done this, so with a bit more practice, I may get a better result.
I also still had the blue tape on the back but I figured this helped to protect it from scratches while shaping the bracelet.
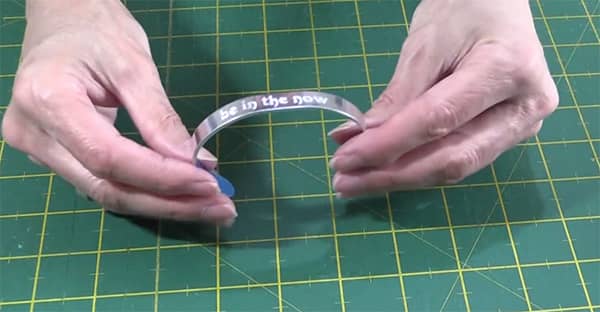
Here’s the final result.


Kathie says
Thank you for the informative video!